Felt-tip marker mode
Let's draw a cartoon stapler
Treat this as one playful practice round: sketch the idea loosely, simplify the shapes, then commit with confident marker outlines and bright fills.
-
01
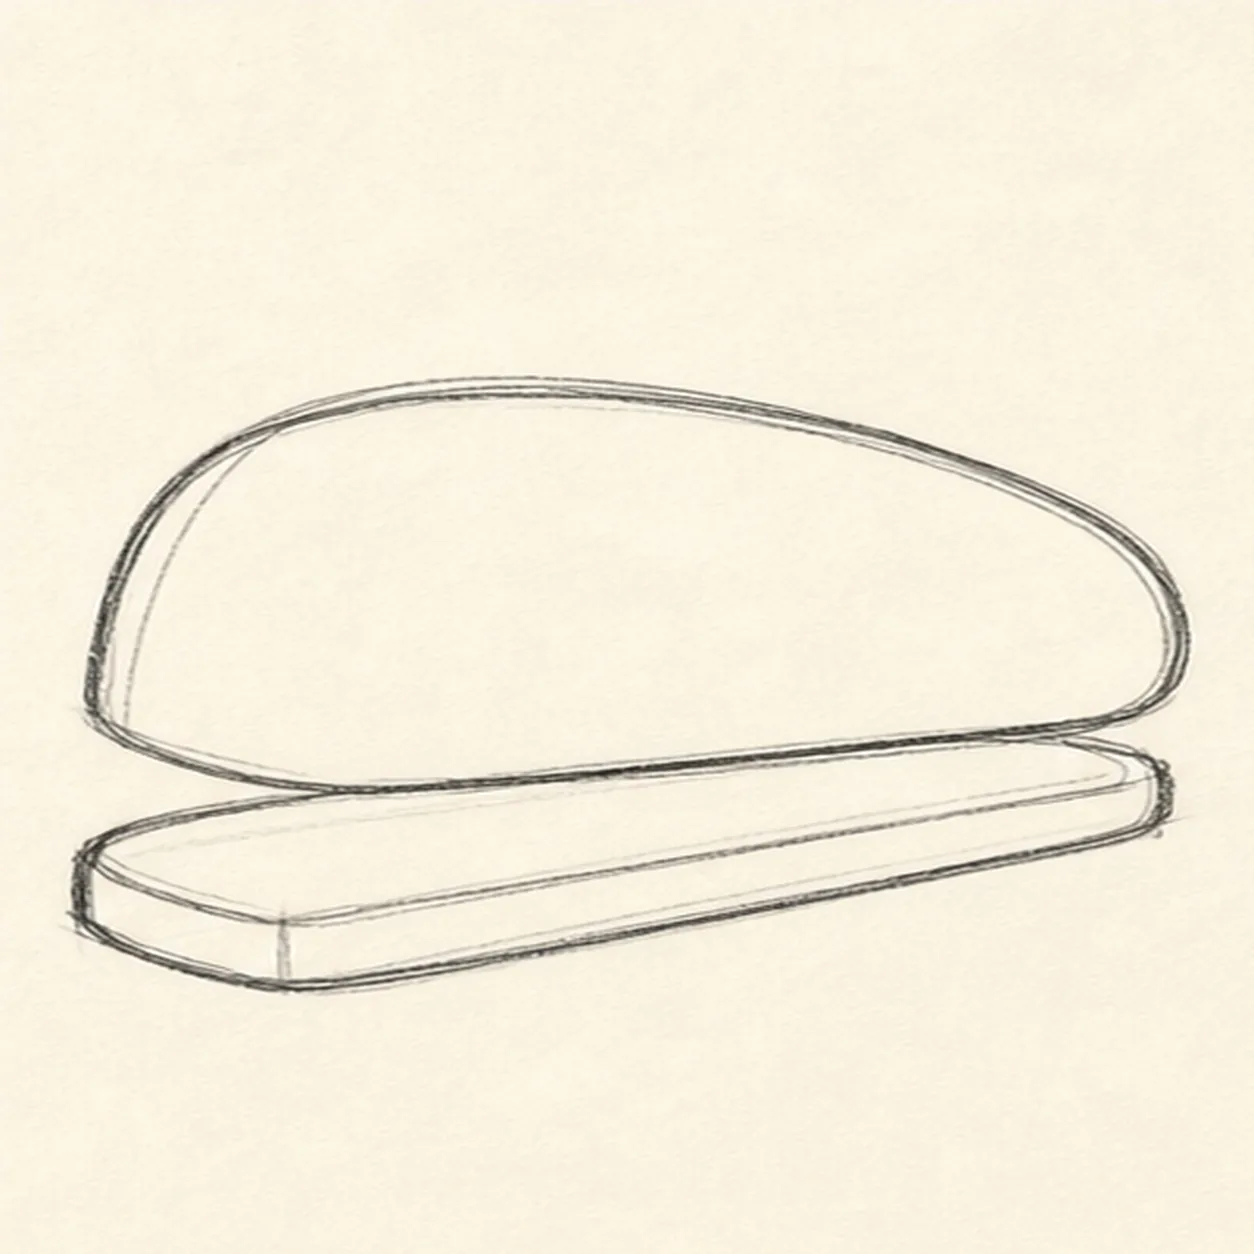
Sketch a loose full-size guide
With a pale tool, loosely sketch the long rounded top shell and flat base at the final angle. Add a light centerline and front/rear position marks, then leave every guide line visible.
Doodle tip: Let this first pass be doubled and rough on purpose. You are mapping the whole stapler, not committing to a new outline yet.
-
02
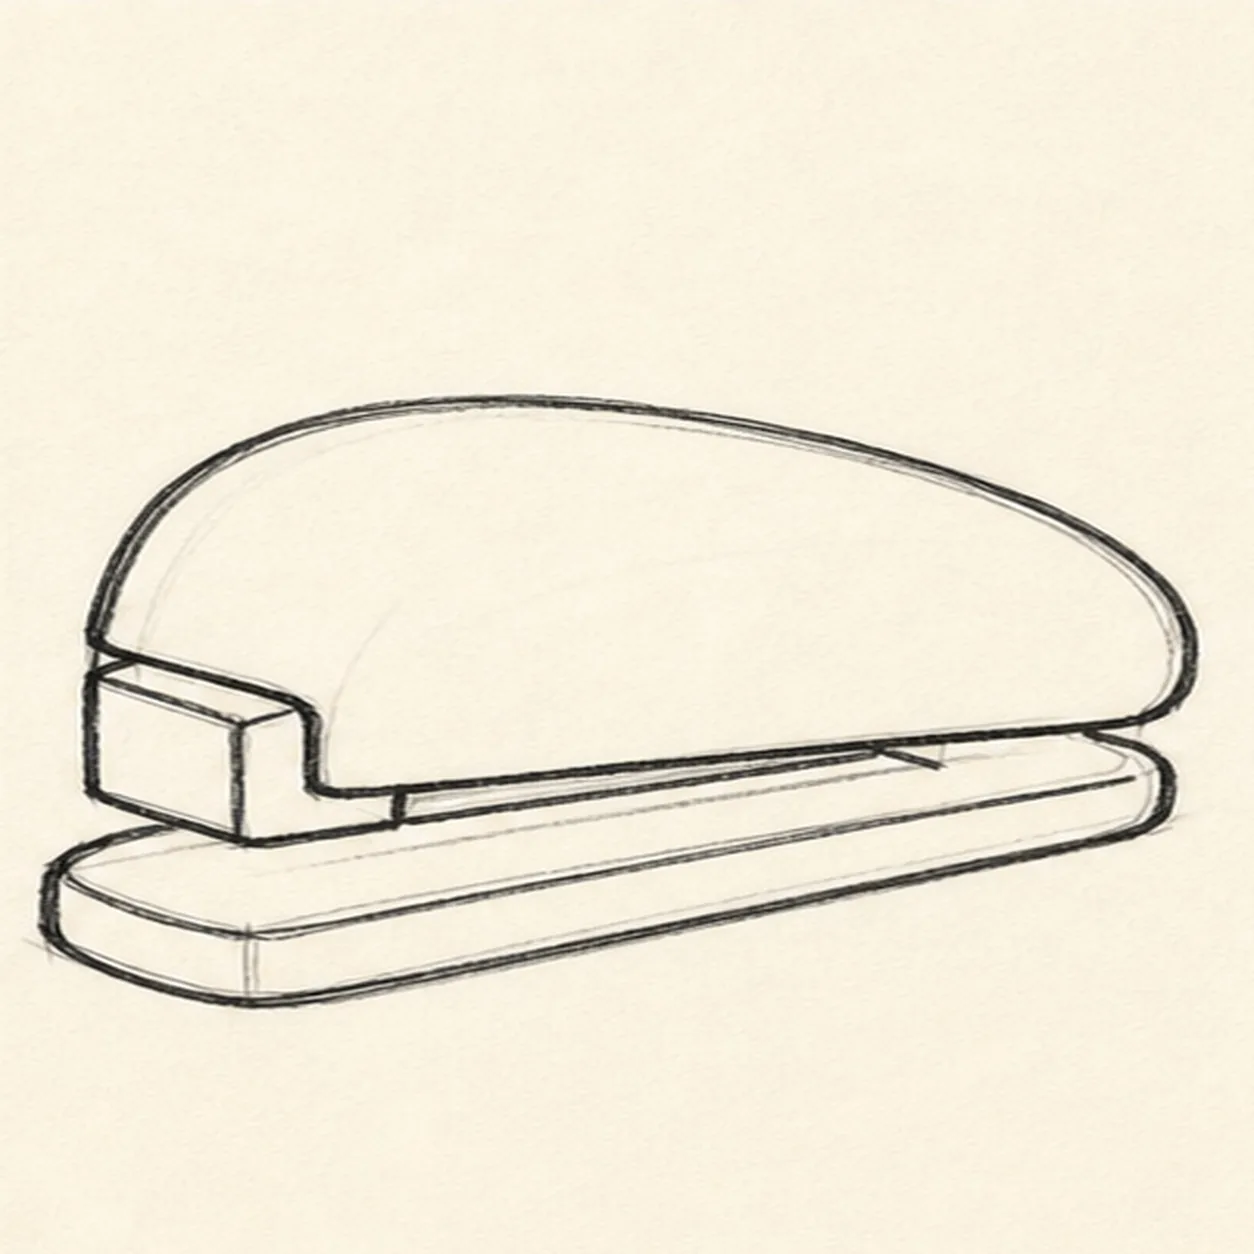
Trace the same guide
Trace the same top shell and base with a thin black contour, keeping the pale guide visible underneath. Leave a clean gap between the shell and base.
Doodle tip: Follow the light marks instead of inventing a second shape. The exposed guide makes it obvious that the rough sketch is doing its job.
-
03
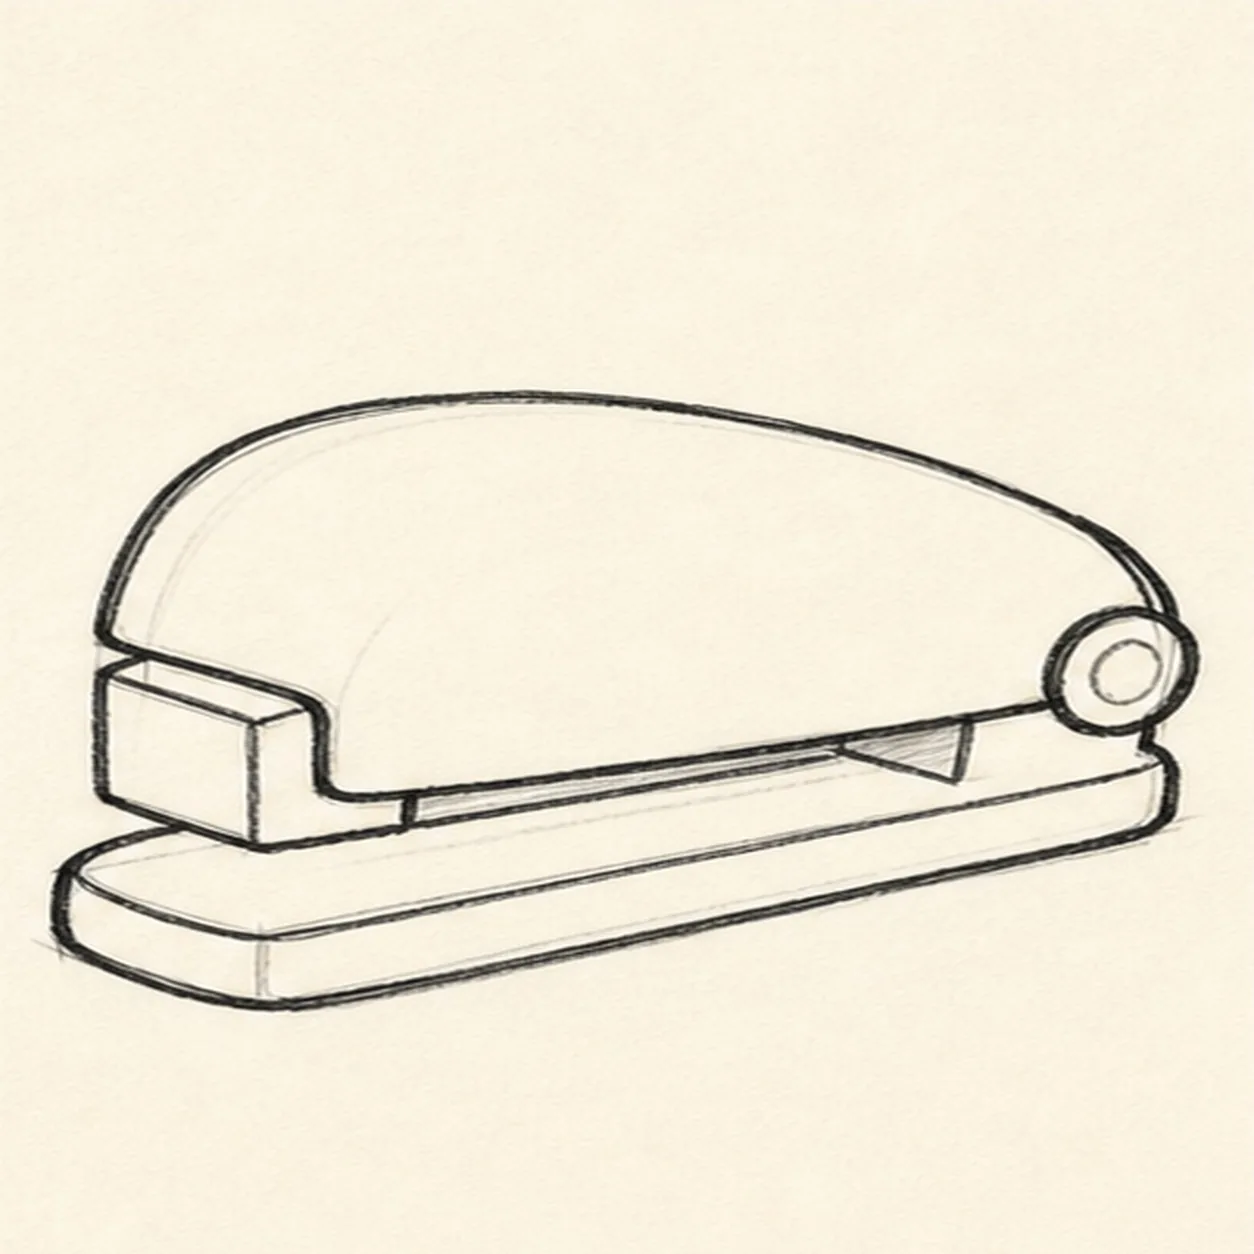
Define the front and hinge
Refine the squared left front end, clean the top-shell contour, and place a round hinge cap at the right rear.
Doodle tip: Keep the hinge chunky and simple. Tiny hardware disappears fast in a marker drawing.
-
04
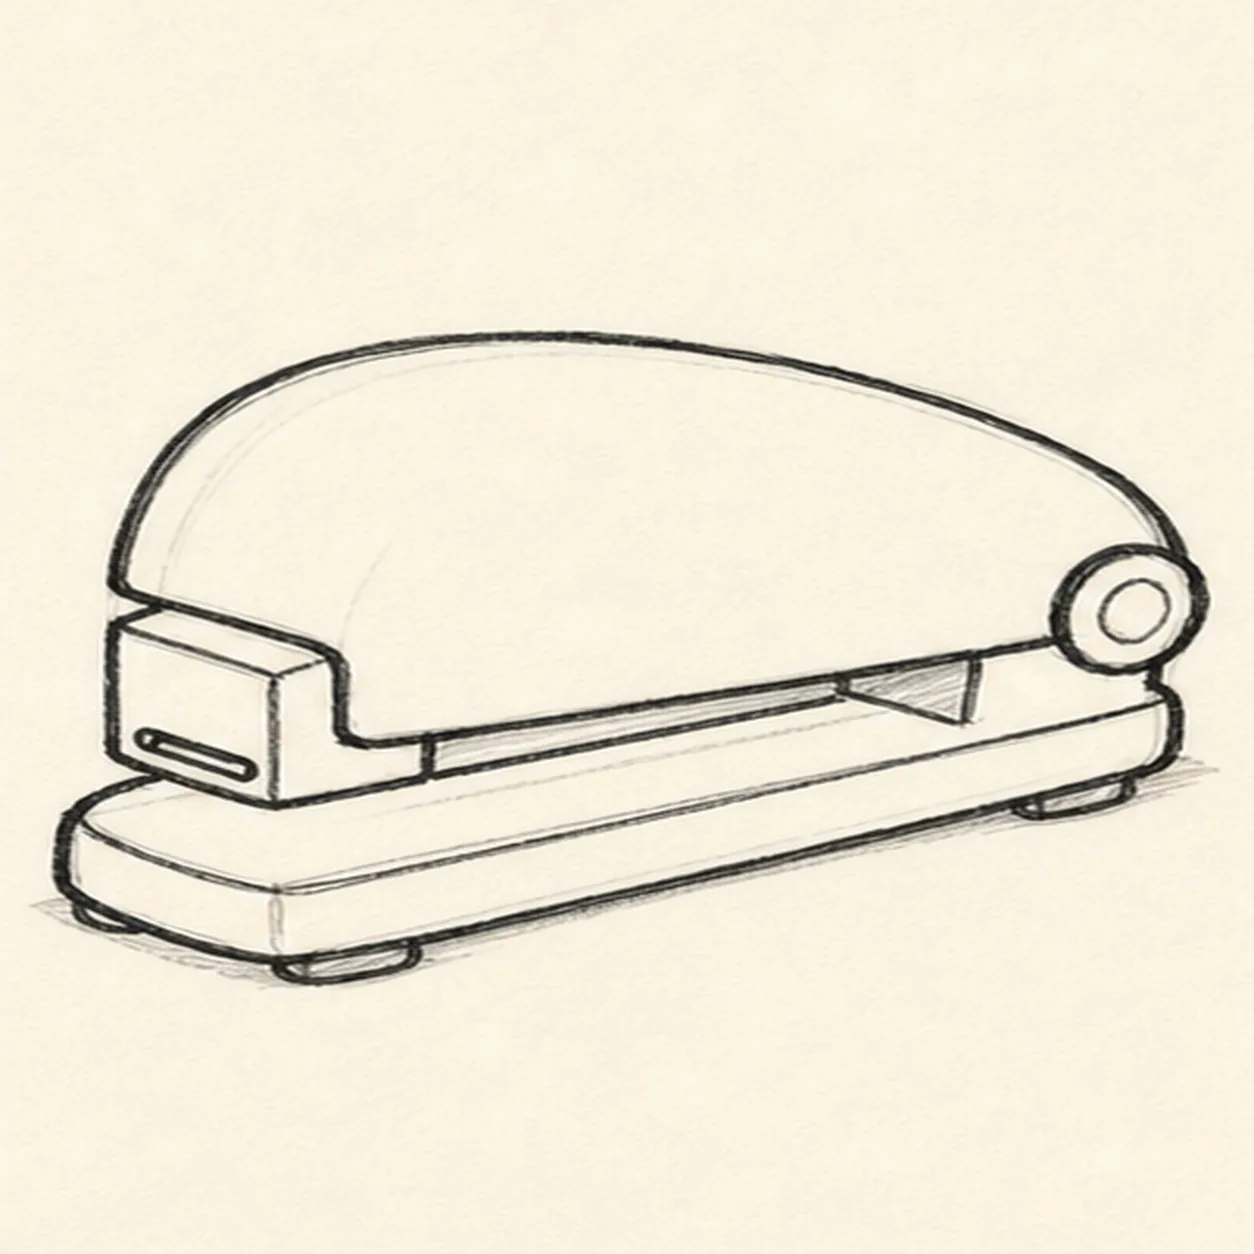
Place the slot and feet
Add one short dark staple slot near the left front of the upper base, then add two tiny feet underneath. Keep the slot in place for every remaining step.
Doodle tip: Draw the slot as one confident rounded rectangle. Leave it unfilled later so it stays readable against the coral base.
-
05
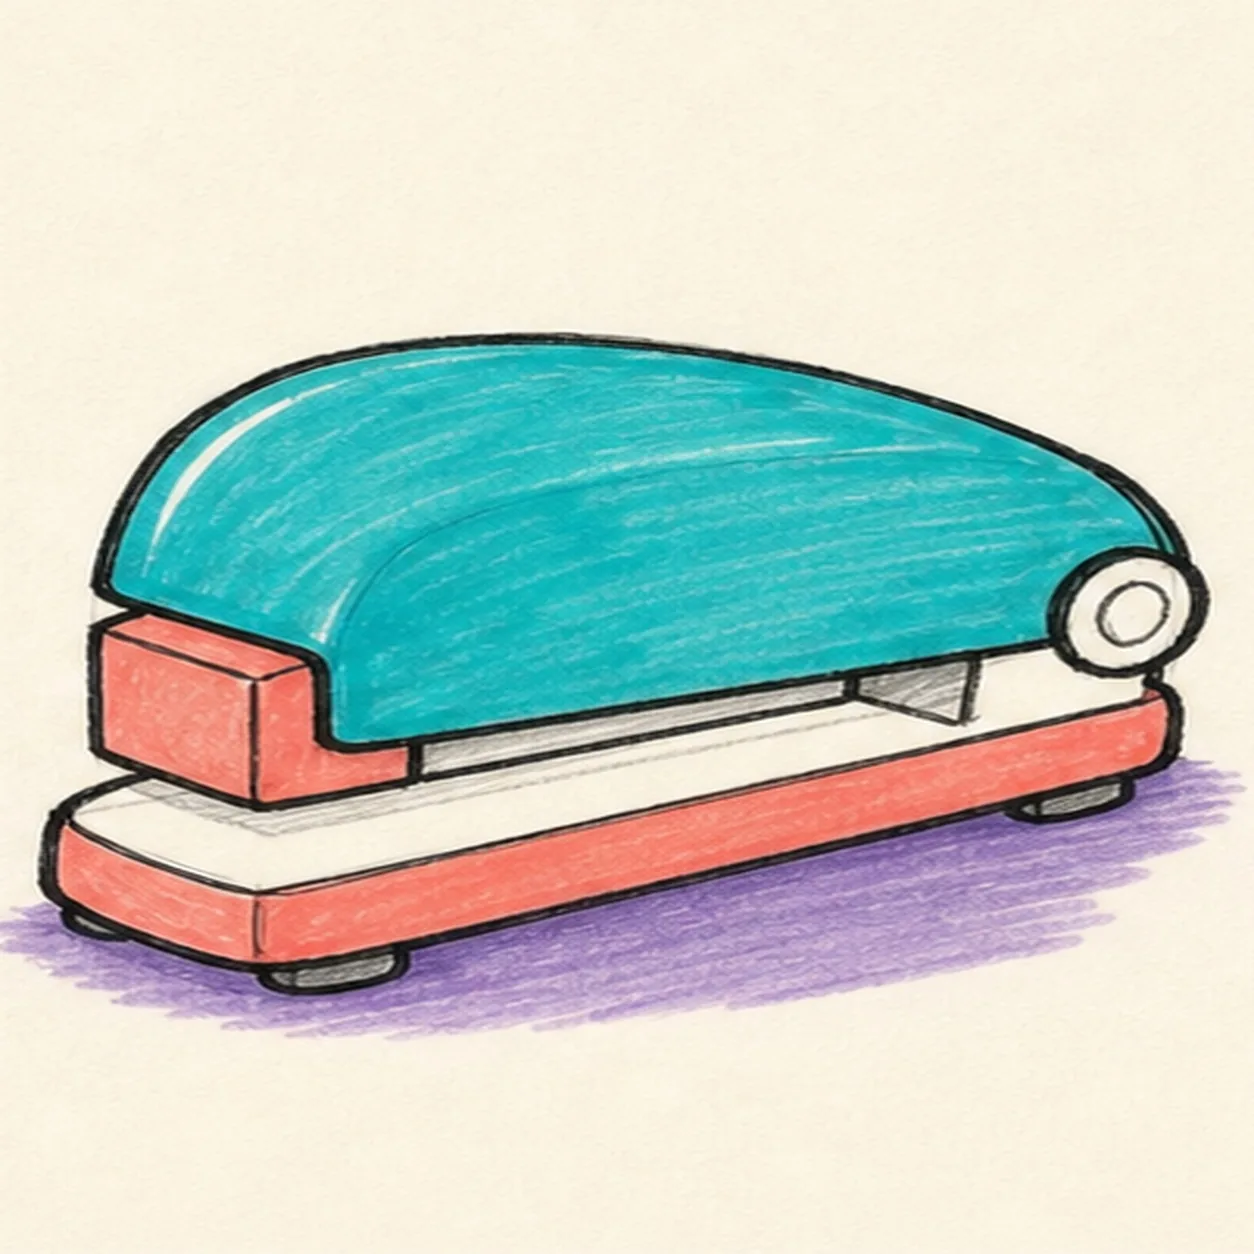
Color around the slot
Fill the top shell and hinge teal, the base coral, and add a small purple shadow underneath. Color around the dark slot without covering it.
Doodle tip: Pull marker strokes along the stapler body. Stop at the slot's outline, then let the fill dry before reinforcing that tiny dark shape.
-
06
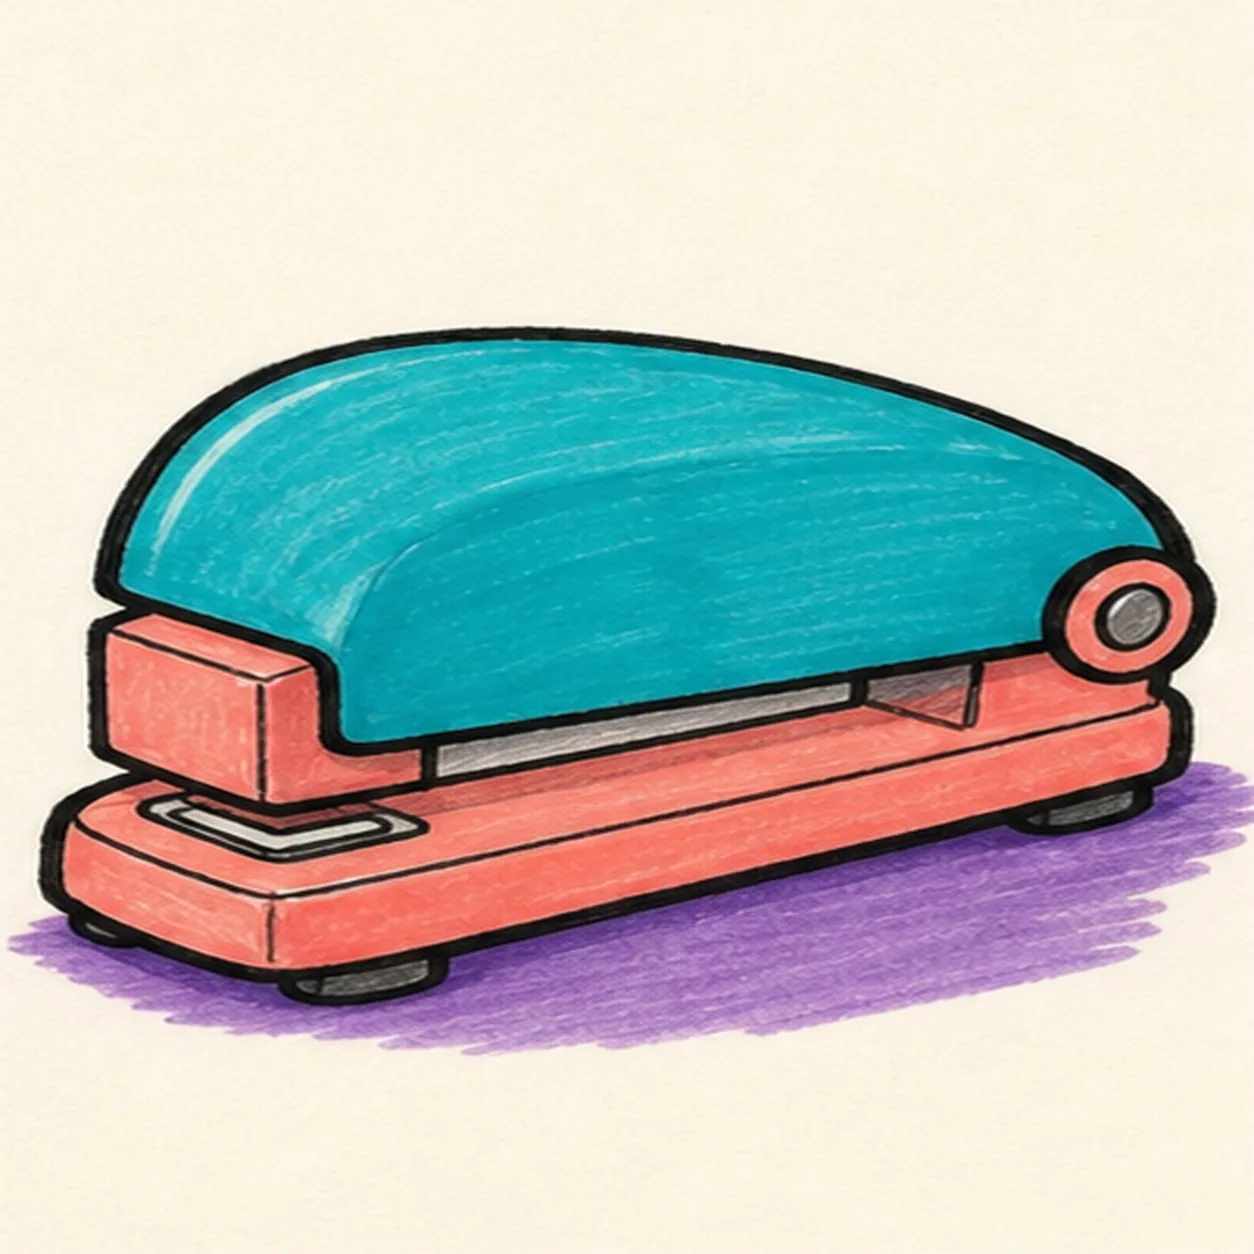
Lock in the stapler
Thicken the existing black outlines, even the existing marker fills, and reinforce the same front end, hinge, staple slot, feet, and purple shadow.
Doodle tip: Do not redraw or move the slot at this stage. The chunky top, base, hinge, slot, feet, and bright color already carry the drawing.