Felt-tip marker mode
Let's draw a cartoon penguin with a scarf
Treat this as one playful practice round: sketch the idea loosely, simplify the shapes, then commit with confident marker outlines and bright fills.
-
01
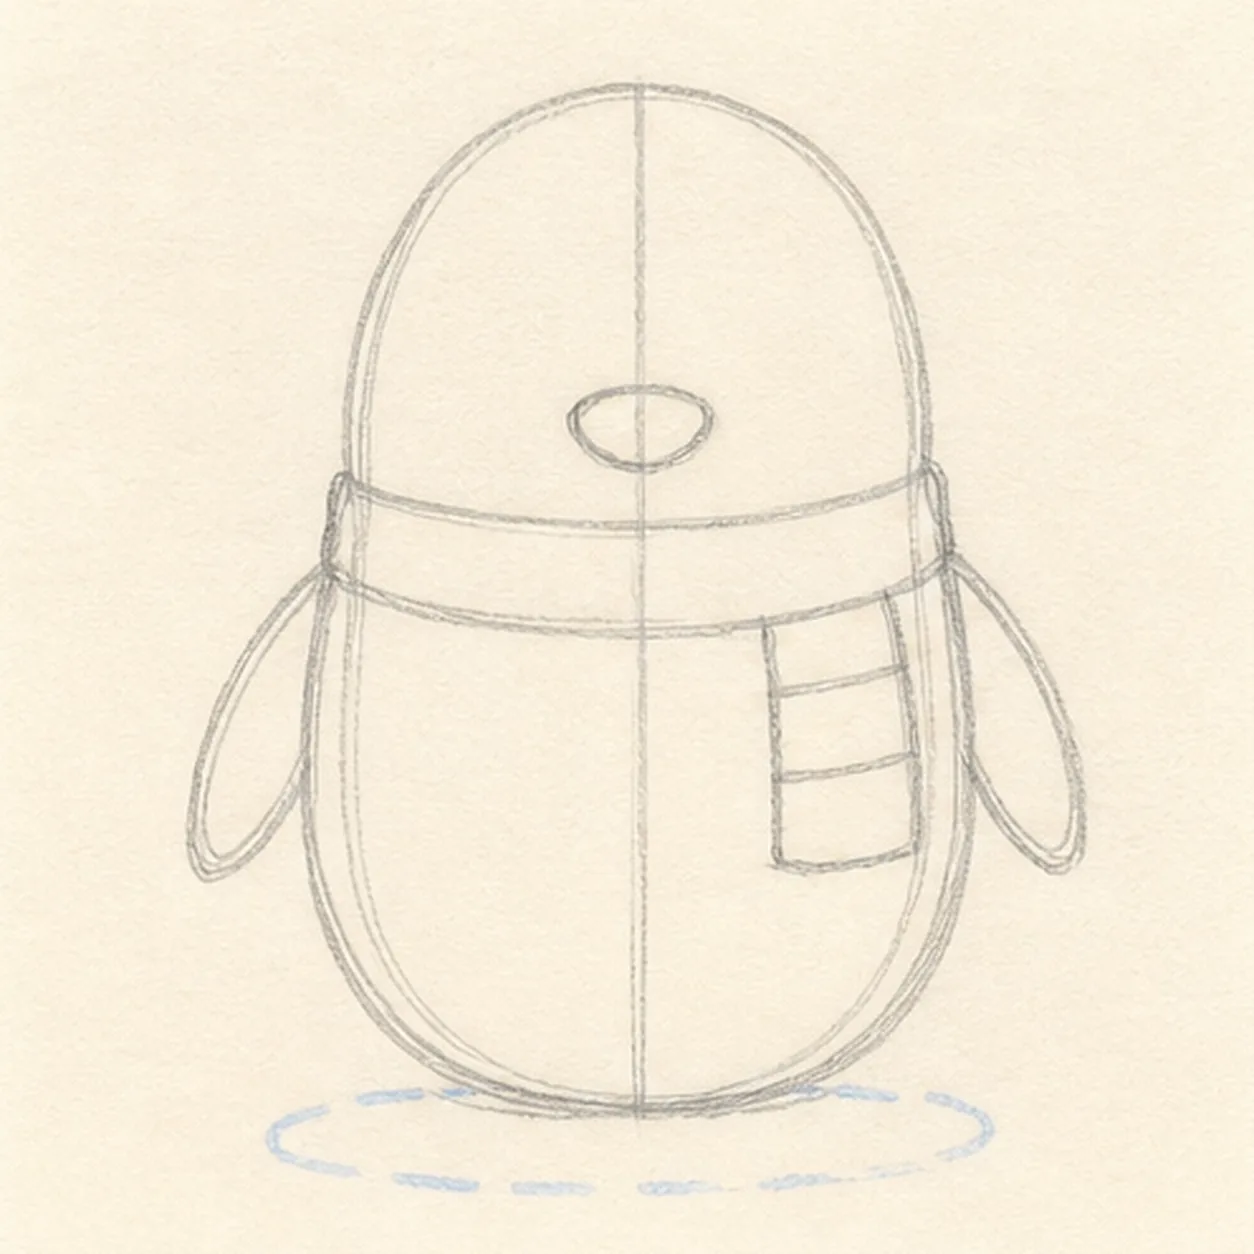
Map the chilly pose
Use pale pencil to place one tall body oval, one smaller head oval, a centerline, belly oval, beak point, exactly two flipper routes, the scarf footprint, and a broken shadow reserve.
Marker tip: Keep this first frame loose. Compare both halves across the centerline before you commit to the outer contour.
-
02
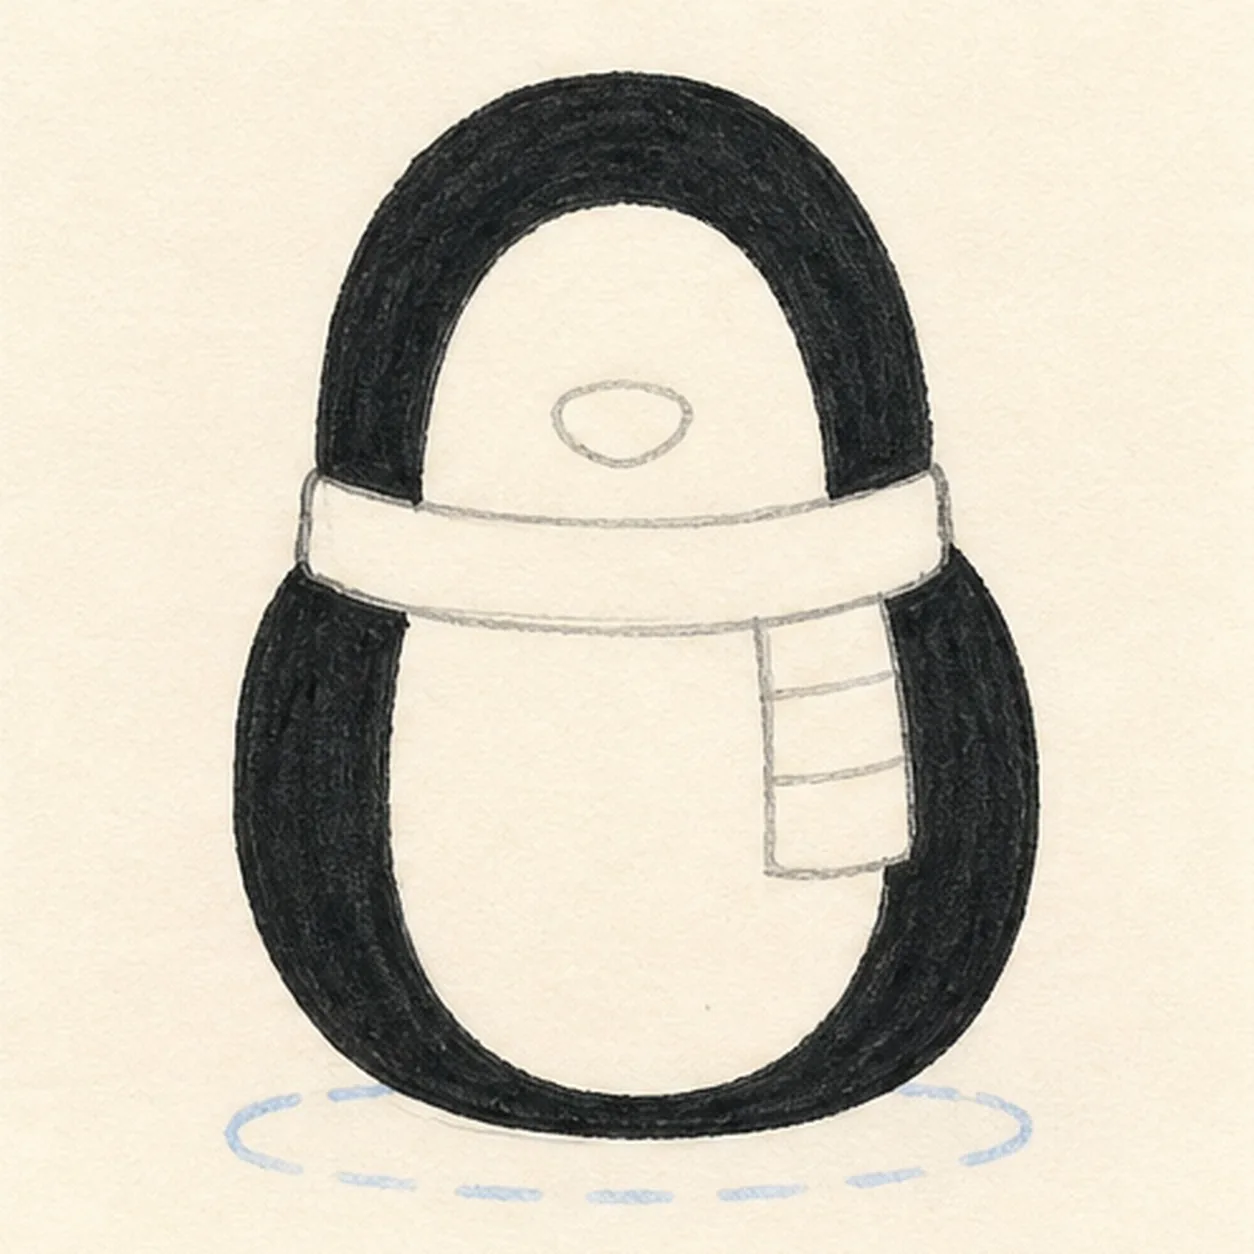
Shape the penguin
Connect the guides into one upright penguin silhouette and one inner belly, then draw the unfilled scarf band and its short hanging tail.
Marker tip: Pull each side of the body in a single long curve. Let the scarf cross the planned neck route instead of trying to erase a finished belly line later.
-
03
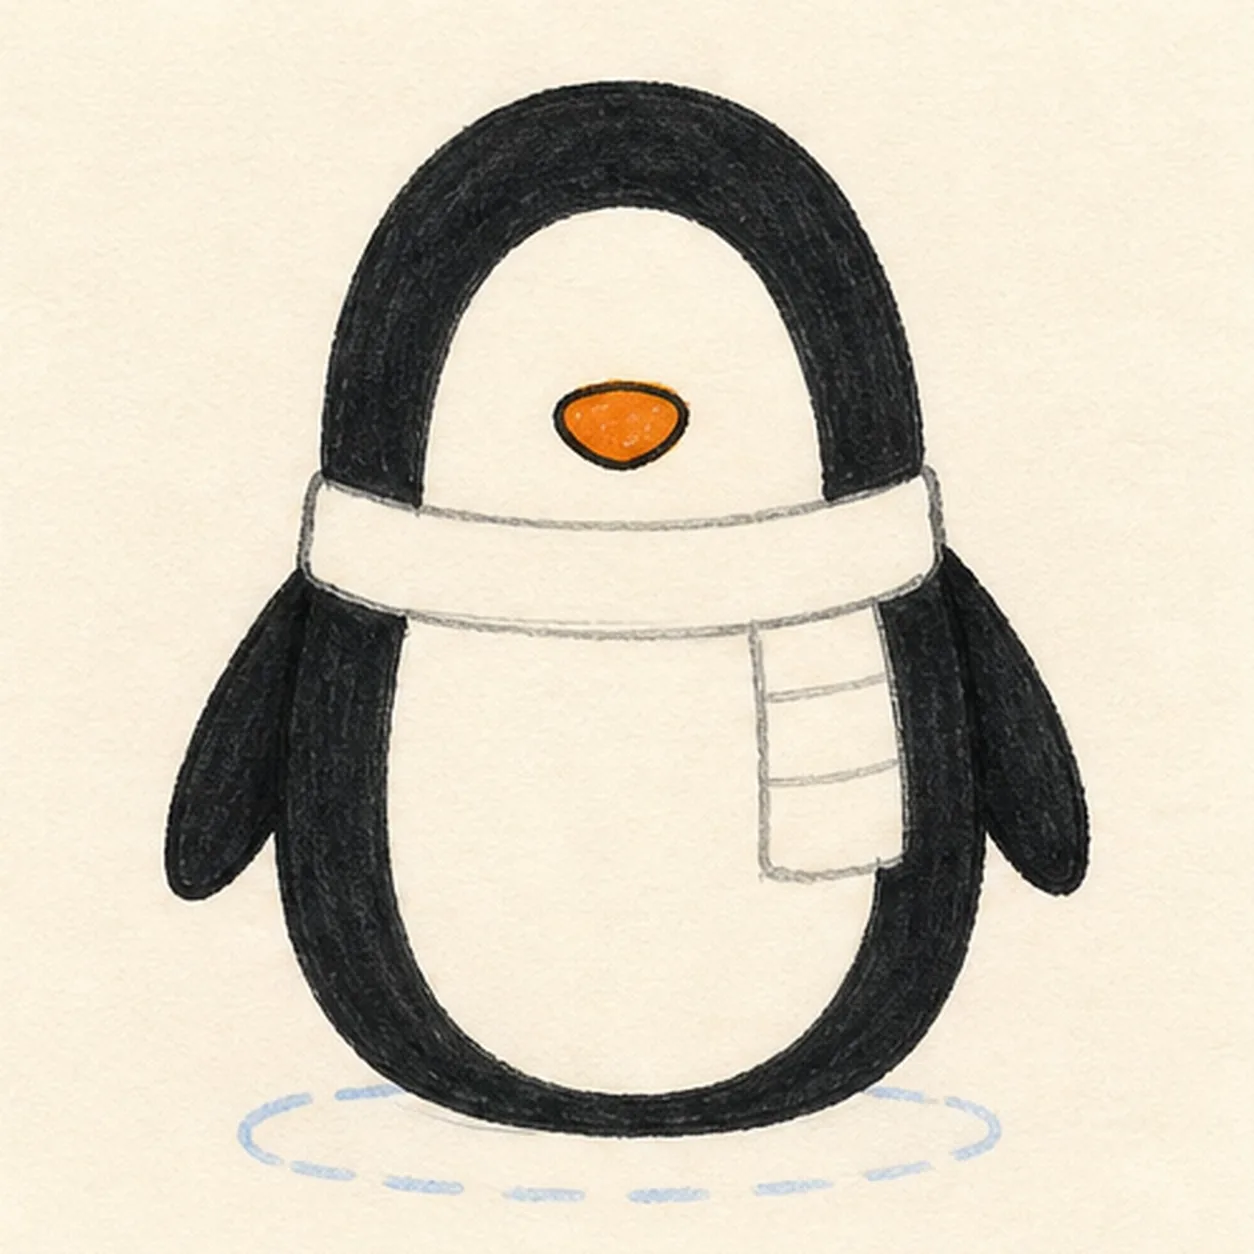
Add wings and beak
Draw exactly two side flippers and one small beak on their established routes.
Marker tip: Aim each flipper down and slightly outward like a relaxed comma. Keep the beak centered on the axis and smaller than either eye will be.
-
04
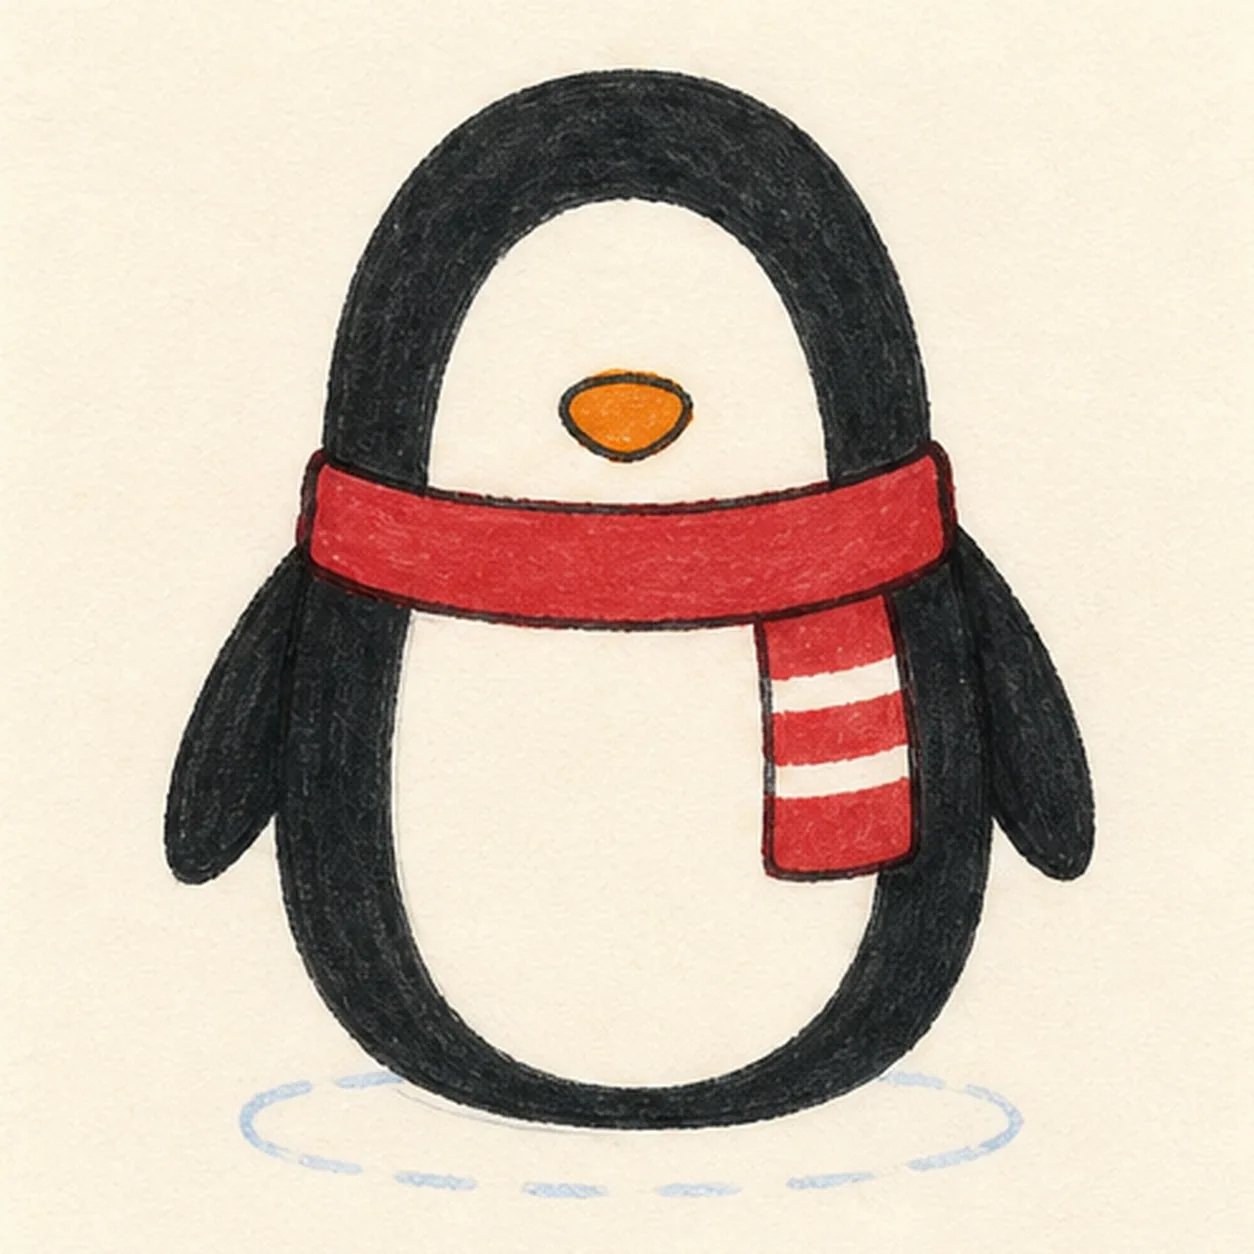
Color the scarf
Fill the established scarf red, leaving exactly three pale stripe bands across its hanging tail.
Marker tip: Use short strokes that follow the tail direction. Stop at the outline instead of tracing back and forth until the paper gets muddy.
-
05
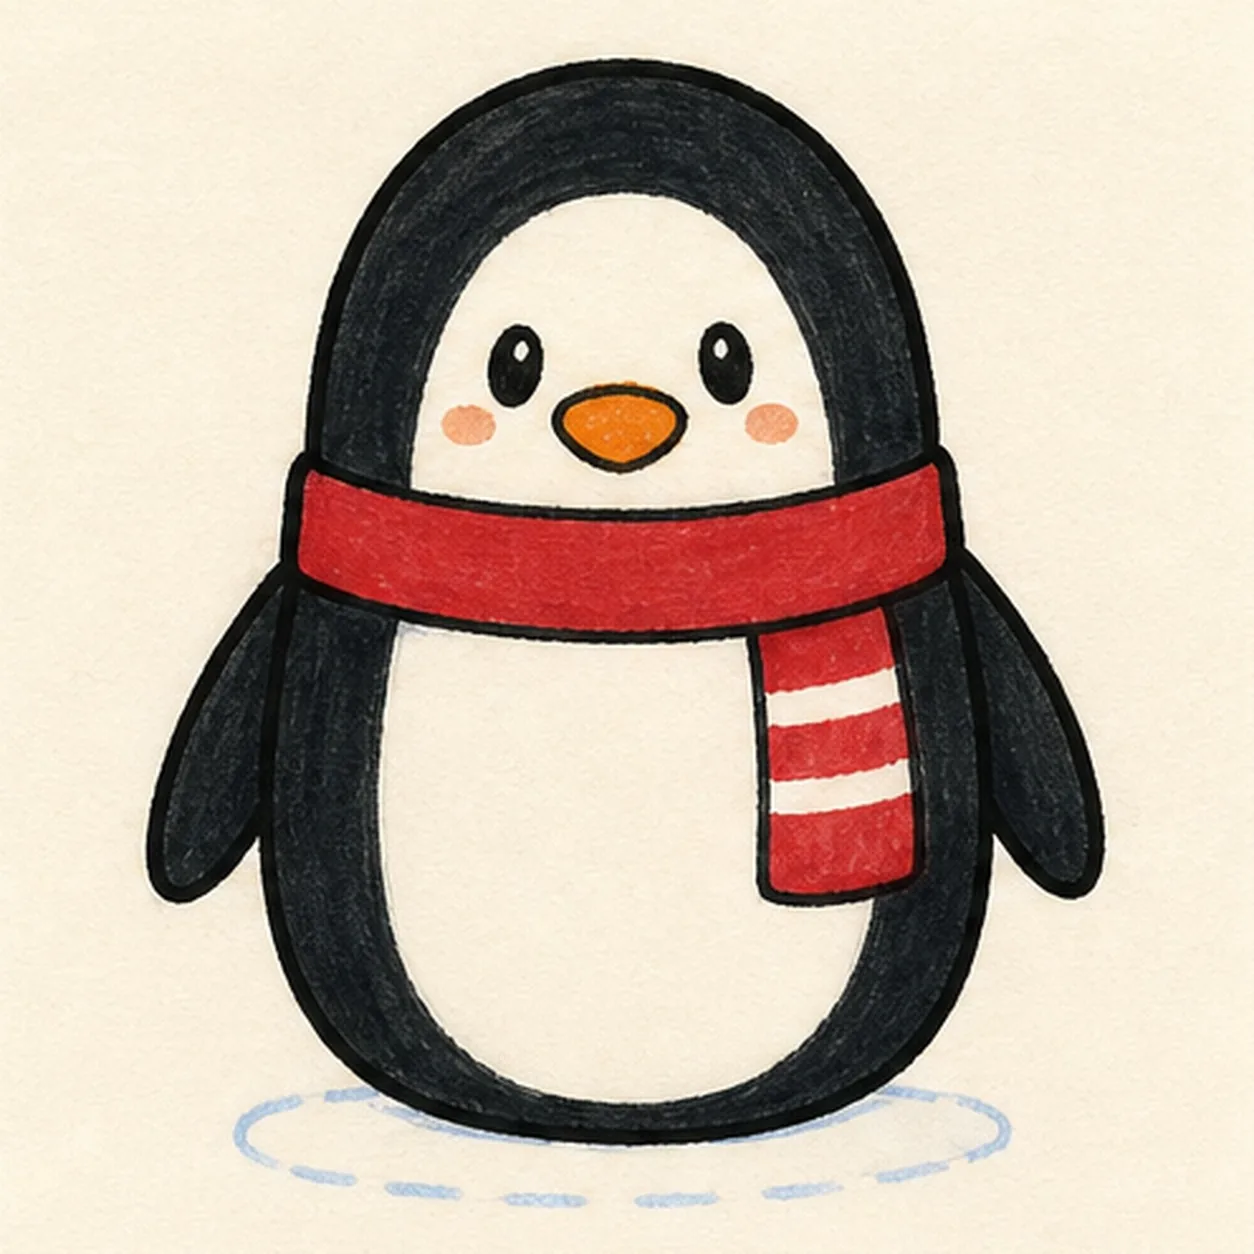
Ink the cozy character
Add exactly two oval eyes and two tiny cheek marks, then trace the established contours with thick imperfect black marker and fill the body, beak, and broken shadow.
Marker tip: Set the two eyes at the same height by checking the head curve above them. The little open white belly gives the dark outline room to breathe.
-
06
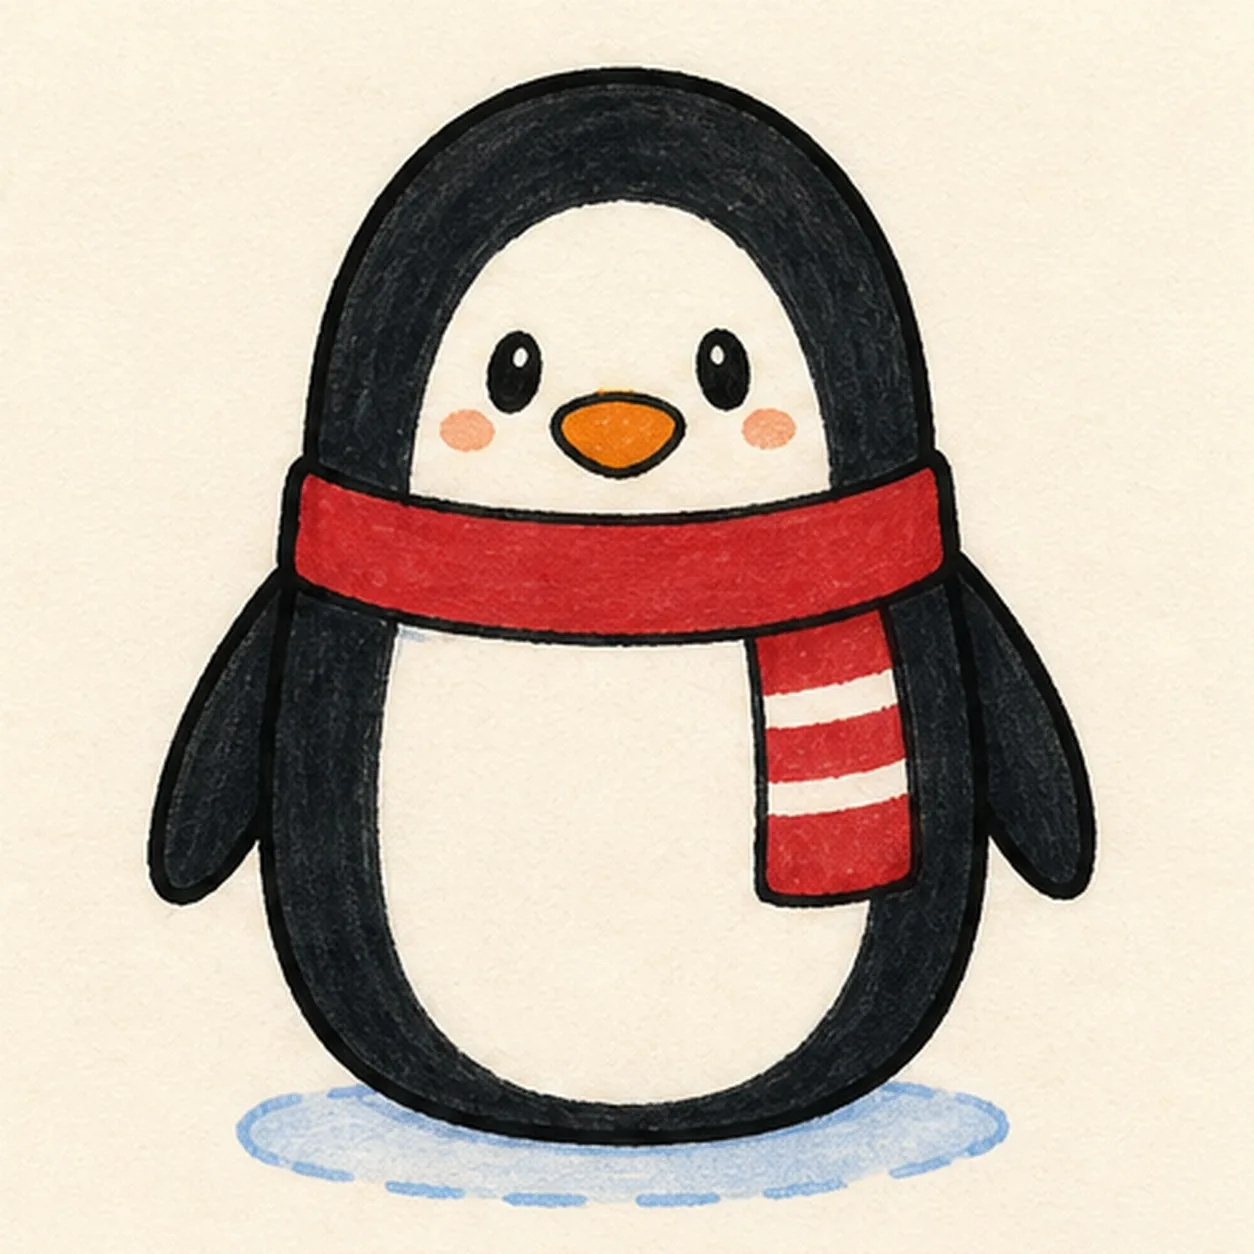
Make the penguin pop
Even only the established marker fills, clarify any open-paper shine gaps, and strengthen the contours already shown.
Marker tip: Count two eyes, two flippers, one beak, and three scarf stripes before you stop. Avoid adding a hat or background scene that the earlier steps did not build.