Felt-tip marker mode
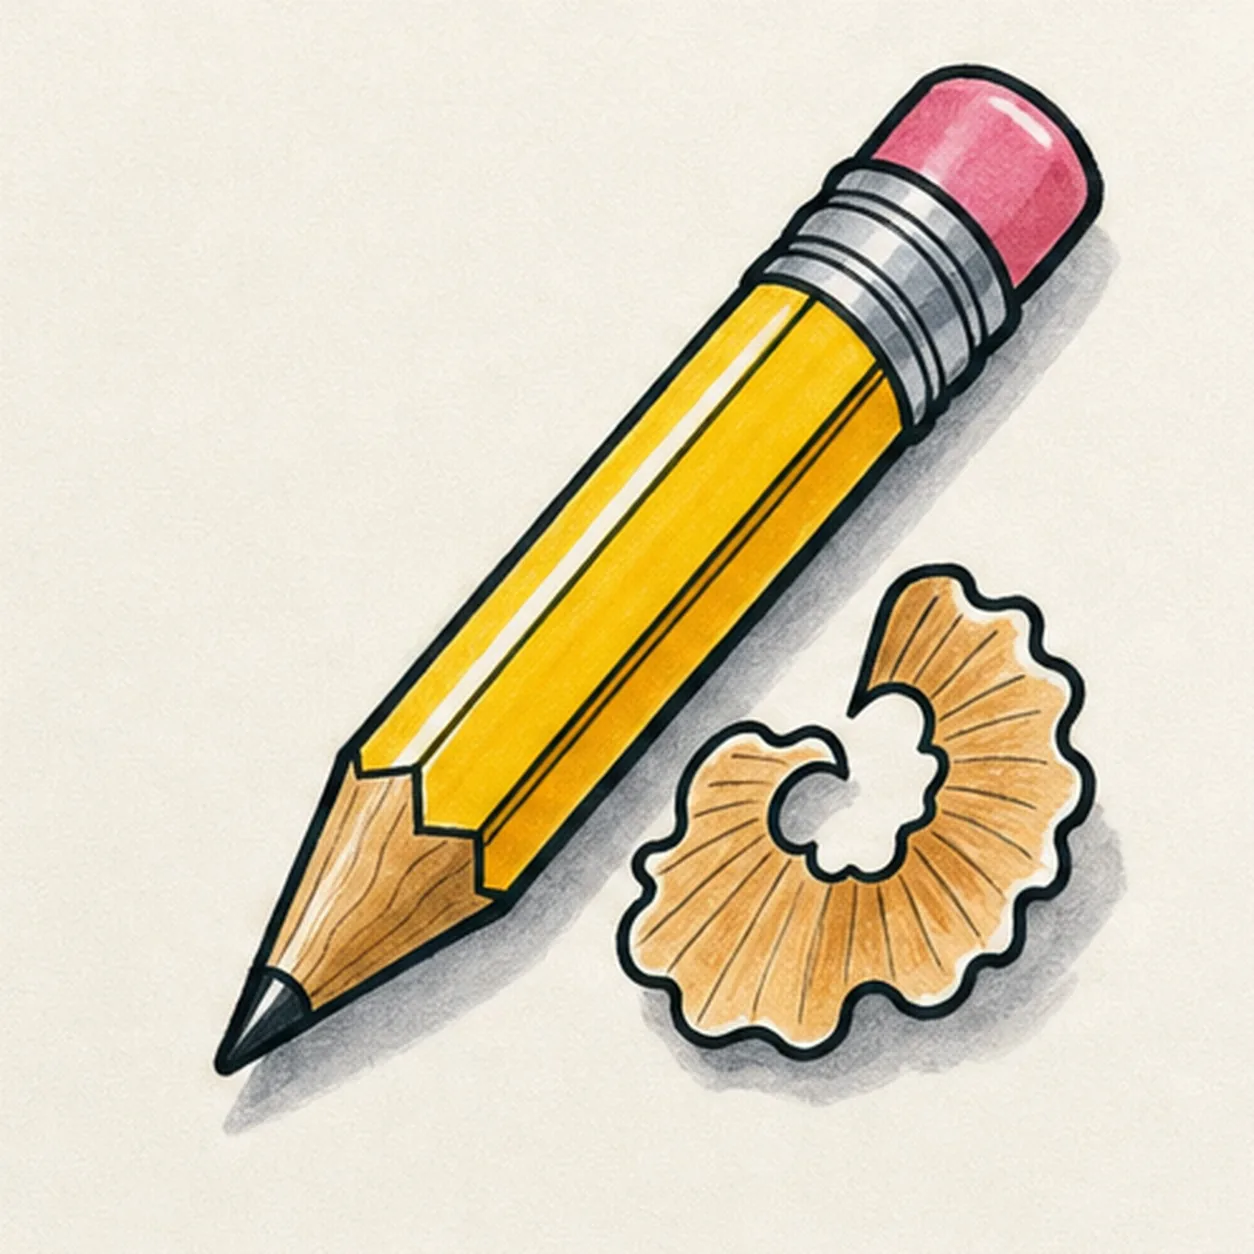
Let's draw a cartoon pencil with shavings
Treat this as one playful practice round: sketch the idea loosely, simplify the shapes, then commit with confident marker outlines and bright fills.
-
01
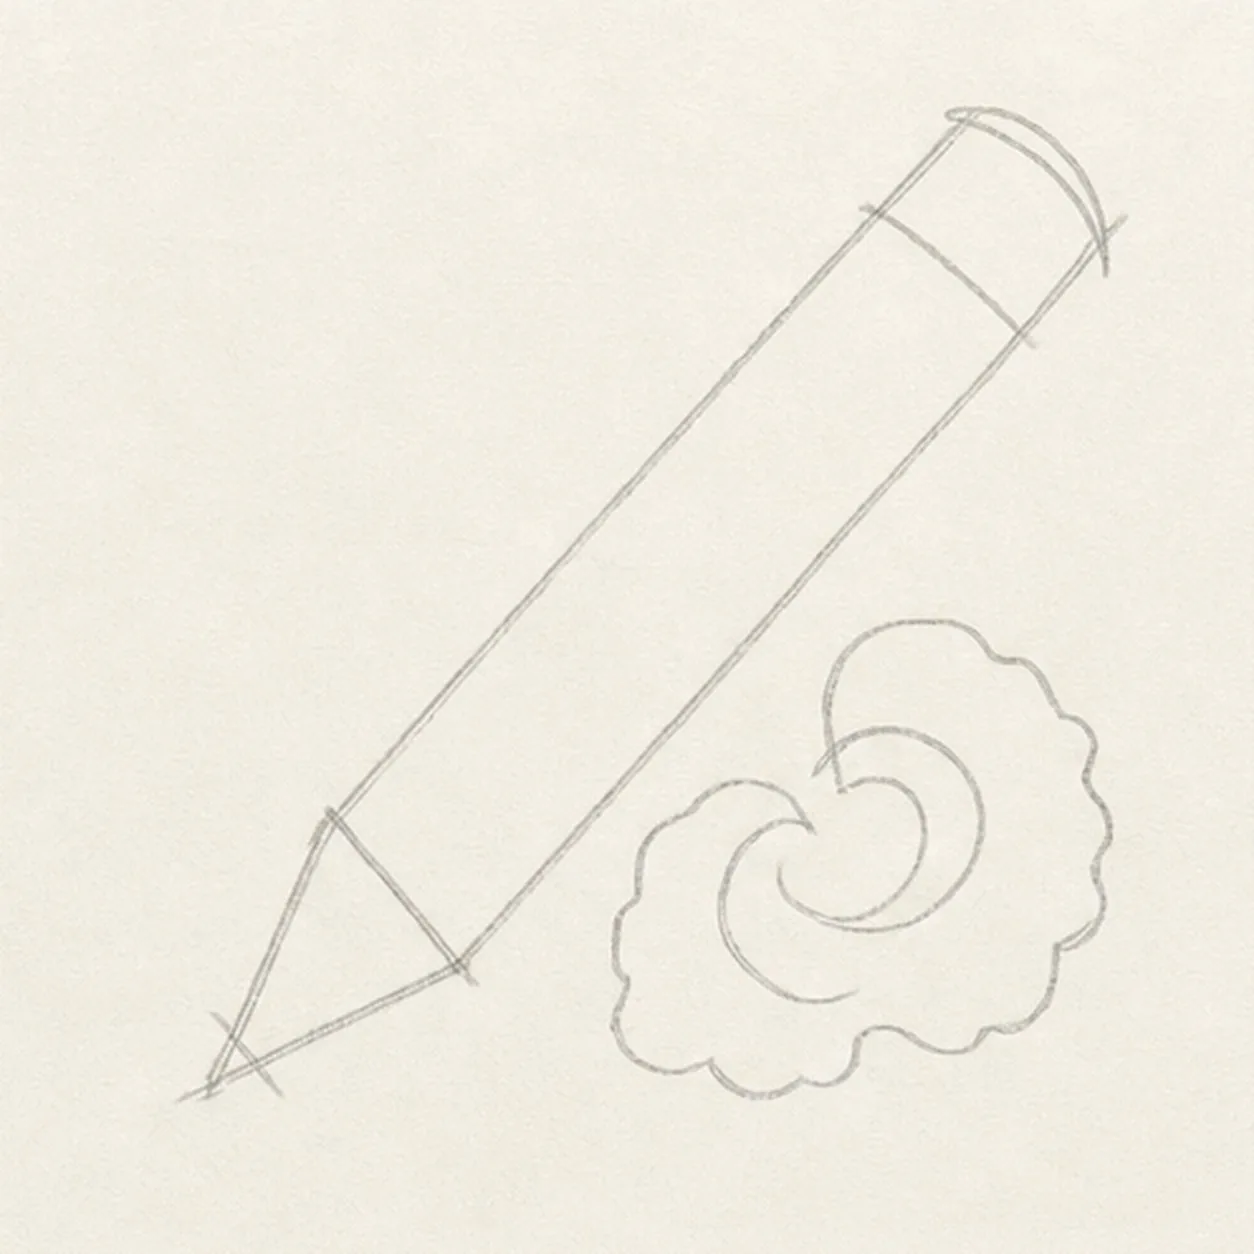
Set the pencil angle
Draw a light diagonal pencil guide, then sketch loose curled shaving guides beside the point.
Doodle tip: Ghost the long pencil angle before drawing. A confident diagonal makes the whole doodle feel cleaner.
-
02
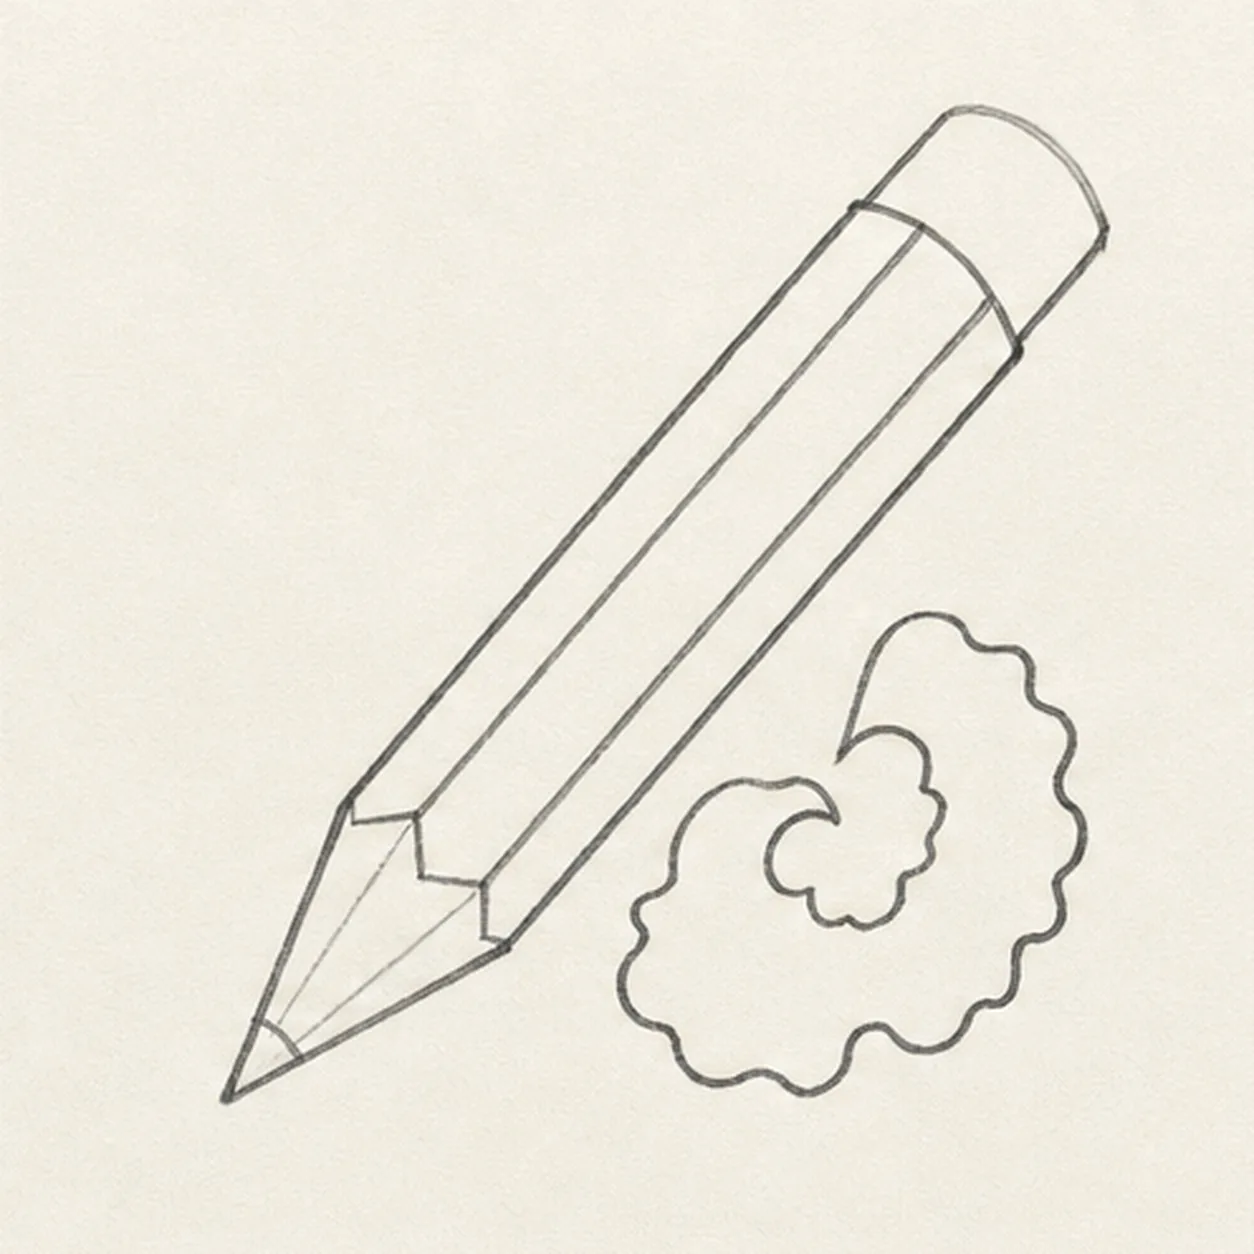
Shape the pencil
Build the chunky pencil body, pointed wood cone, eraser end, and curled shaving silhouettes.
Doodle tip: Keep the shaving curls broad and simple. Big loops read better than tiny scraps.
-
03
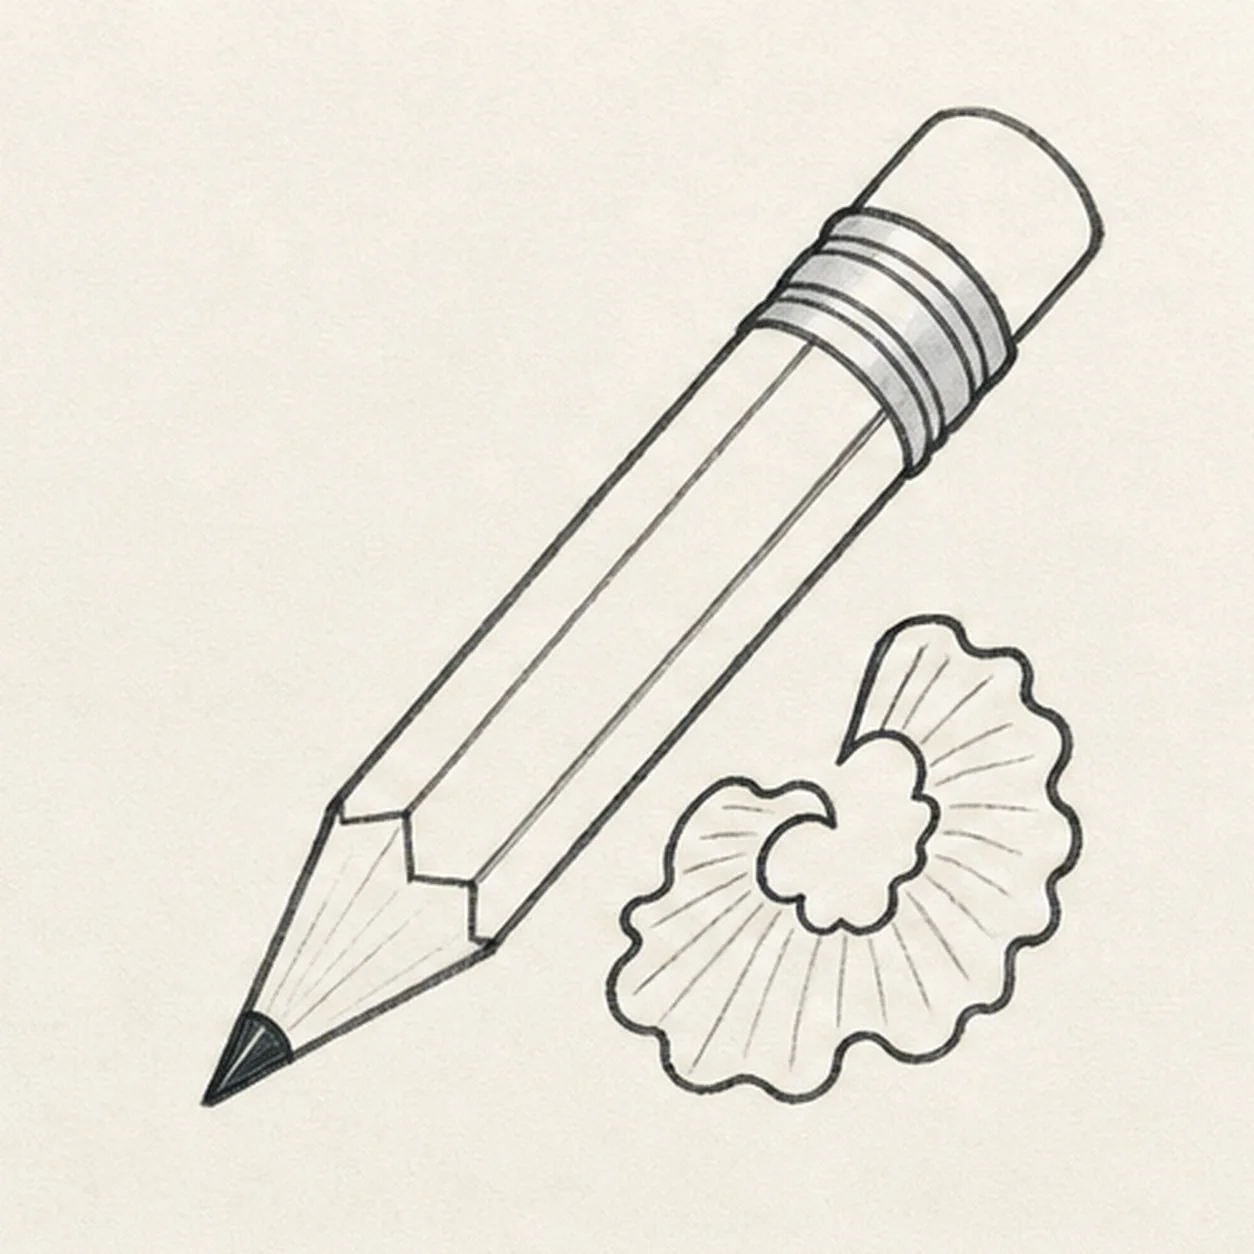
Add point and ferrule
Add the ferrule bands, dark graphite point, and inner curl lines inside the shavings.
Doodle tip: Curve the ferrule bands around the pencil. Slight arcs make the eraser end feel round.
-
04
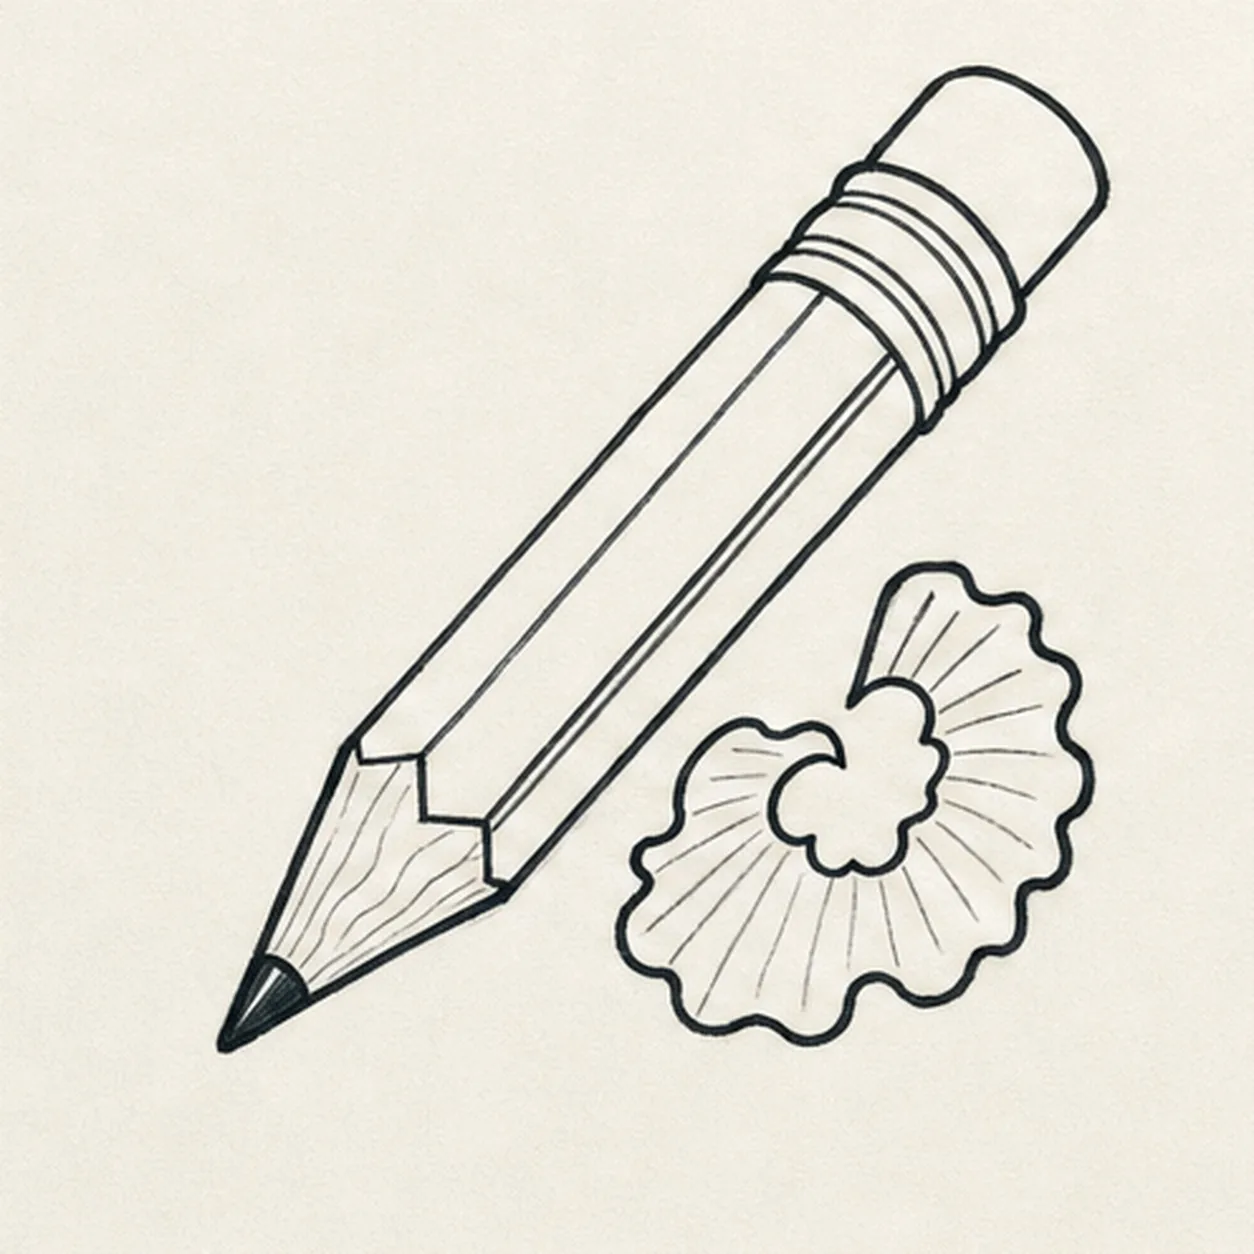
Ink the pencil details
Add the side stripe, wood grain, eraser edge, and thicker black marker outline.
Doodle tip: Pull the grain lines from the point outward. Directional strokes keep the wooden cone readable.
-
05
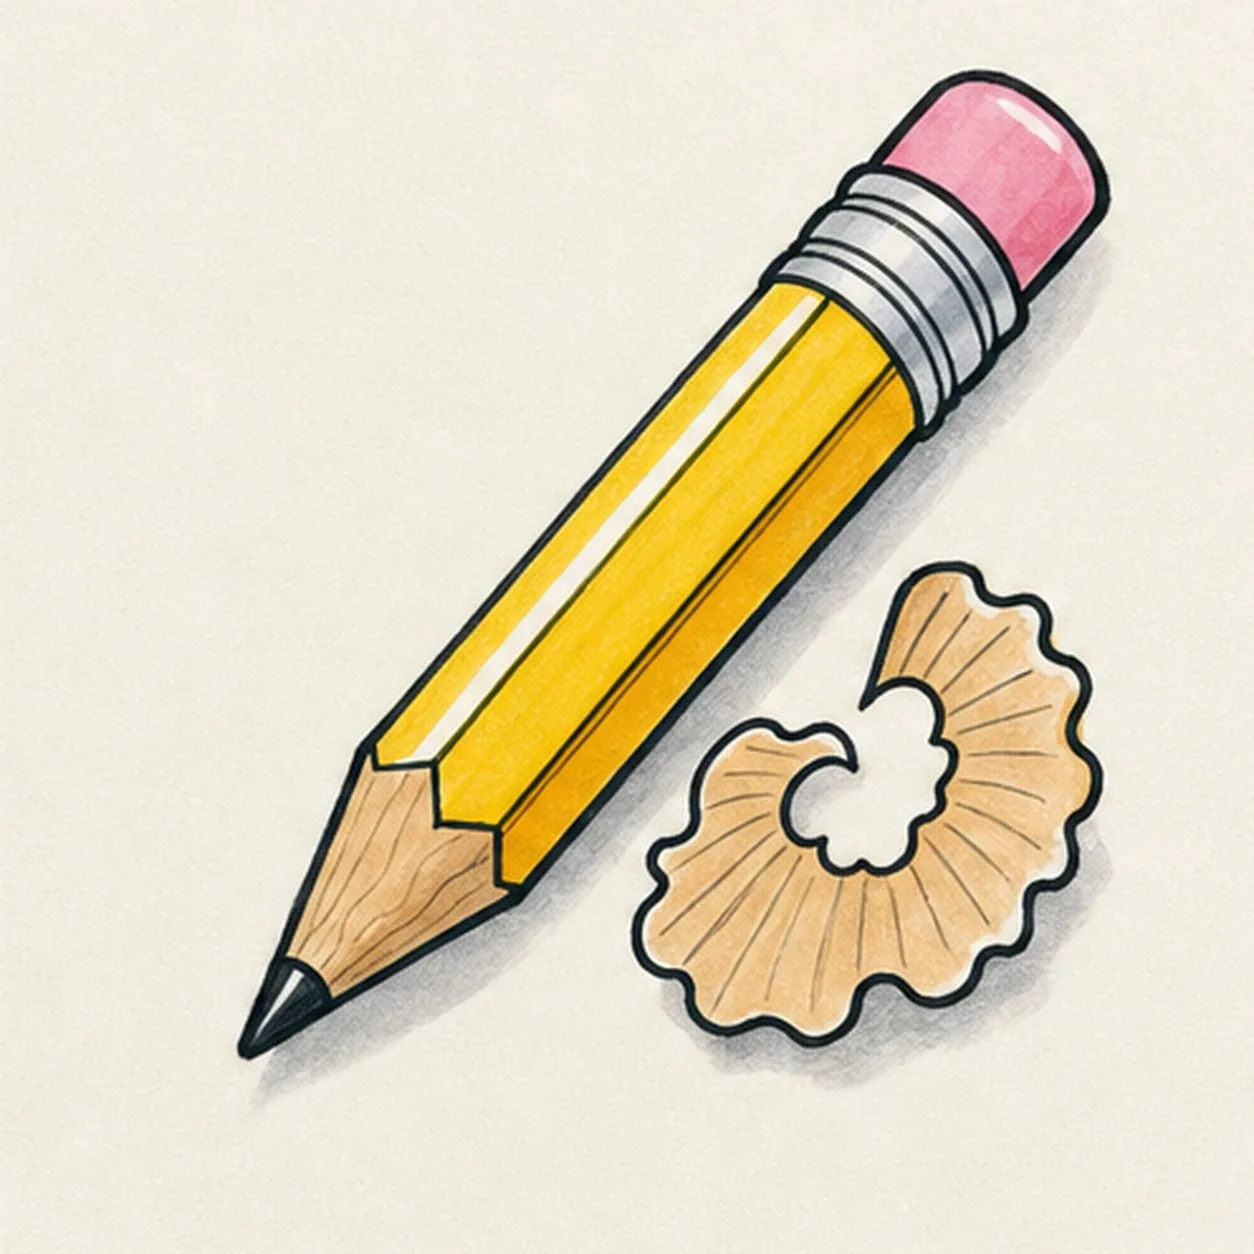
Fill the pencil color
Fill the pencil yellow, eraser pink, shavings tan, ferrule gray, and add a soft shadow under the shapes.
Doodle tip: Leave one narrow highlight gap along the pencil body before the marker gets too wet. Reserved paper shines cleaner than added white.
-
06
Sharpen the marker finish
Thicken the black outlines and deepen the existing pencil, eraser, ferrule, point, shavings, grain, color, highlights, and shadow.
Doodle tip: Stop before adding a face, words, or desk scene. The point, eraser, and curled shavings already make the pencil specific.