Felt-tip marker mode
Let's draw a sea turtle
Treat this as one playful practice round: sketch the idea loosely, simplify the shapes, then commit with confident marker outlines and bright fills.
-
01
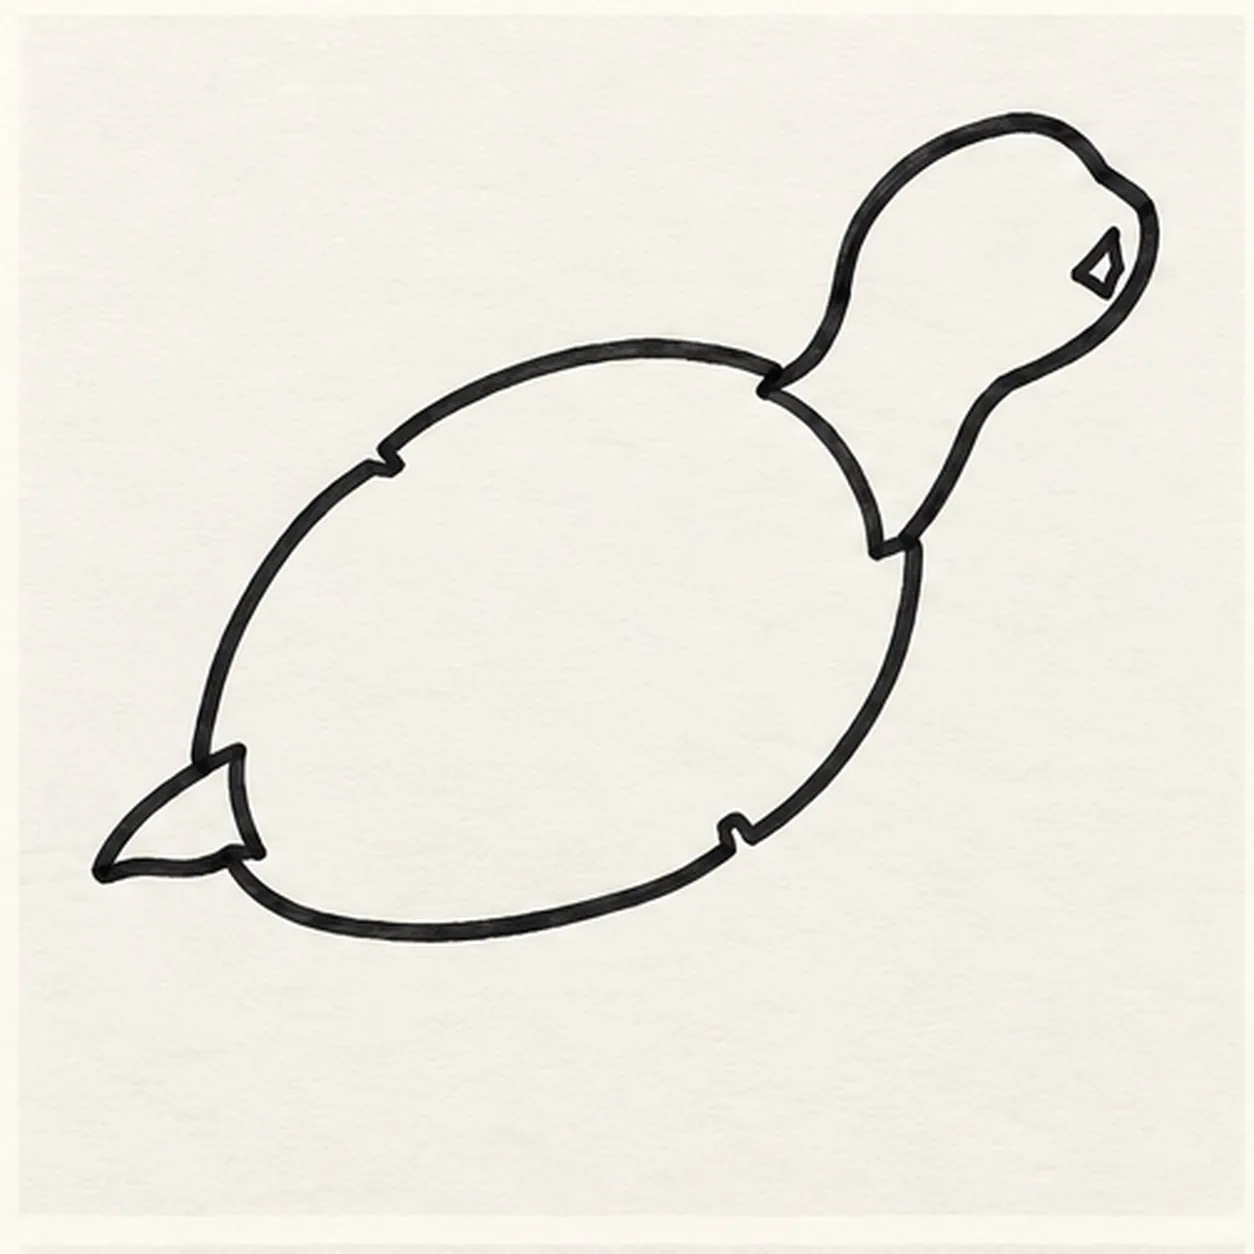
Shape the shell and head
Draw one broad domed oval shell tilted slightly upward, leaving exactly four short gaps around its edge for the flippers. From the front opening, connect a curved neck to one small rounded head pointing toward the upper right, notch one tiny open diamond mouth into the face edge, and close the rear with one small pointed tail.
Marker tip: Keep the shell wide and the head small. Count four empty attachment gaps before closing the tail so each flipper has a clear final position.
-
02
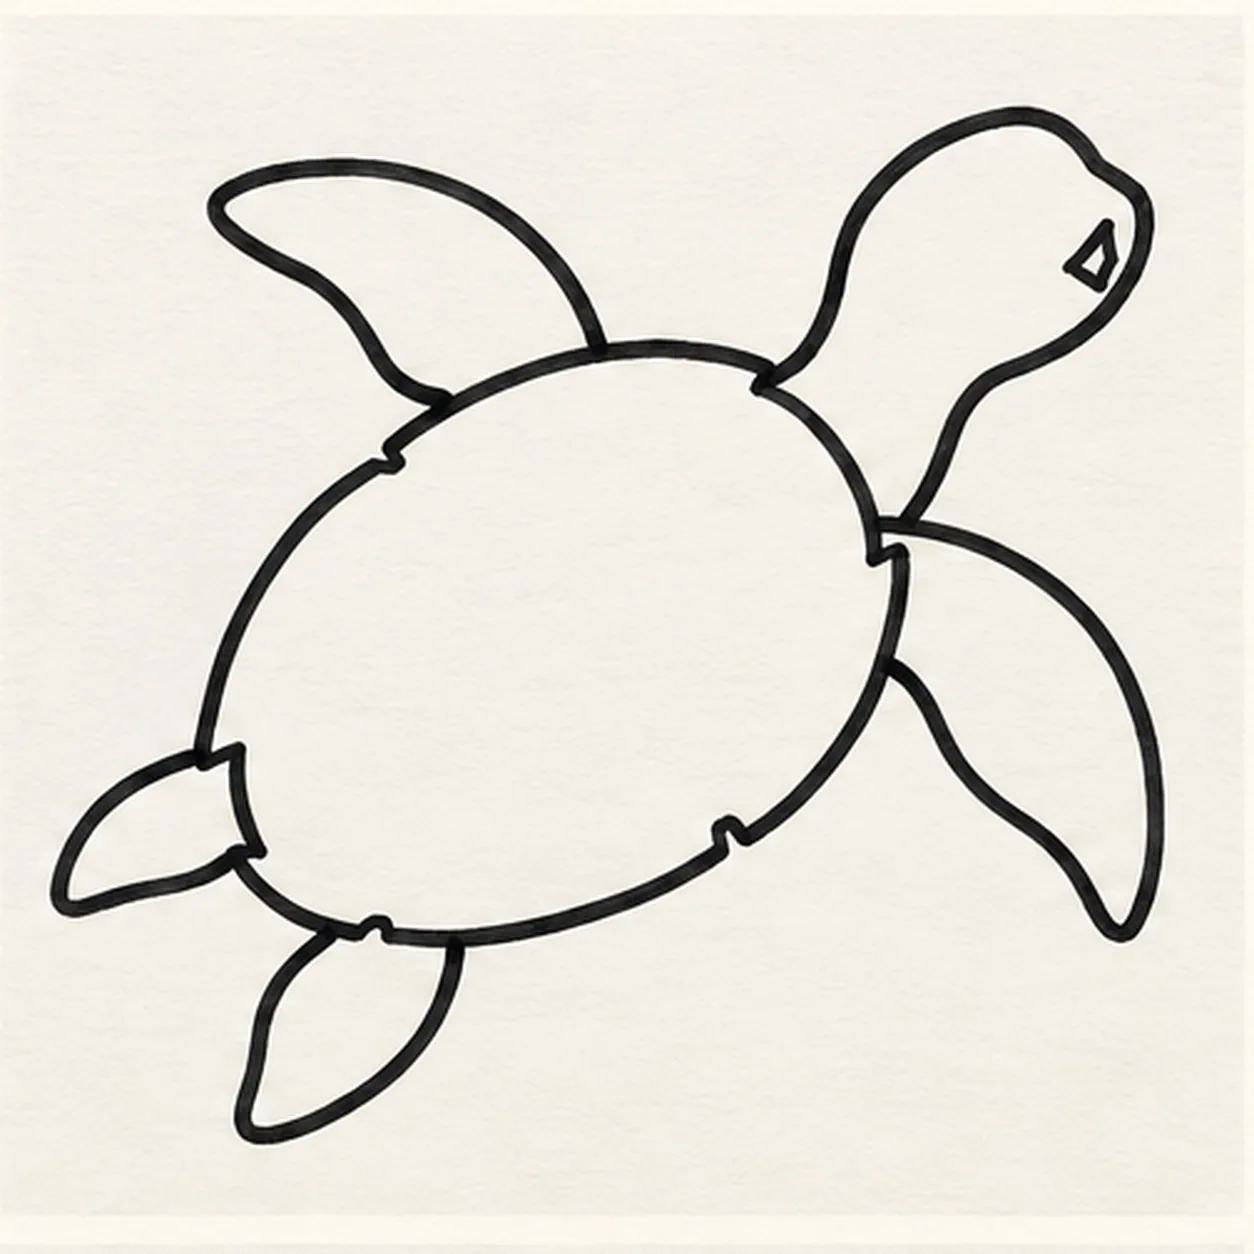
Attach four flippers
At the four reserved shell gaps, attach exactly four separate tapered flippers: two broad front flippers and two shorter rear flippers. Keep every attachment visibly connected and leave the small tail unchanged.
Marker tip: Work one gap at a time and trace each flipper back into the shell edge. The two front flippers can sweep farther than the two rear ones.
-
03
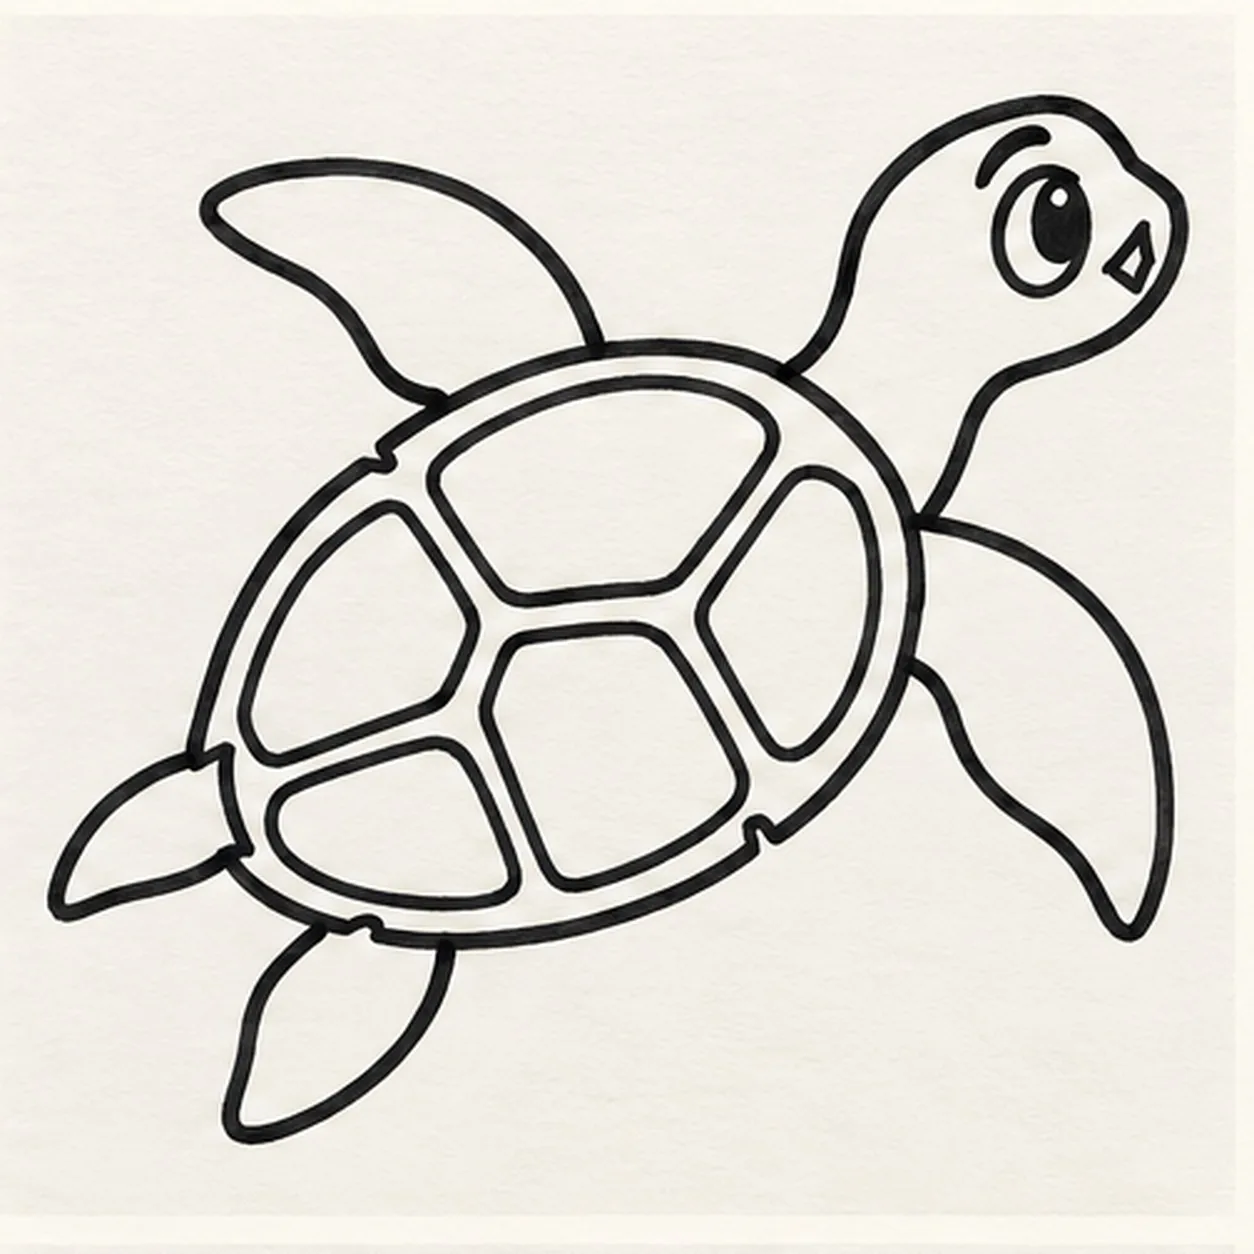
Add the face and five scutes
Place one large almond eye on the visible side of the head with its pupil high and forward, then add one raised curved brow. Keep the tiny diamond mouth unchanged, echo the shell with one inner rim, and draw exactly five large curved scutes that fit together without crossing it.
Marker tip: Use the high pupil and lifted brow for a curious look. Count five separate shell compartments before moving on.
-
04
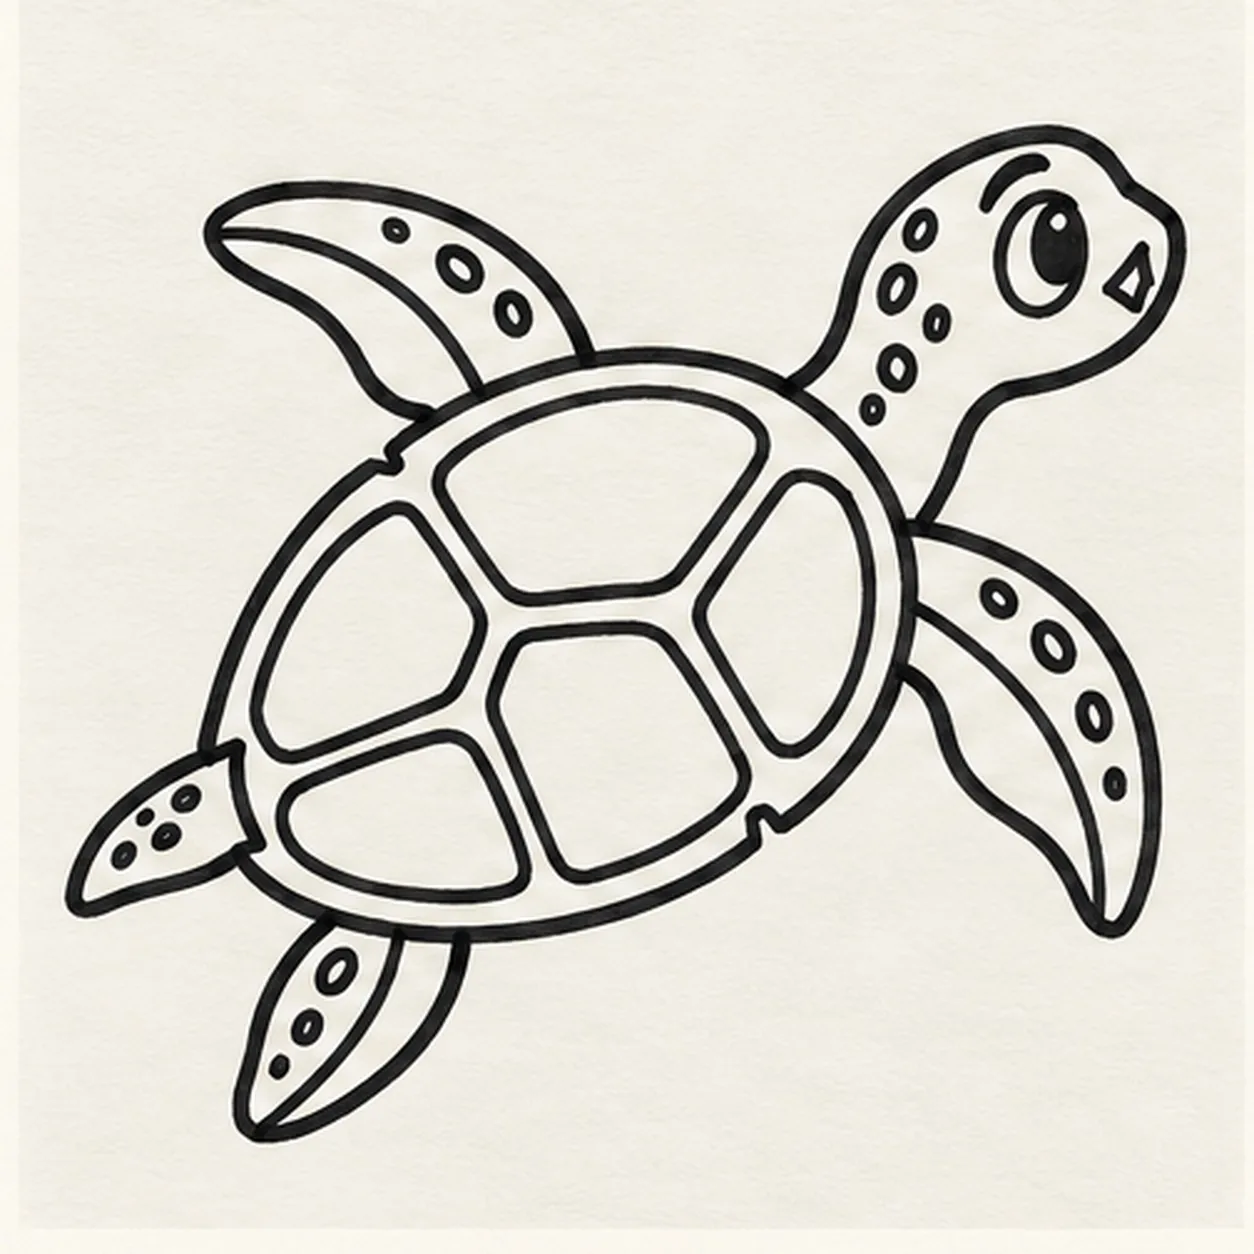
Build the turtle texture
Draw one curved seam inside each of the four flippers and scatter small round spots across the head, neck, and flippers. Keep the eye, mouth, inner rim, five scutes, tail, and every attachment clear.
Marker tip: Curve each seam with its flipper and vary the spot sizes. Leave open paper between spots so the teal fill will still read clearly.
-
05
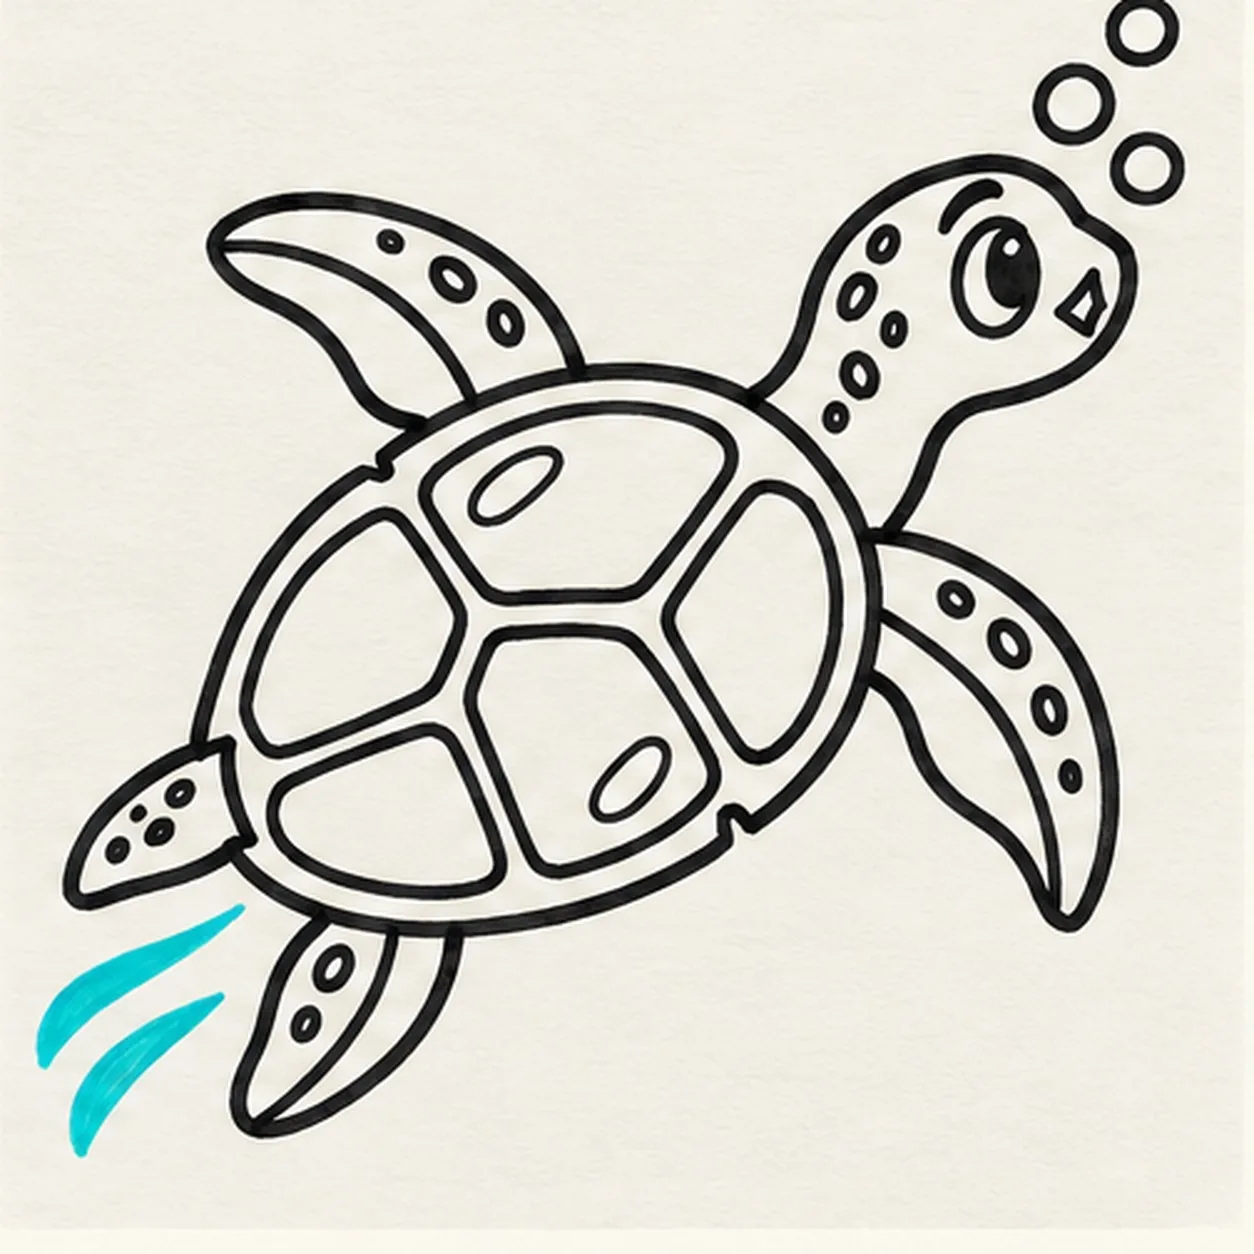
Add bubbles and water motion
Draw exactly three round bubbles above the head, exactly two curved aqua water swooshes behind the rear flippers, and reserve exactly two small open-paper highlights inside the established shell. Change no turtle contour.
Marker tip: Group the bubbles as three different sizes and keep the two swooshes separate. Place one highlight high on the shell and one lower for an easy final count.
-
06
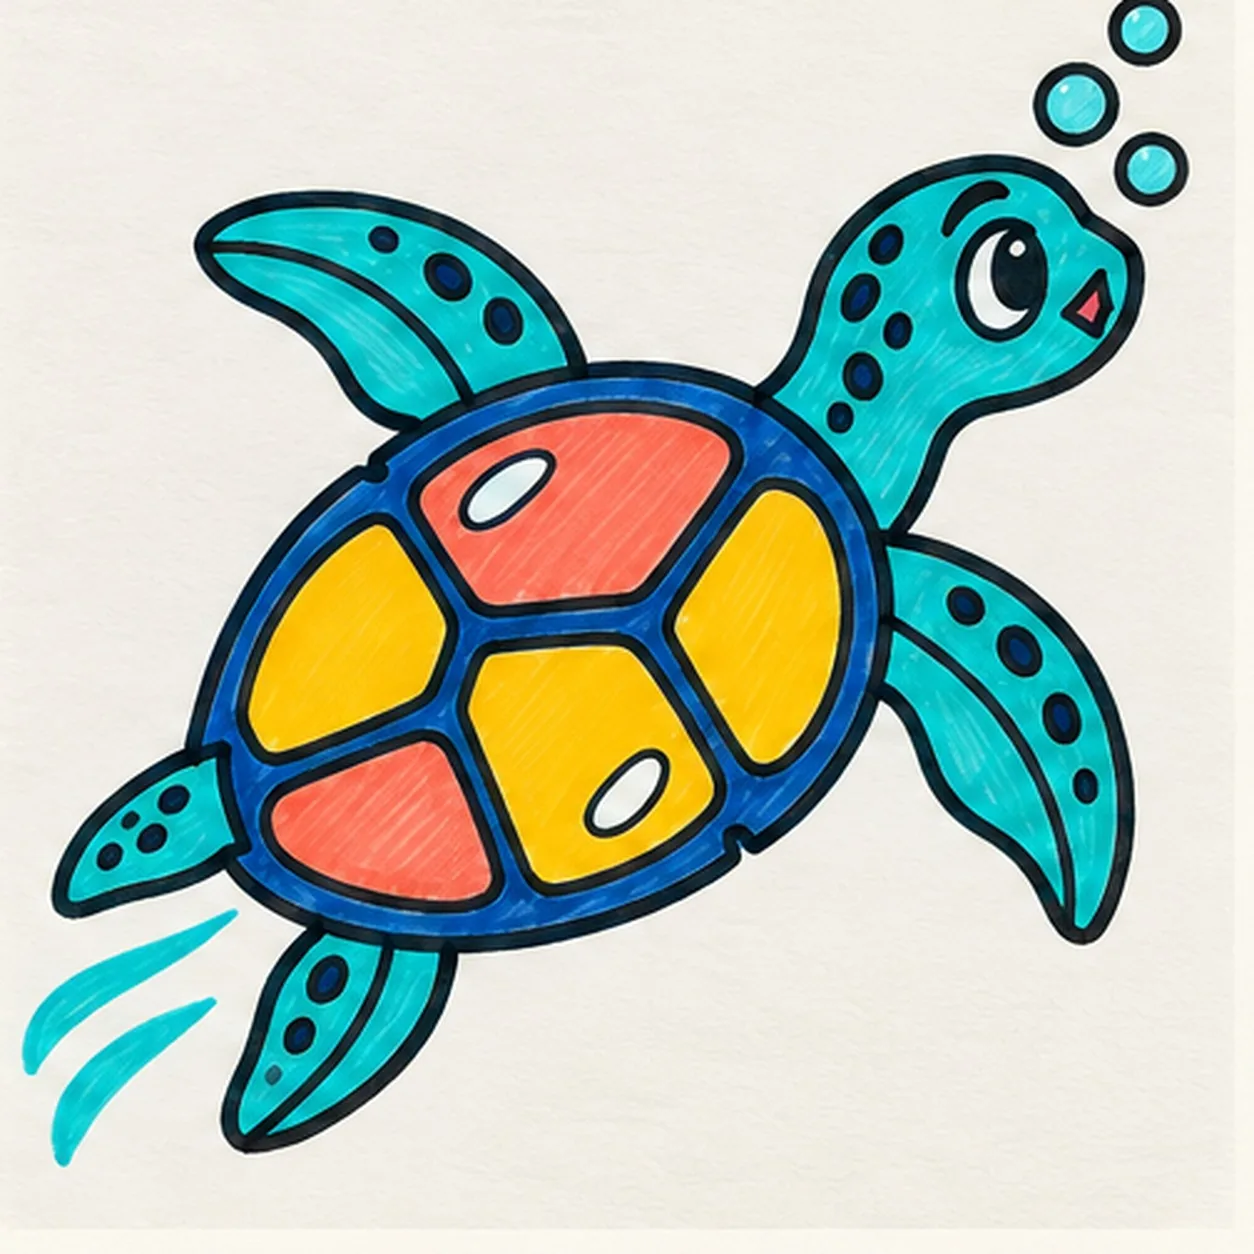
Color the swimming turtle
Fill the established skin with bright teal, the shell rim with deep navy, the five scutes with coral and golden yellow, and the spots with navy. Deepen the existing aqua bubbles and swooshes, leave both shell highlights open, and add no new contours.
Marker tip: Pull marker strokes along each flipper and shell compartment. Count four flippers, five scutes, three bubbles, two swooshes, and two highlights, then stop while the texture still looks handmade.