
Felt-tip marker mode
Let's draw a pair of scissors
Treat this as one playful practice round: sketch the idea loosely, simplify the shapes, then commit with confident marker outlines and bright fills.
-
01
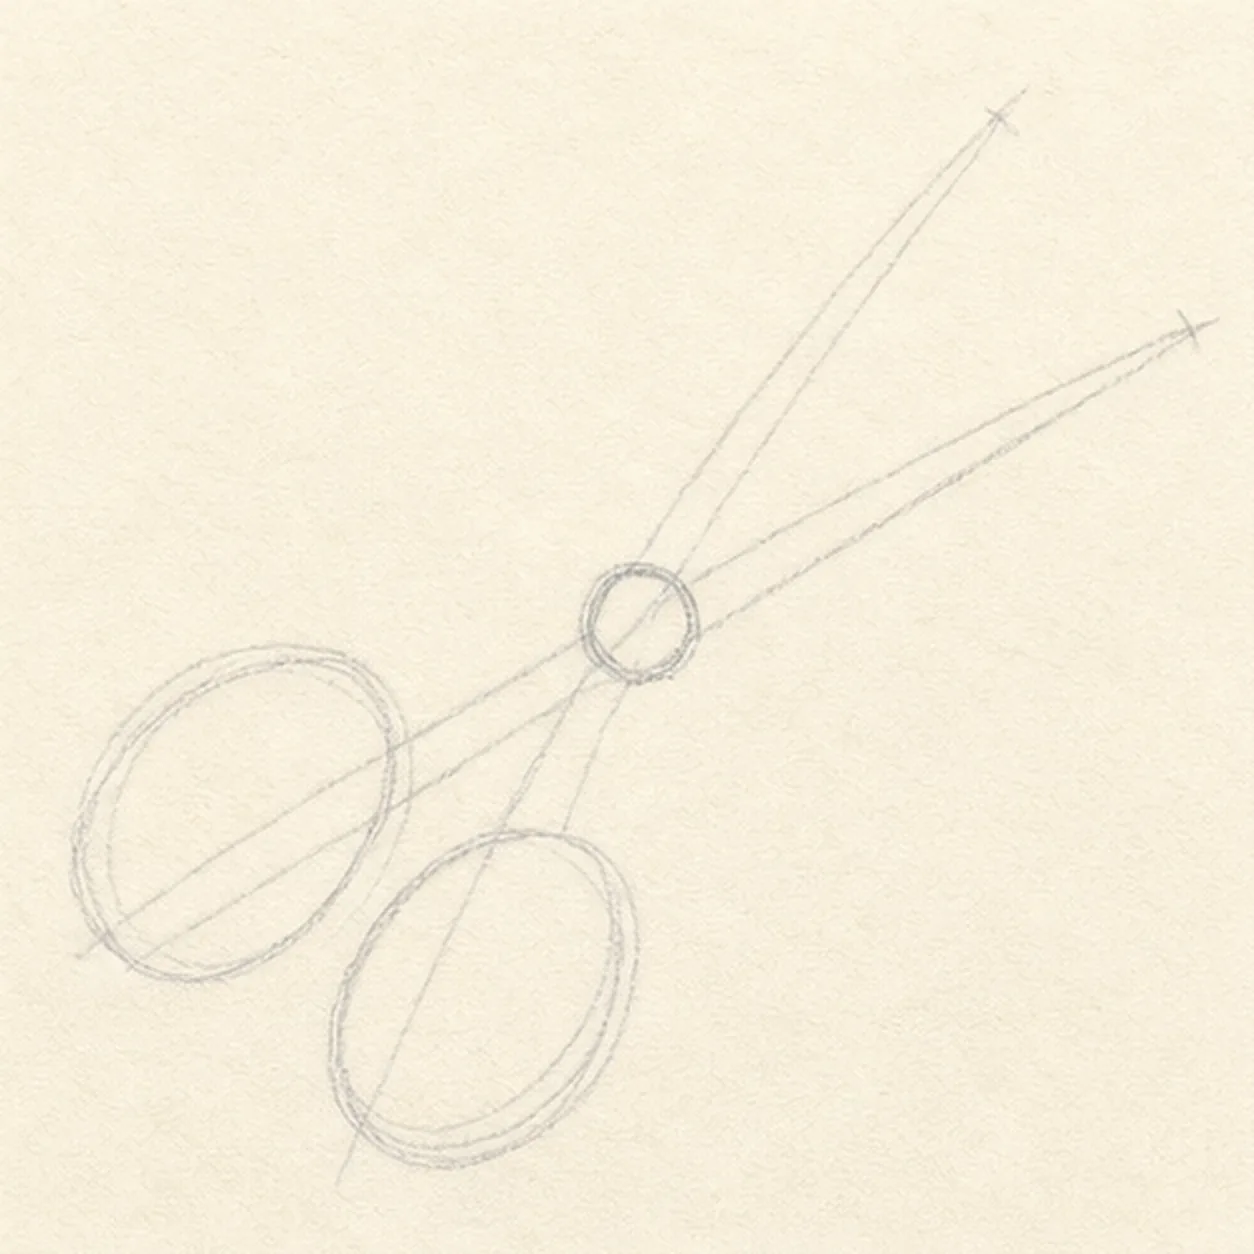
Set the scissors guides
Draw one light circular pivot, cross two blade axes through it, then place two rounded handle-loop footprints at the lower-left end.
Marker tip: Ghost the two blade paths before touching down and compare the open wedge between them. Keep the pivot centered where all four long axes meet.
-
02
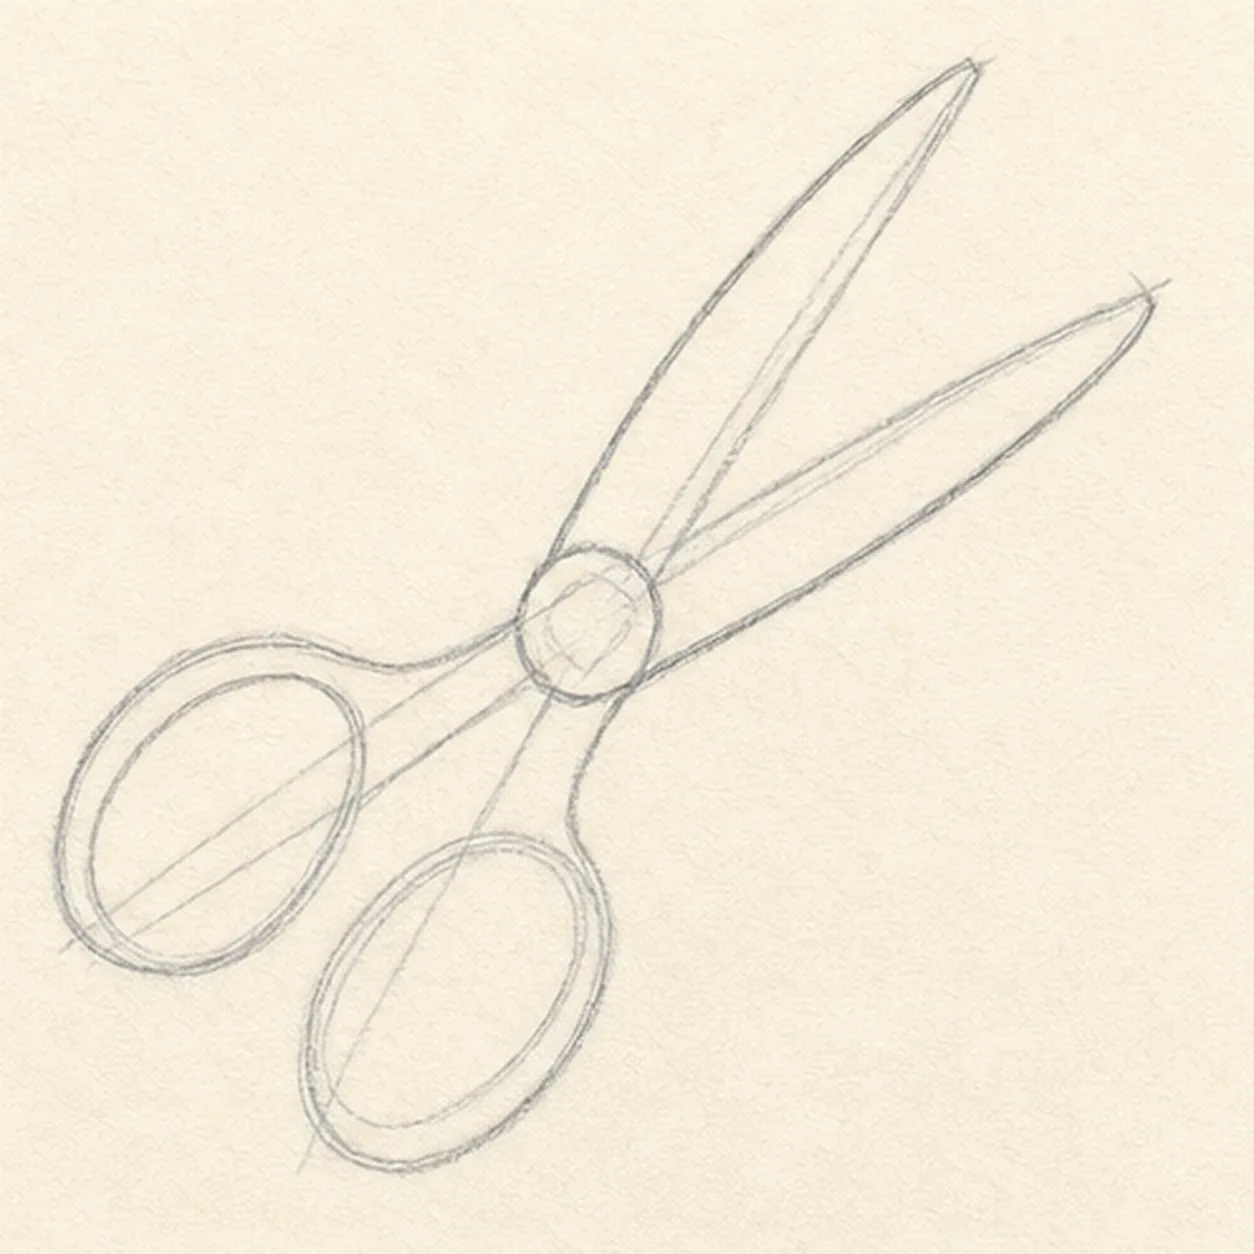
Shape the open scissors
Wrap the guides with two long blades, two rounded handle loops, and one central pivot hub while preserving the same diagonal angle.
Marker tip: Rotate the page for each blade edge and pull it in one confident stroke. Compare the paper spaces inside the two handle loops before closing their contours.
-
03
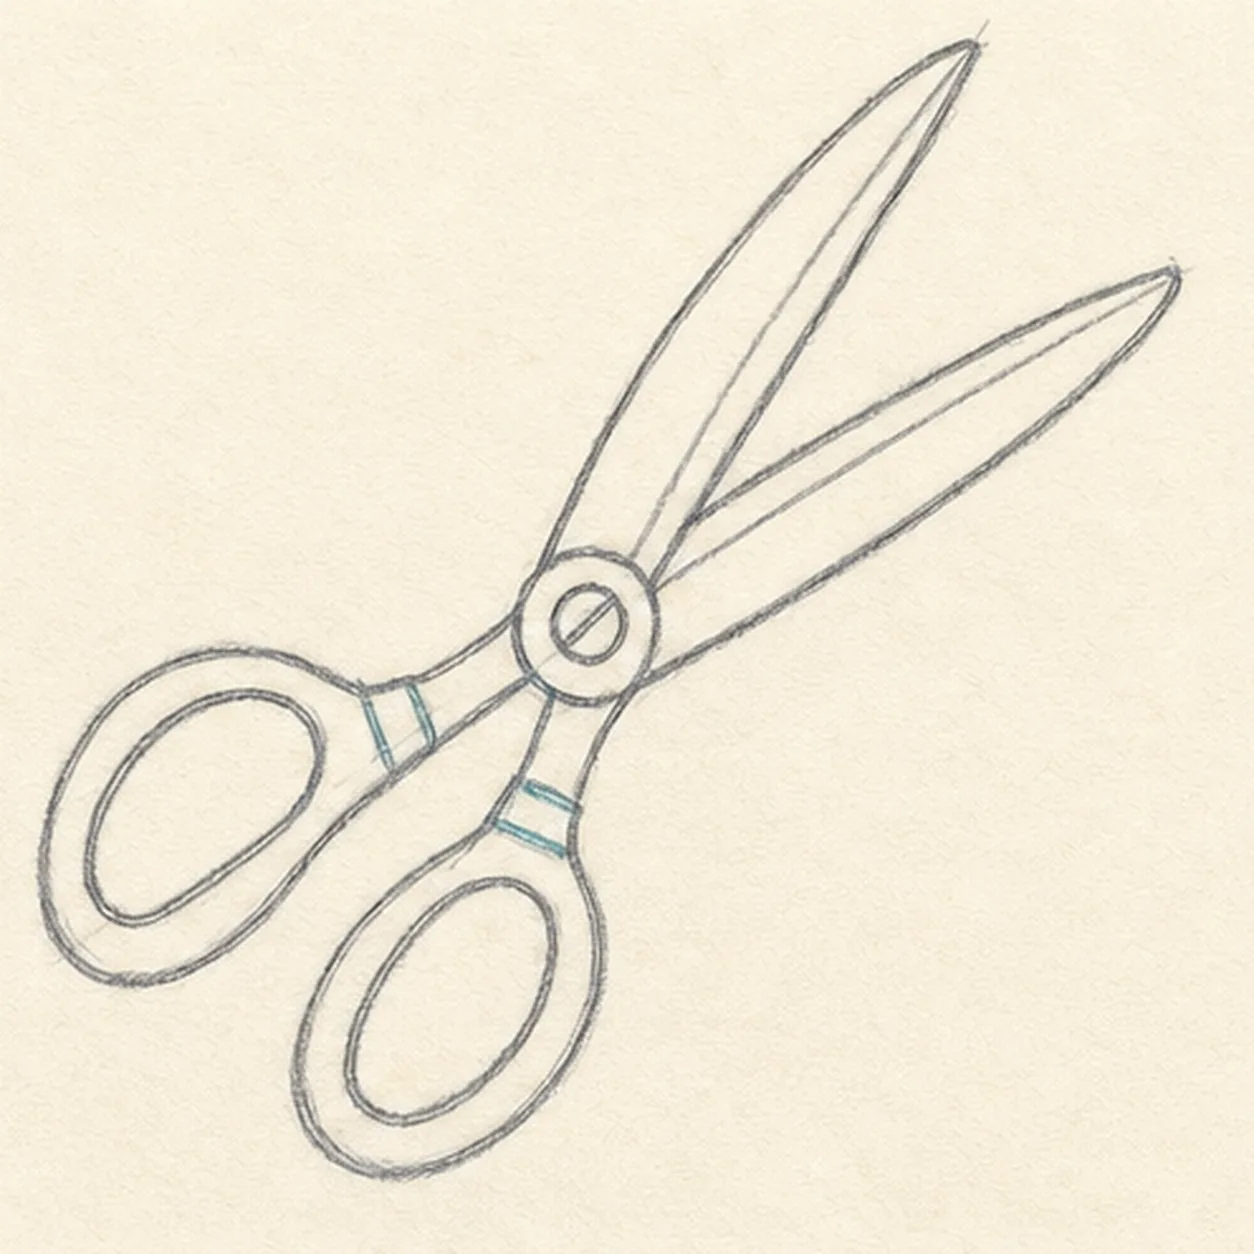
Build the loops and blades
Add both inner handle openings, two blade-center bevels, the round pivot screw, and two grip bands inside the completed silhouette.
Marker tip: Keep each inner opening related to its outer loop instead of forcing a perfect oval. Stop the bevel lines at the pivot so the layered metal reads clearly.
-
04
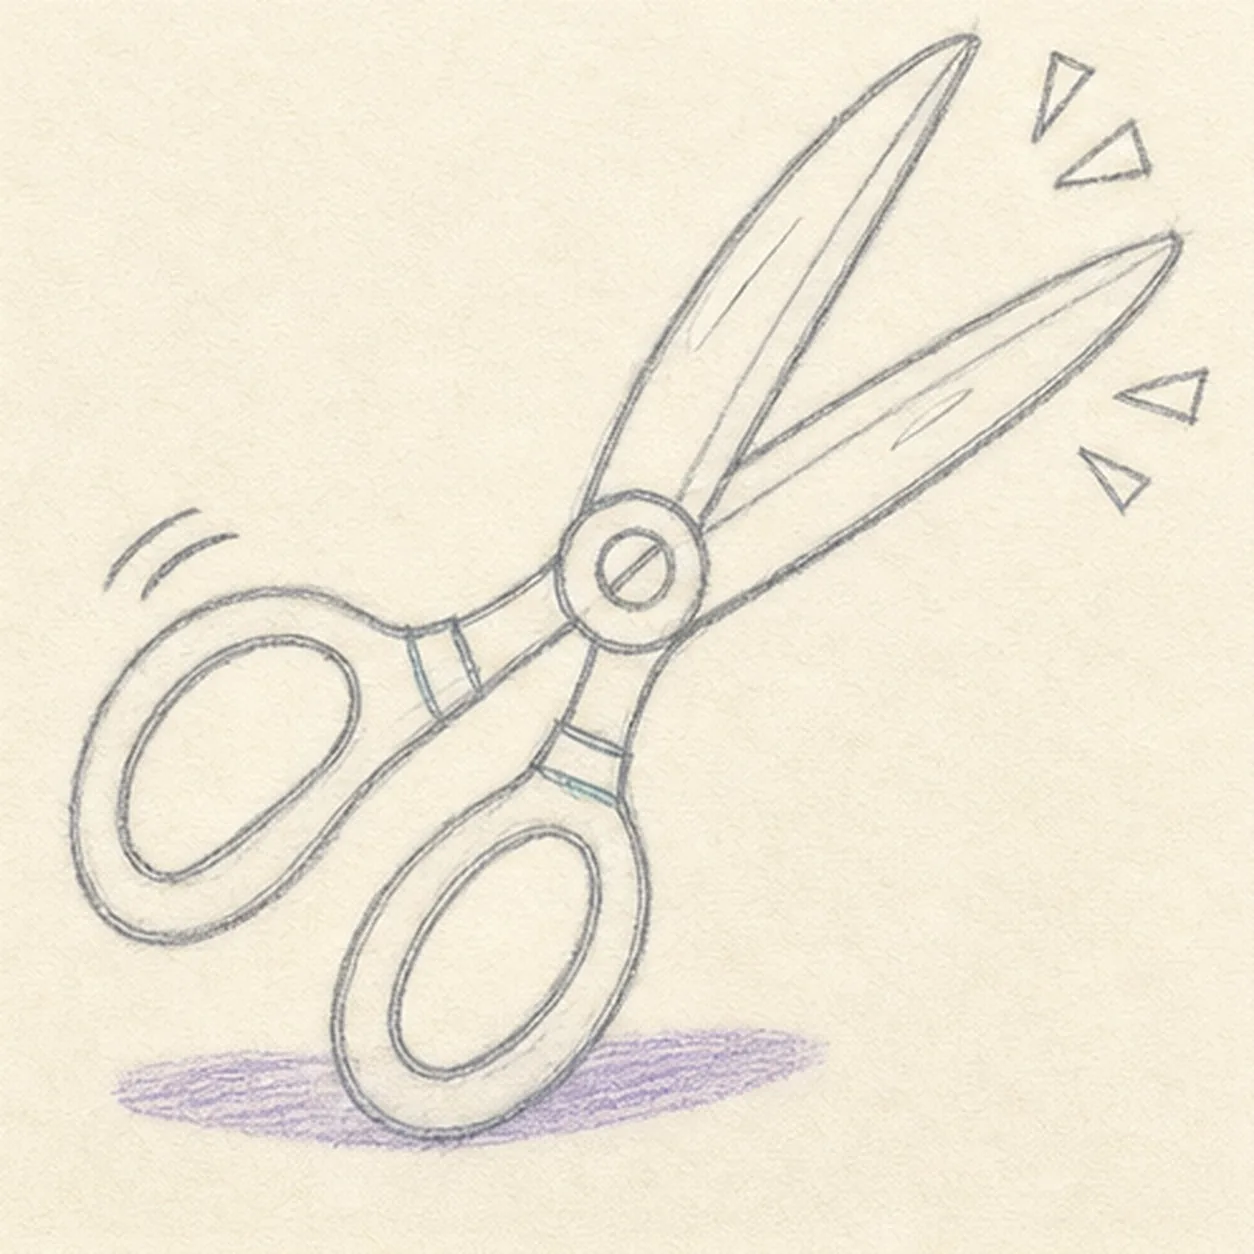
Add the snipping action
Draw exactly four small snip sparks near the blade tips, two short motion marks beside the handle, narrow blade-highlight gaps, and one shallow ground-shadow shape.
Marker tip: Vary the four spark angles but keep them clear of the blade edges. Leave the highlights as planned paper gaps now so you do not need to paint white over wet marker later.
-
05
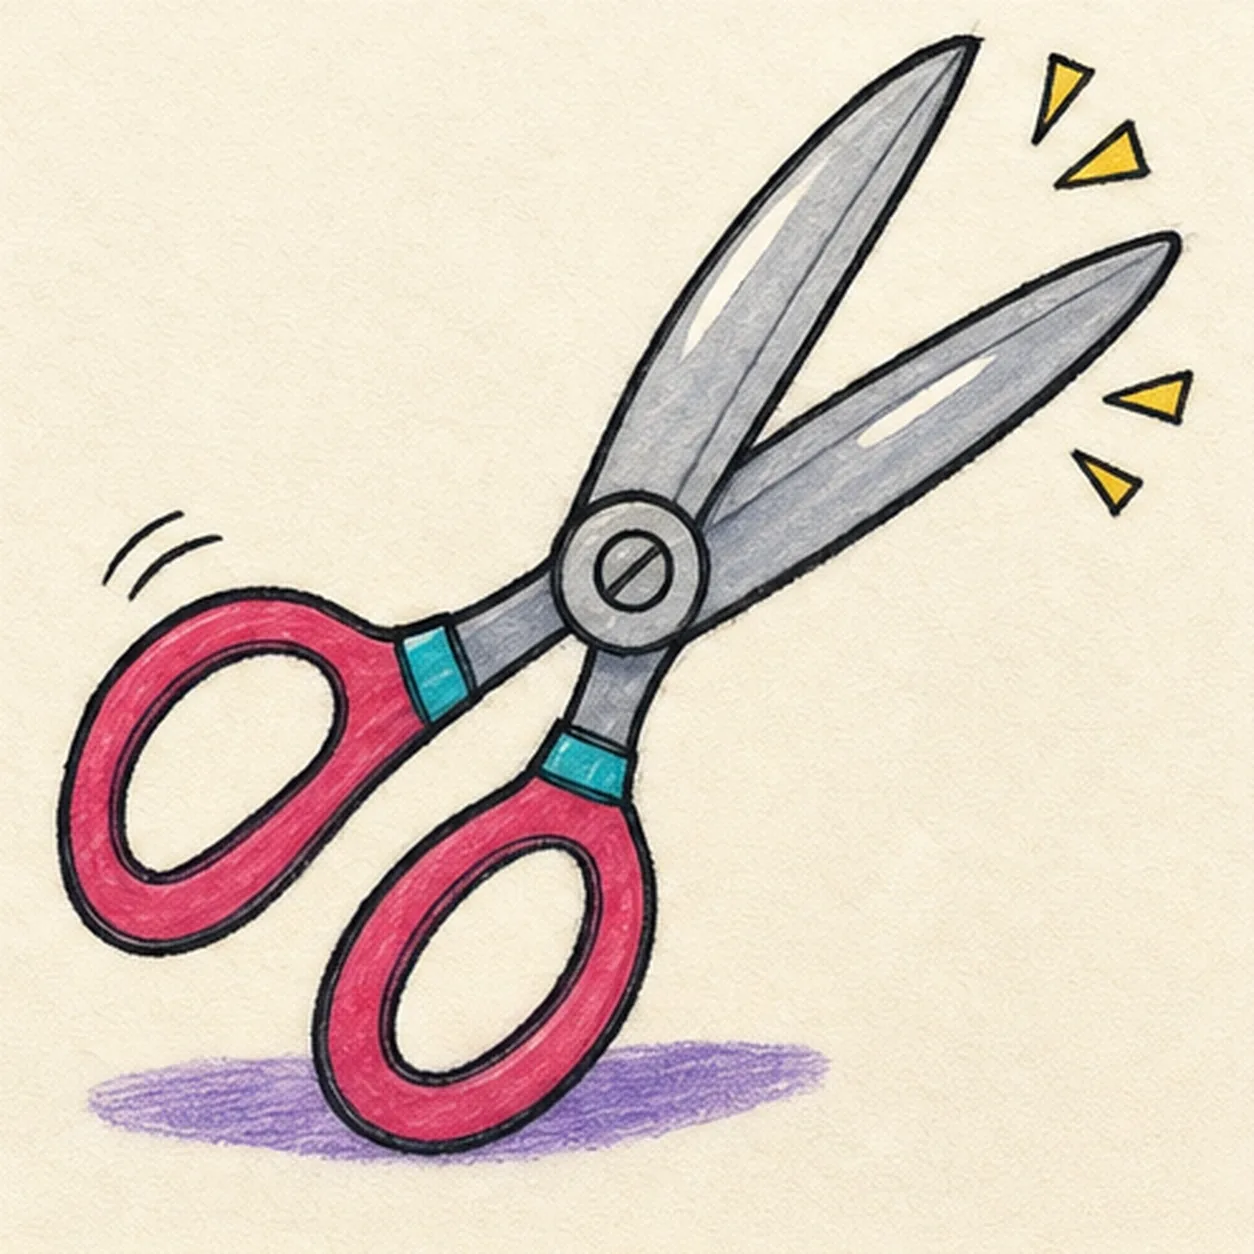
Ink and color the scissors
Thicken every established contour, fill both handles raspberry, the grip bands turquoise, the blades and pivot cool gray, the four sparks yellow, and the shadow violet.
Marker tip: Pull the gray strokes along each blade and leave the highlight gaps untouched. Let the color dry before reinforcing the black pivot and inner handle edges.
-
06
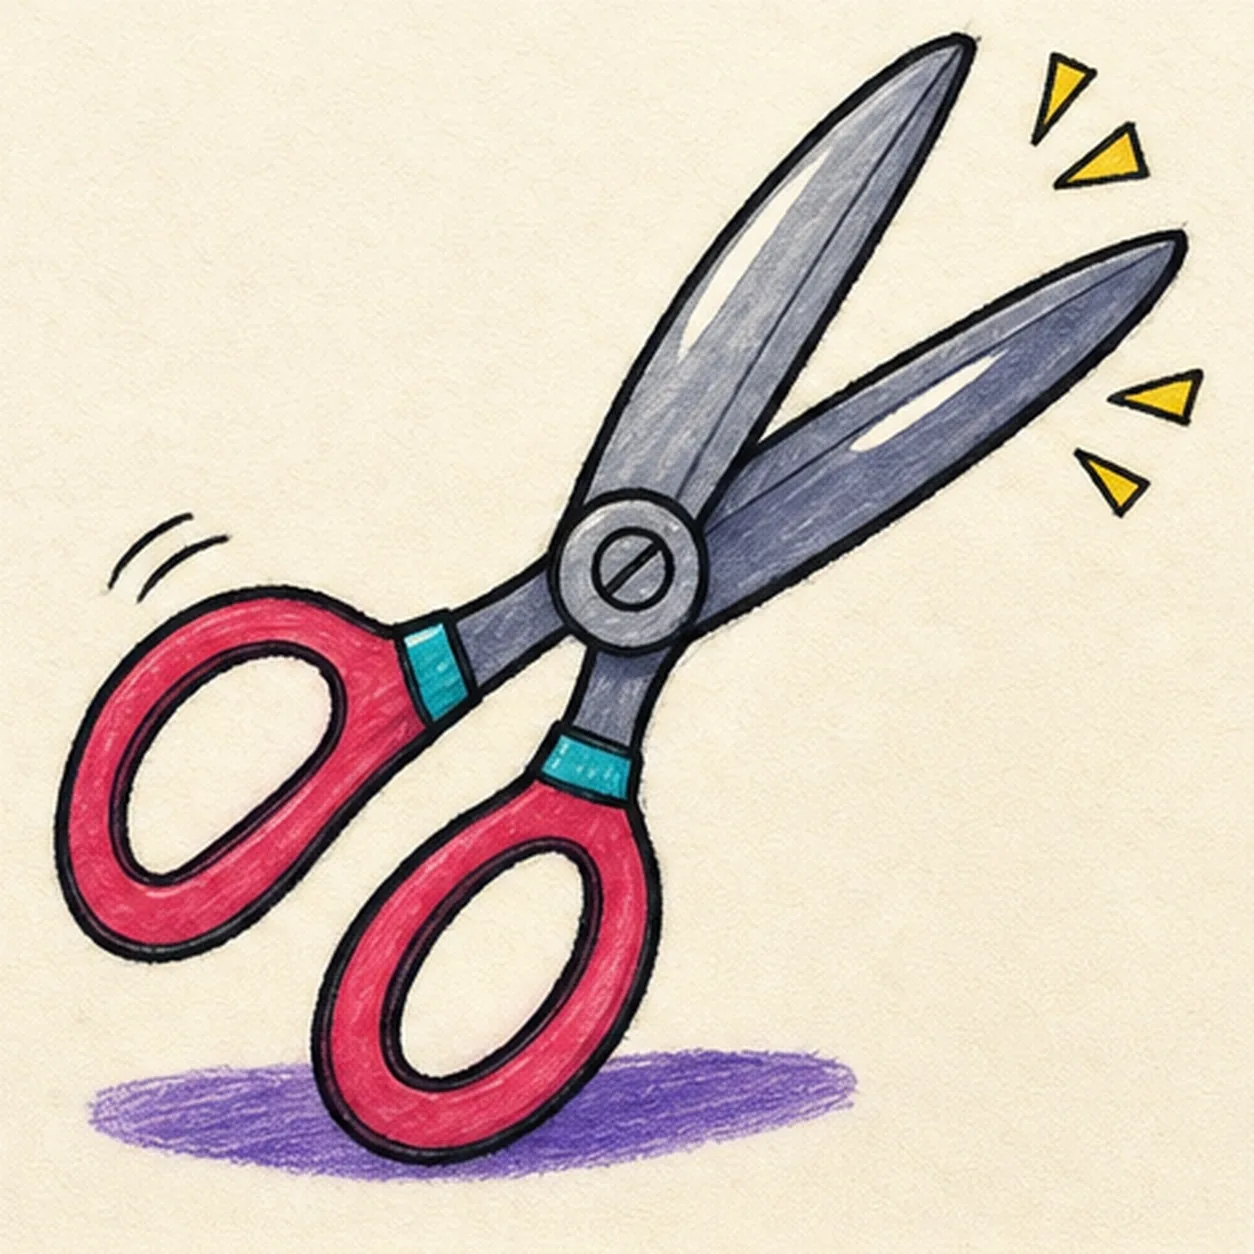
Sharpen the comic finish
Strengthen the keeper outlines and clarify the established blades, handle loops, bevels, pivot, grip bands, four sparks, two motion marks, marker fills, highlights, and shadow.
Marker tip: Count two blades, two loops, four sparks, and two motion marks, then stop. Eyes, a smile, hands, paper, lettering, another tool, a sticker edge, or a badge frame would crowd the clear snipping pose.


