
Felt-tip marker mode
Let's draw a soft pretzel
Treat this as one playful practice round: sketch the idea loosely, simplify the shapes, then commit with confident marker outlines and bright fills.
-
01
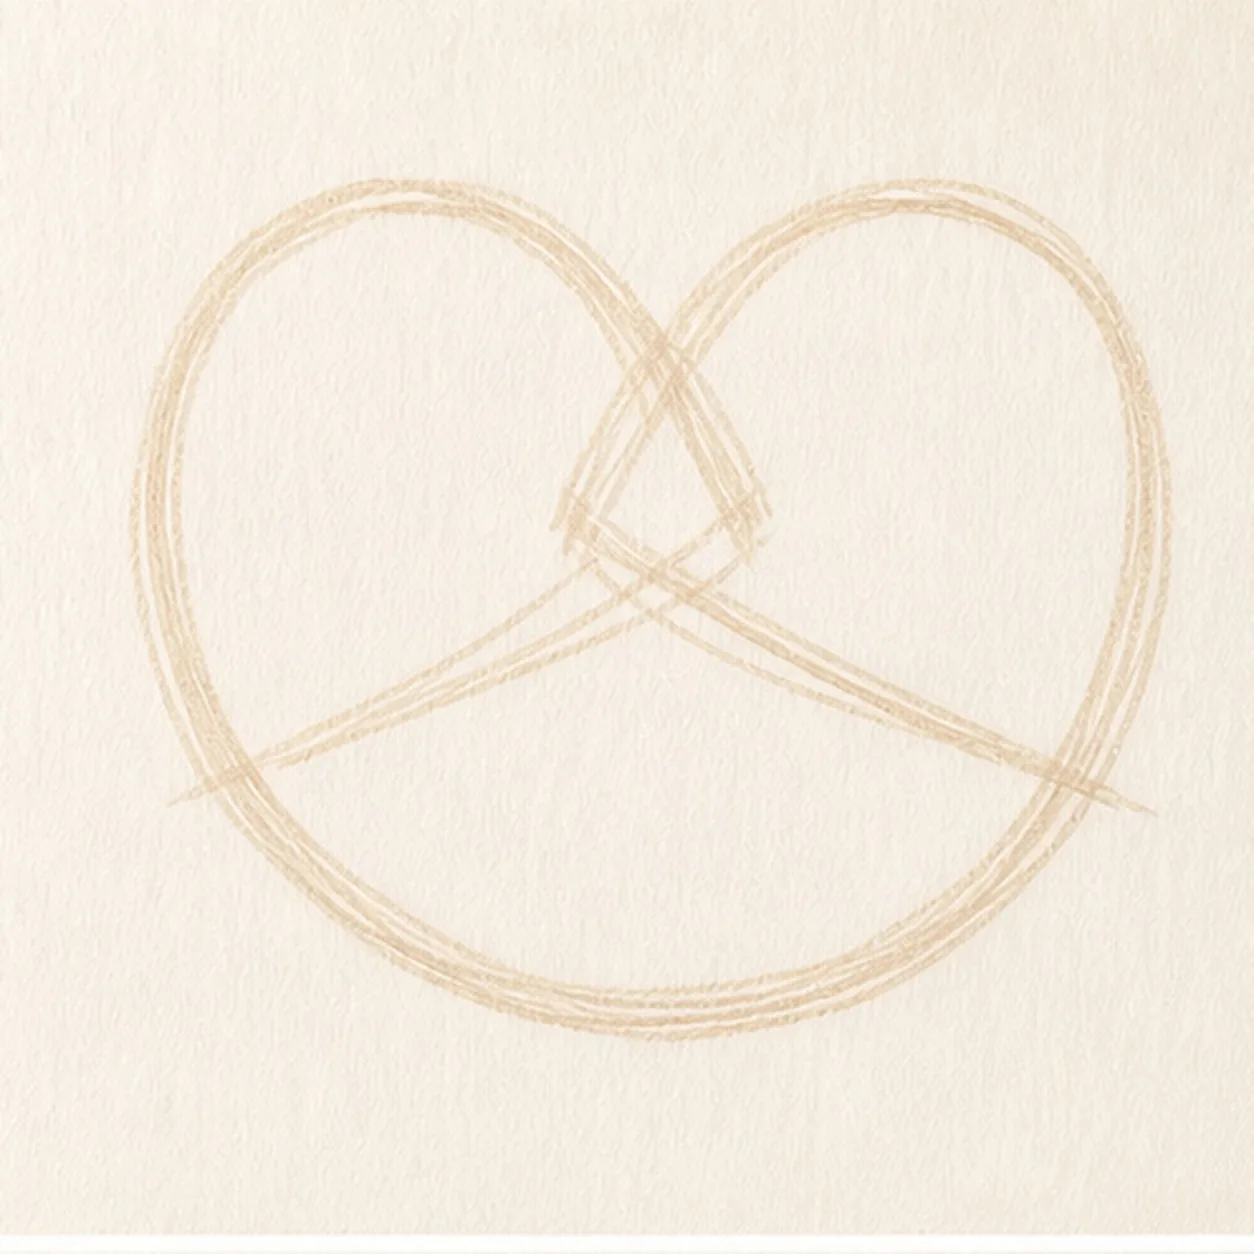
Map the belly and two loops
Place one pale broad belly curve, exactly two upper loop ovals, and one central crossing map for the continuous pretzel path.
Marker tip: Ghost both loop ovals before touching down and compare the two heart-shaped gaps above the crossing. Keep the center pale so the over-under order can still be adjusted.
-
02
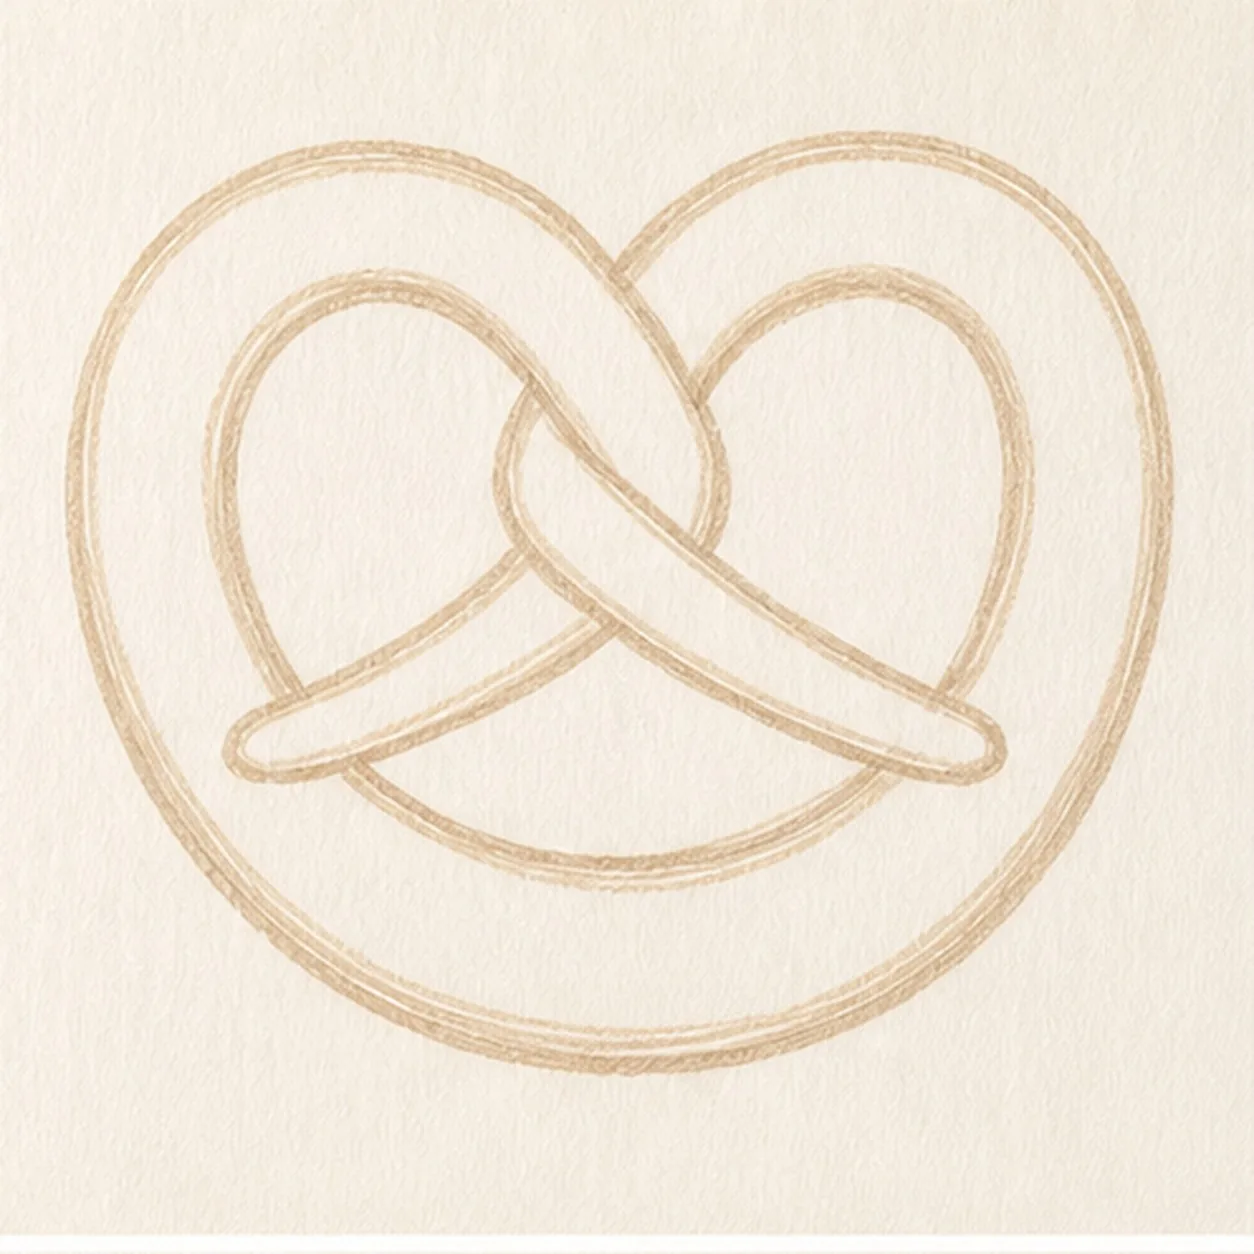
Wrap one thick dough rope
Build one continuous rounded dough band around the guides, preserving exactly two upper openings and one lower opening.
Marker tip: Keep the rope thickness close to the width of your fingertip throughout. Squint and compare all three openings instead of tracing the outer edge alone.
-
03
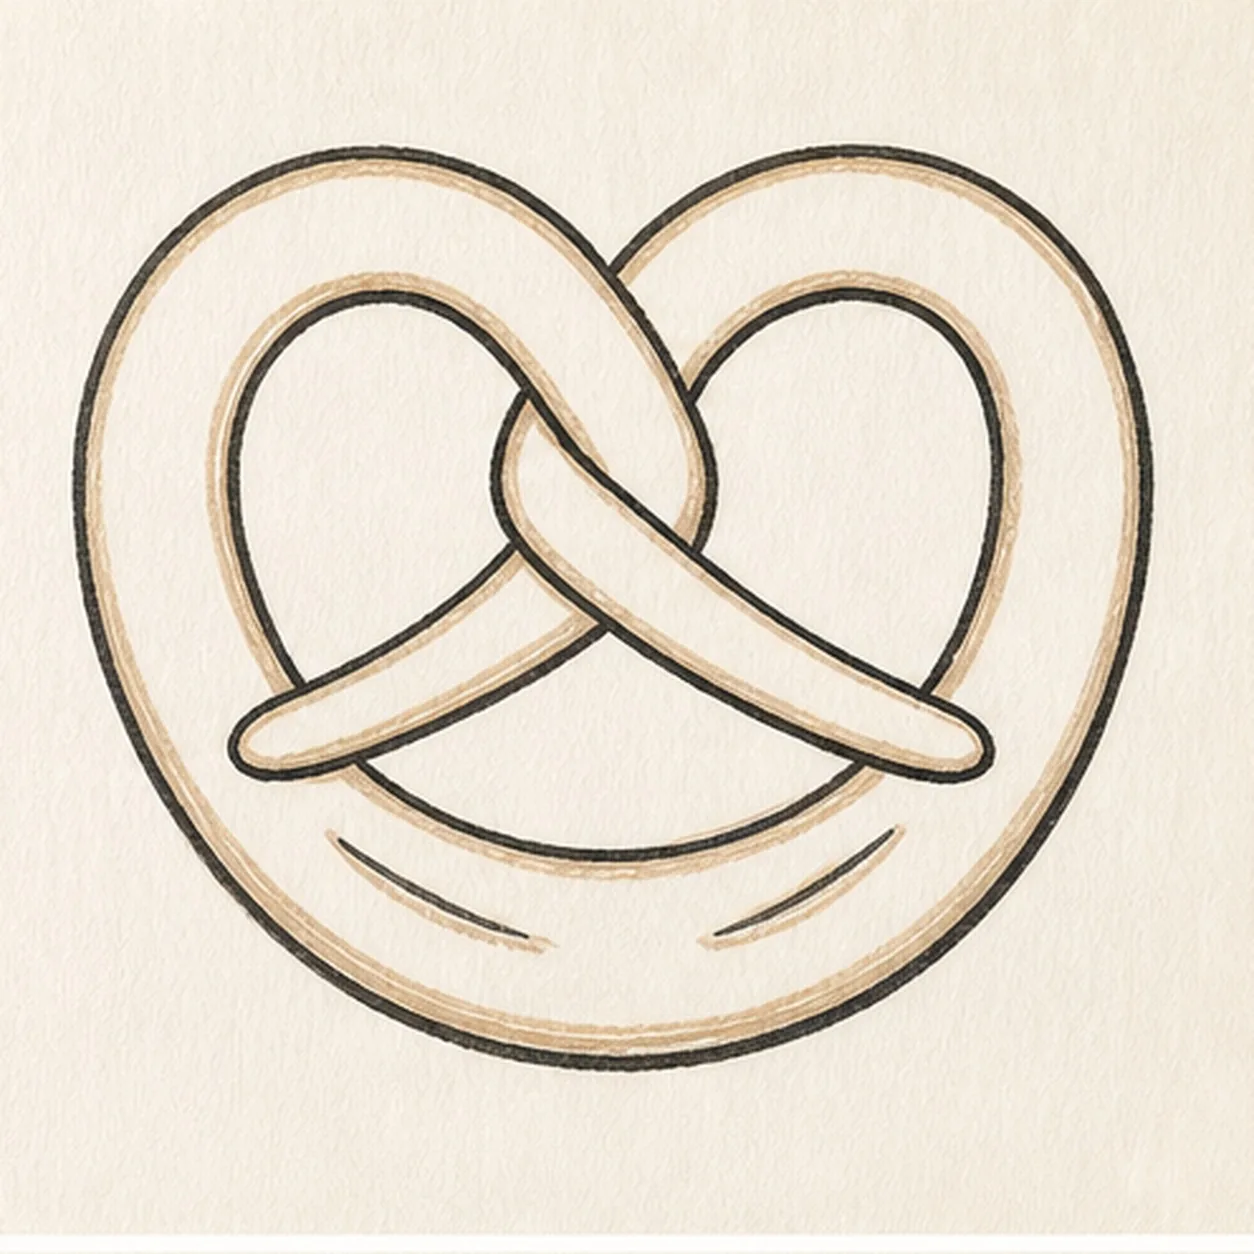
Set the over-under knot
Clarify the central over-under line breaks, taper the two upper arms where they land on the belly, and add exactly two shallow bake creases to the lower arc.
Marker tip: Choose the arm that passes on top, darken only its visible edges, and stop the hidden arm cleanly underneath. Two crisp line breaks explain the knot better than extra contour lines.
-
04
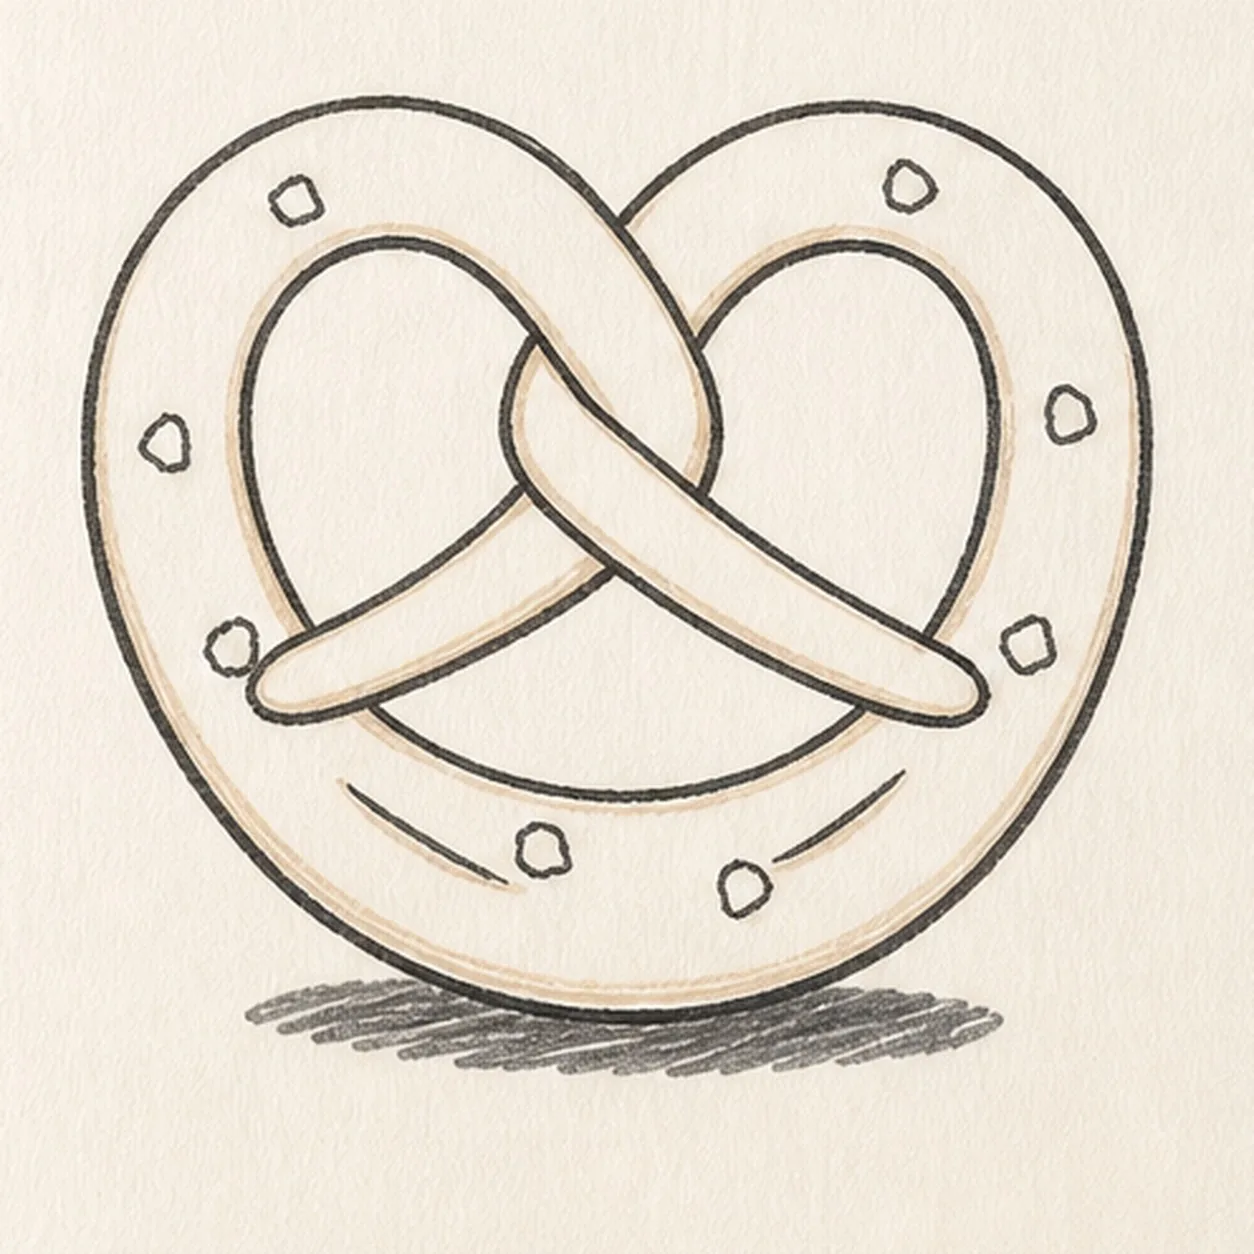
Scatter salt and ground the shape
Add exactly eight irregular salt shapes across the established dough and one small broken oval shadow beneath the pretzel.
Marker tip: Place the first four salt grains far apart, then use the remaining four to balance empty areas. Vary their angles and sizes so they feel sprinkled rather than stamped.
-
05
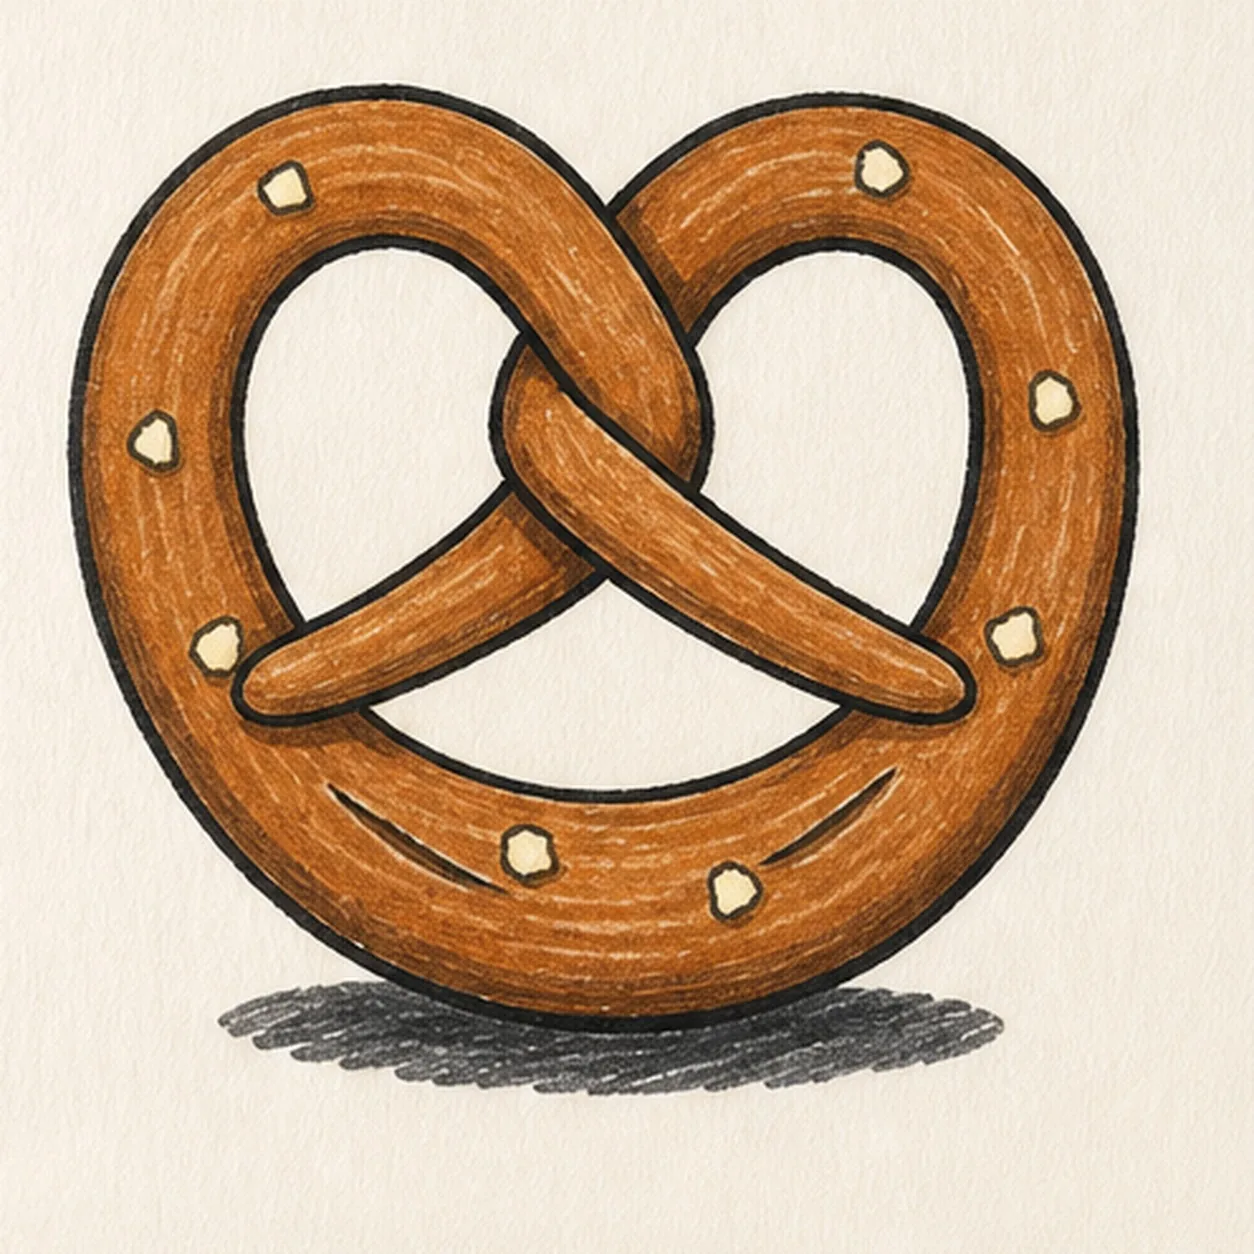
Ink the toasted pretzel colors
Thicken all established keeper lines, fill the dough toasted caramel, add dark-umber baked edges and overlap accents, color all eight salt grains warm cream, and fill the shadow black-gray.
Marker tip: Pull marker strokes around the loop direction instead of straight across the dough. Leave a few paper gaps in the brown fill and let it dry before reinforcing the black edge.
-
06
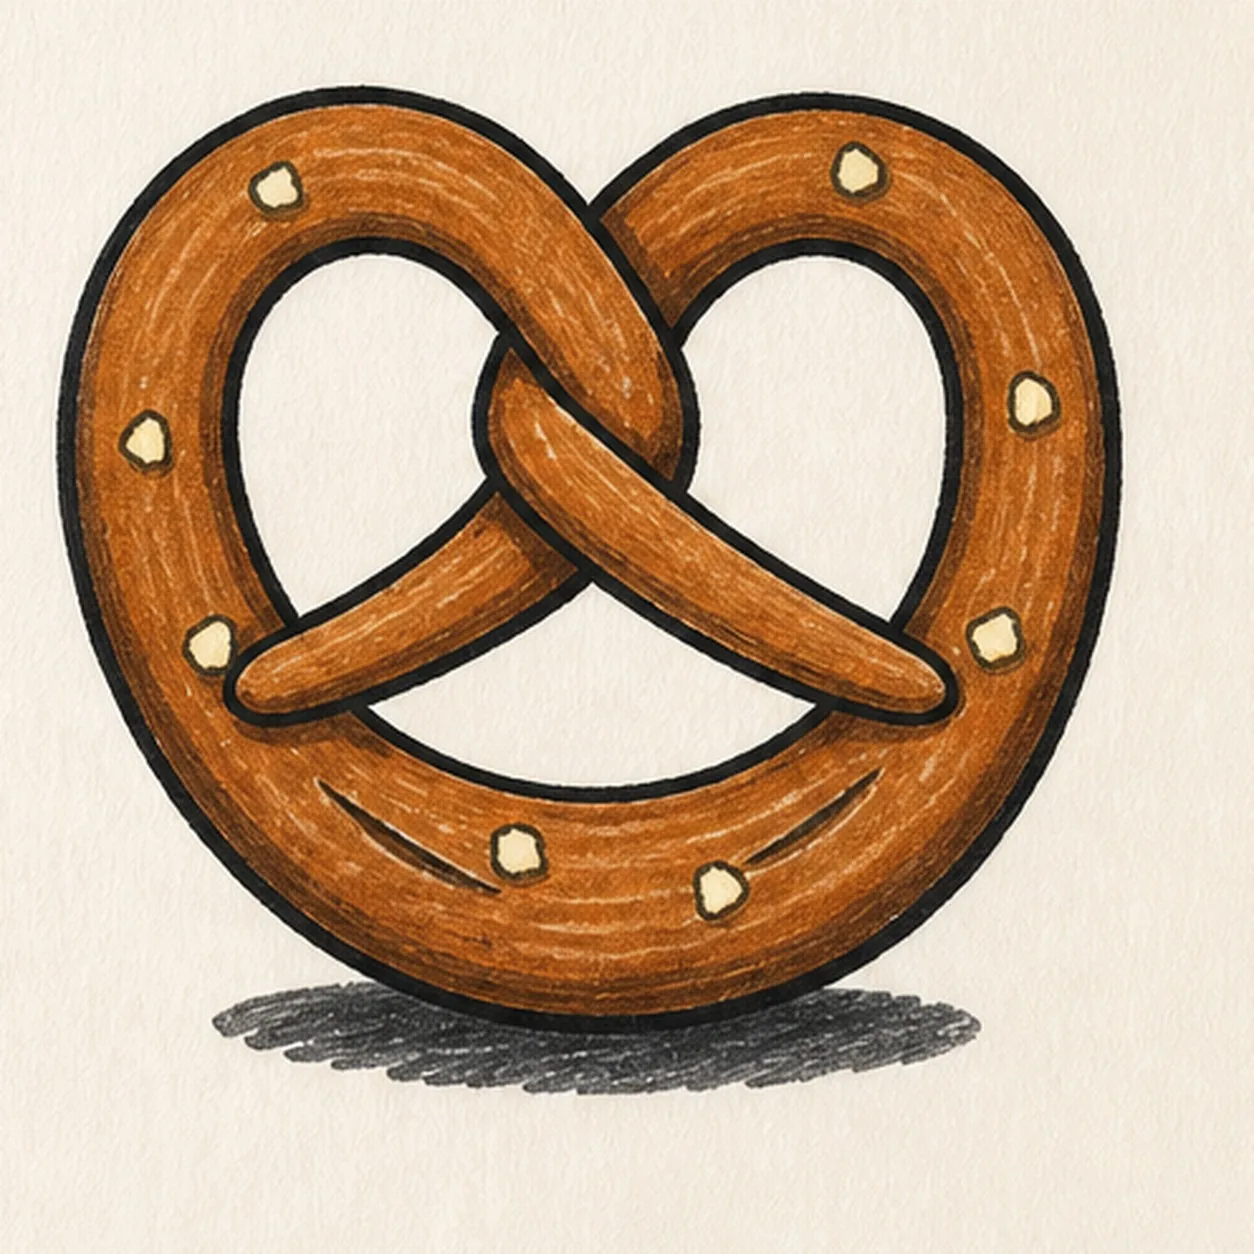
Toast the bold finish
Strengthen the keeper outlines and clarify the established continuous rope, three openings, knot breaks, two bake creases, eight salt grains, natural marker fills, paper gaps, and shadow.
Marker tip: Count two upper openings, one lower opening, two creases, and eight salt grains, then stop. You can vary the salt placement or brown tones, but a face, plate, mustard, dipping sauce, sticker edge, or badge frame would make a different lesson.


