
Felt-tip marker mode
Let's draw a bowling ball and pins
Treat this as one playful practice round: sketch the idea loosely, simplify the shapes, then commit with confident marker outlines and bright fills.
-
01
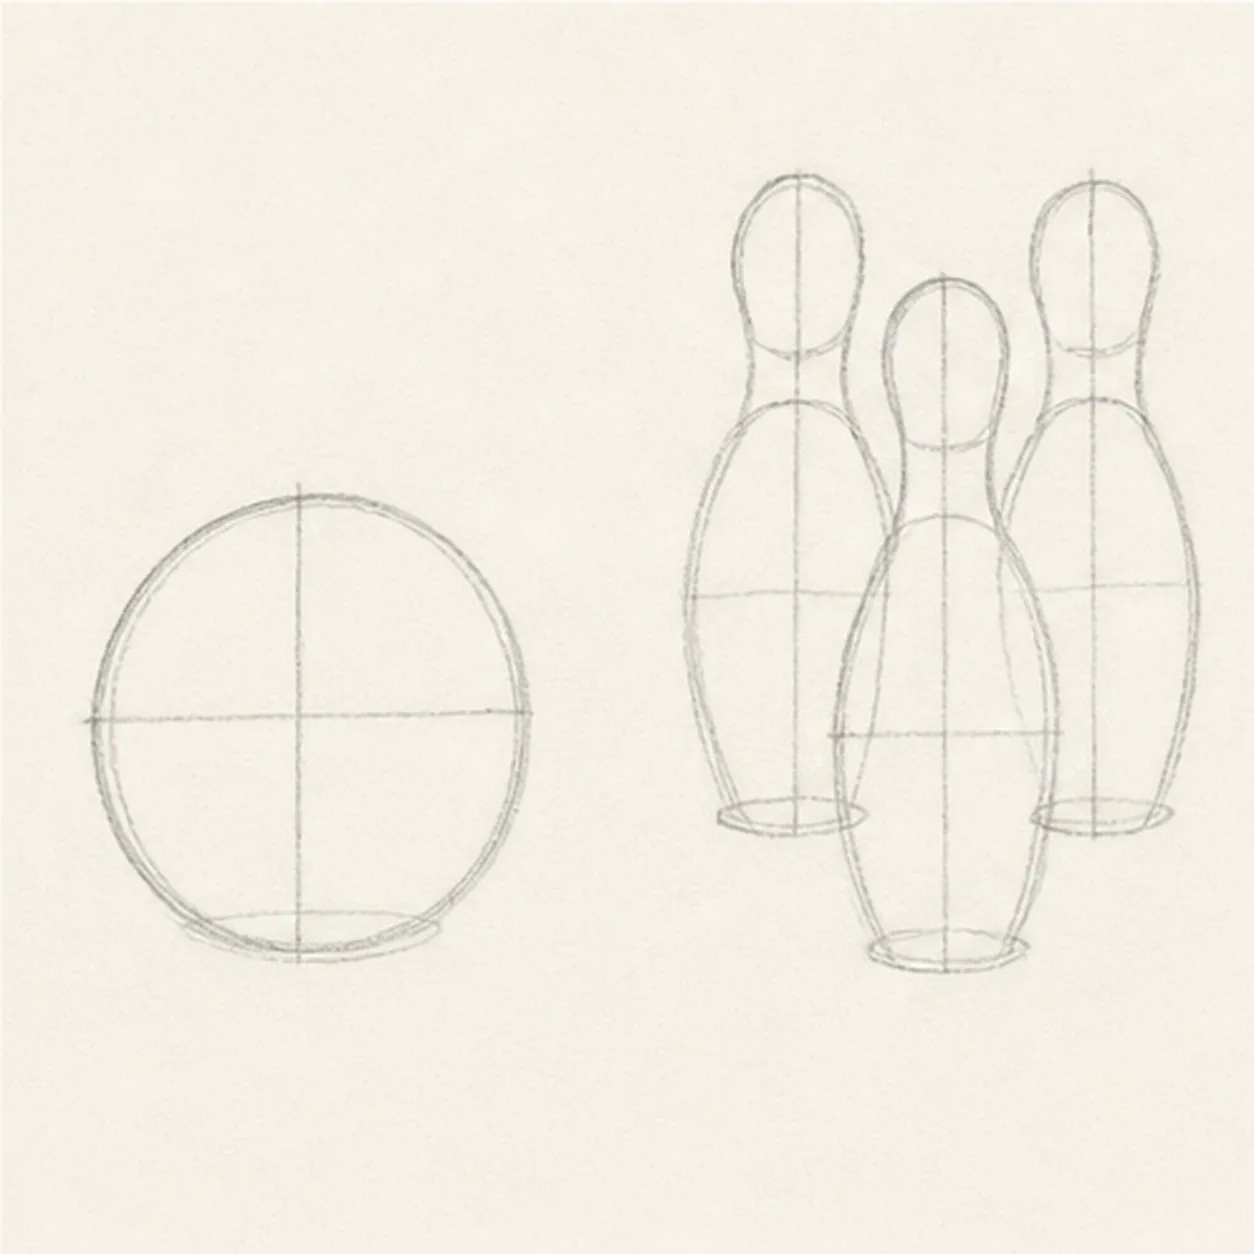
Set the strike path
Draw one light ball circle at the left and place exactly three pin axes and simple envelopes in a triangular cluster at the right.
Marker tip: Count all three pin heads and bases before moving on. Leave a small paper gap beside the ball so none of the pin silhouettes disappears behind it.
-
02
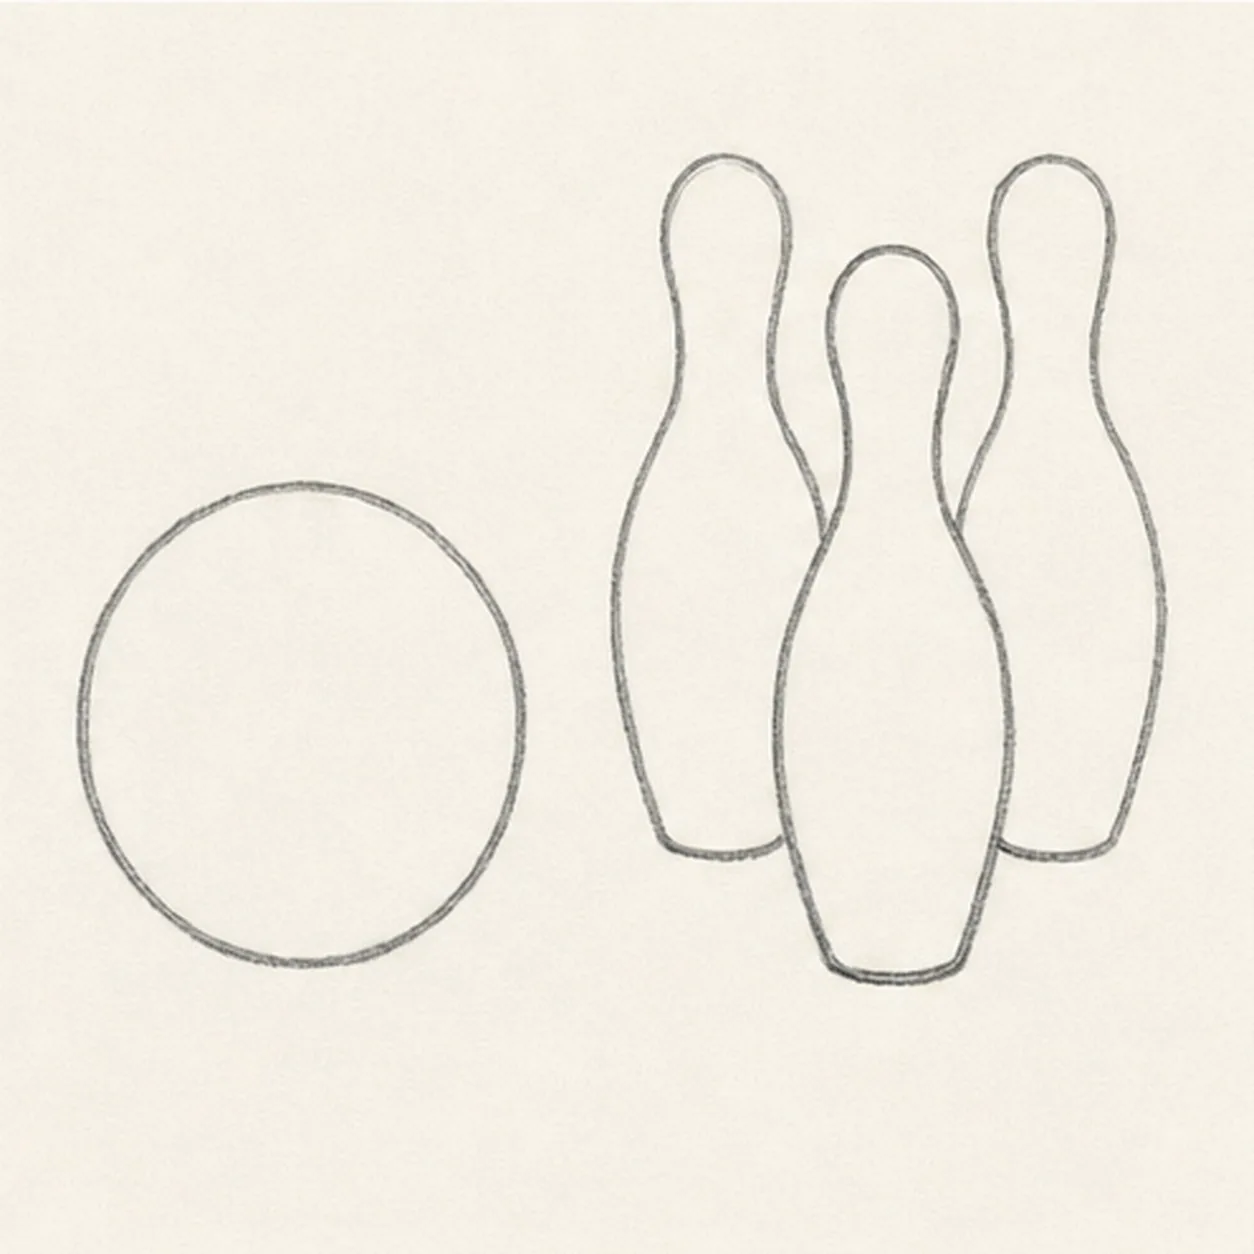
Shape the ball and pins
Wrap the guides with one round ball silhouette and exactly three complete bowling-pin silhouettes, keeping the front pin centered between the rear pair.
Marker tip: Draw the outside edges of the rear pins first, then fit the front pin between them. Comparing the two negative spaces helps the cluster stay readable.
-
03
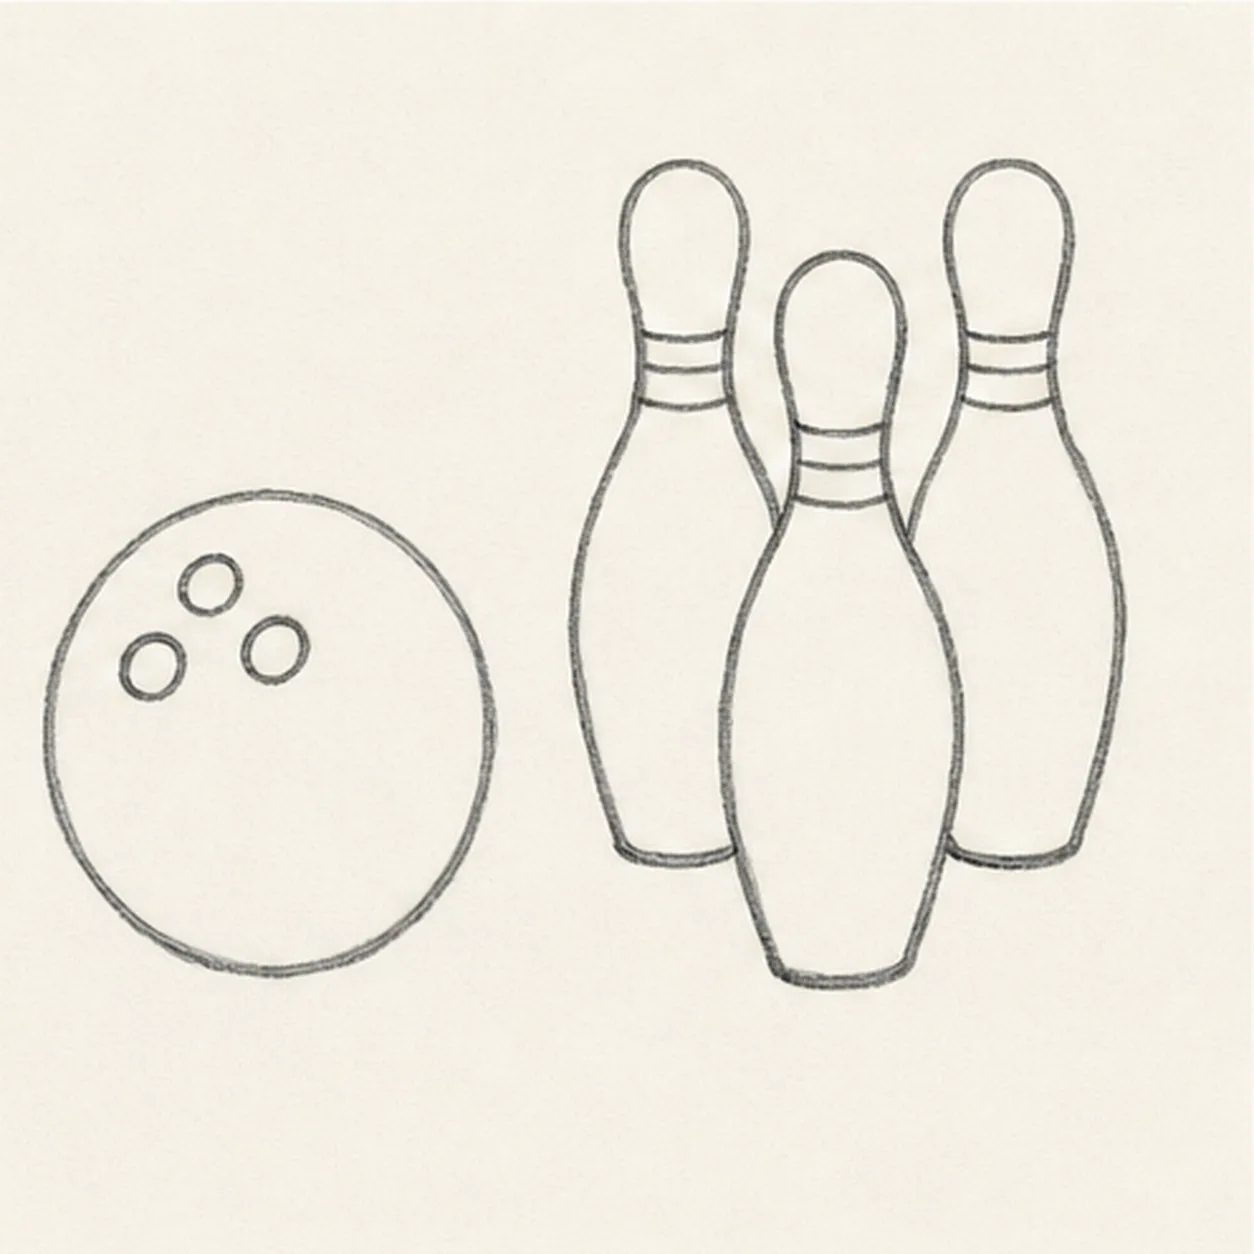
Add holes and pin bands
Add exactly three angled finger holes to the ball, paired neck bands to each pin, and short separation lines where the pins overlap.
Marker tip: Turn the three holes as a group so they suggest one rolling orientation. On the pins, follow each neck curve instead of drawing the bands as flat horizontal bars.
-
04
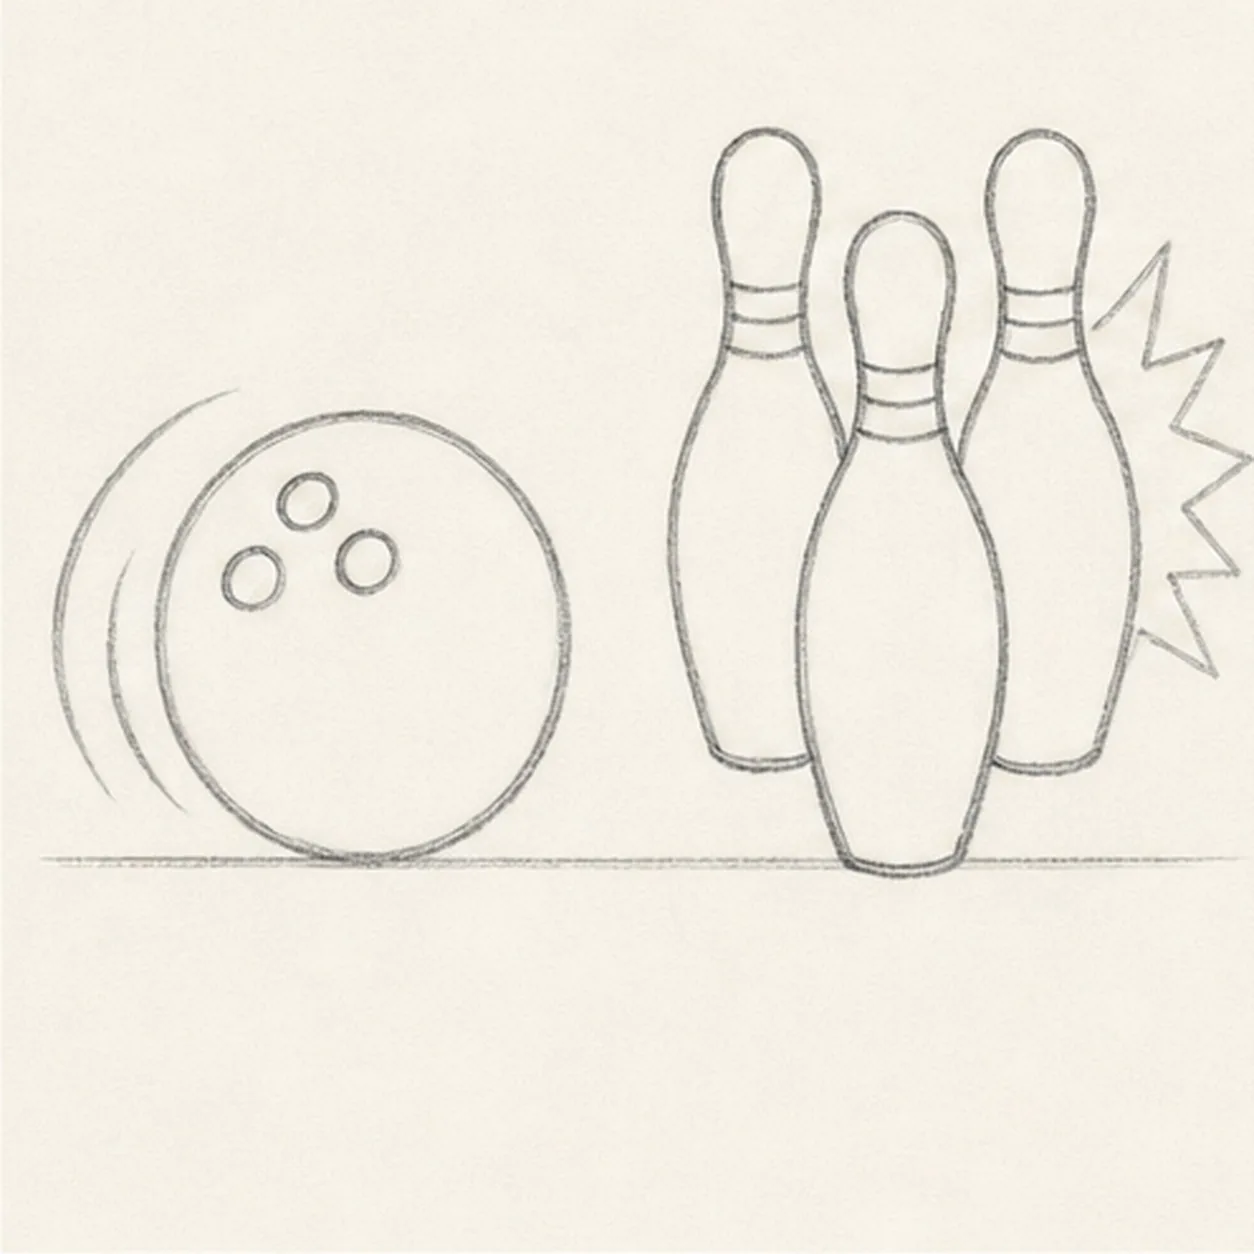
Show the strike motion
Add two curved motion arcs behind the ball, one compact impact burst behind the pins, and one shallow lane baseline.
Marker tip: Ghost both motion arcs before drawing them, then keep the burst behind the pin edges. The burst can change size or rhythm without becoming a frame around the subject.
-
05
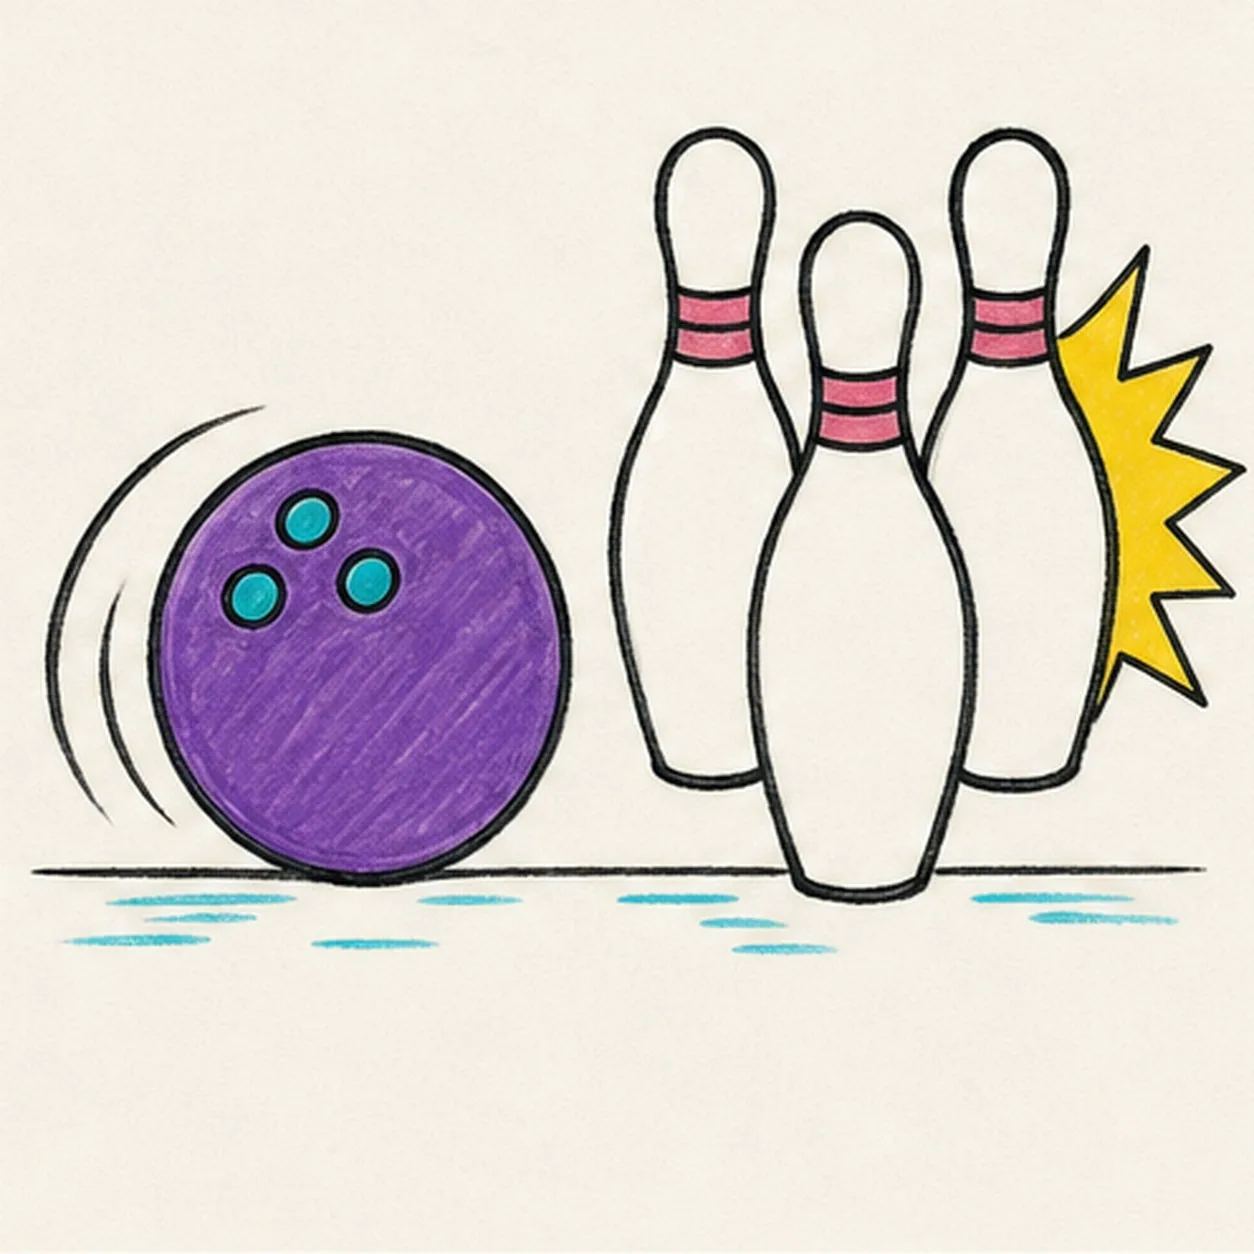
Ink and color the strike
Thicken the established contours with black marker, fill the ball purple, holes cyan, all three pin bands raspberry, and the impact burst yellow, then add small cyan lane accents.
Marker tip: Fill the purple ball with strokes that follow its round edge and let each area dry before reinforcing black lines. Leave the pin bodies mostly paper-white for contrast.
-
06
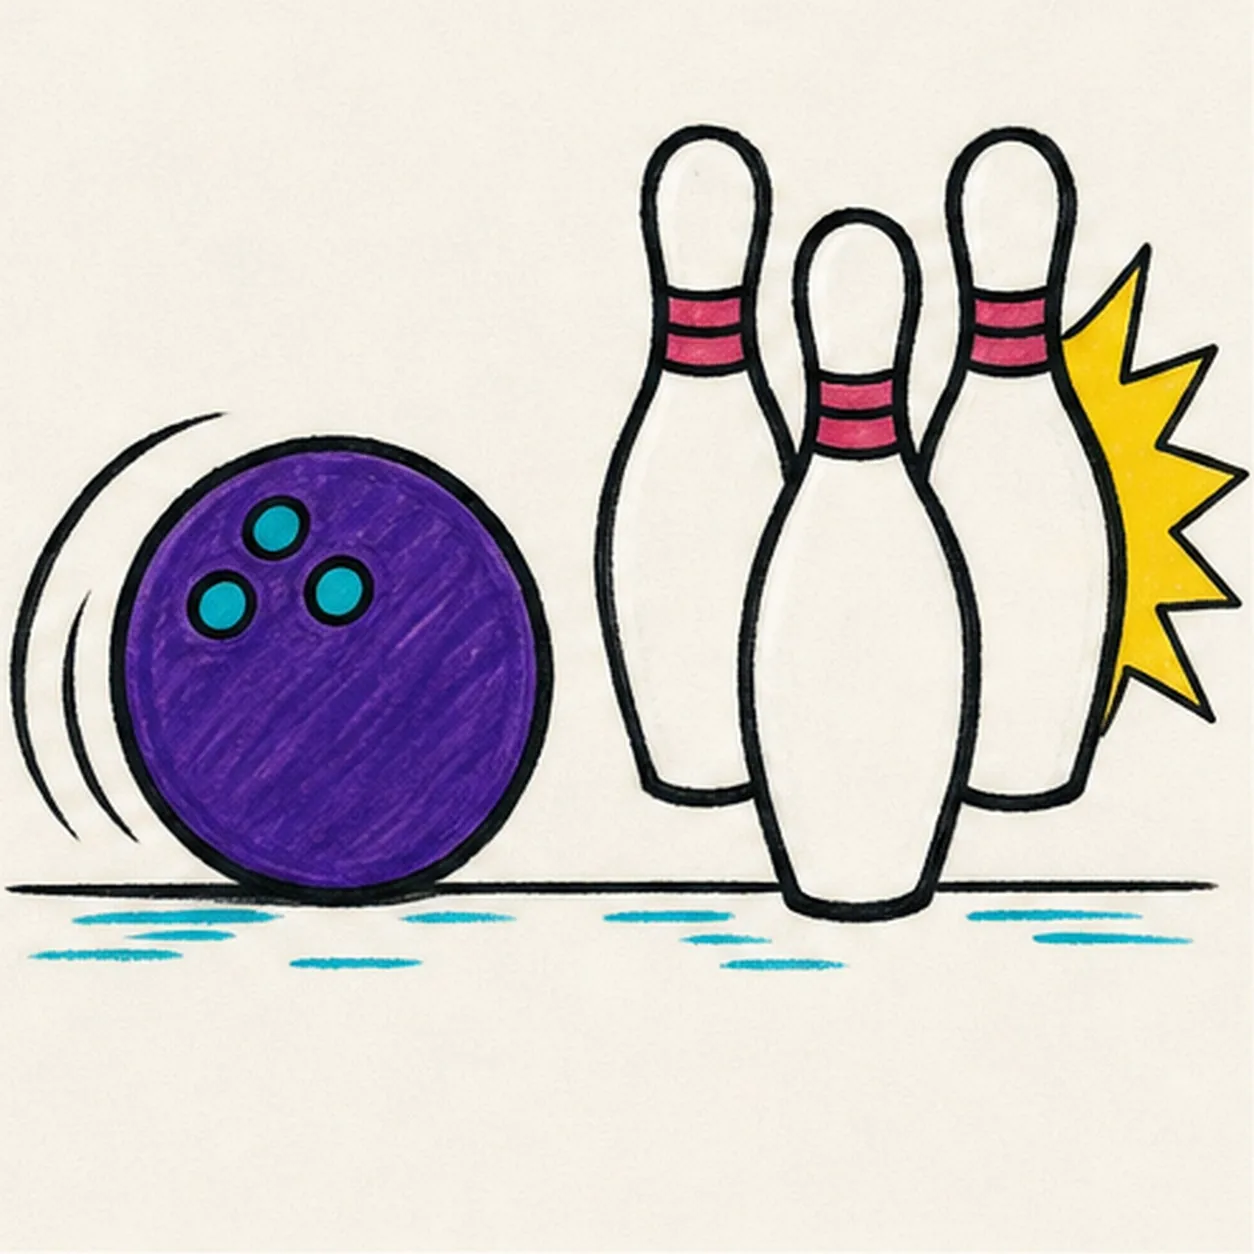
Roll in the final strike
Strengthen the keeper outlines and clarify the established ball, three pins, holes, bands, motion arcs, impact burst, baseline, marker fills, and highlight gaps.
Marker tip: Count one ball, three holes, and exactly three pins, then stop. A face, score, logo, crowd, shoe, sticker border, or badge frame would only muddy the action.


