
Felt-tip marker mode
Let's draw a cowboy hat
Treat this as one playful practice round: sketch the idea loosely, simplify the shapes, then commit with confident marker outlines and bright fills.
-
01
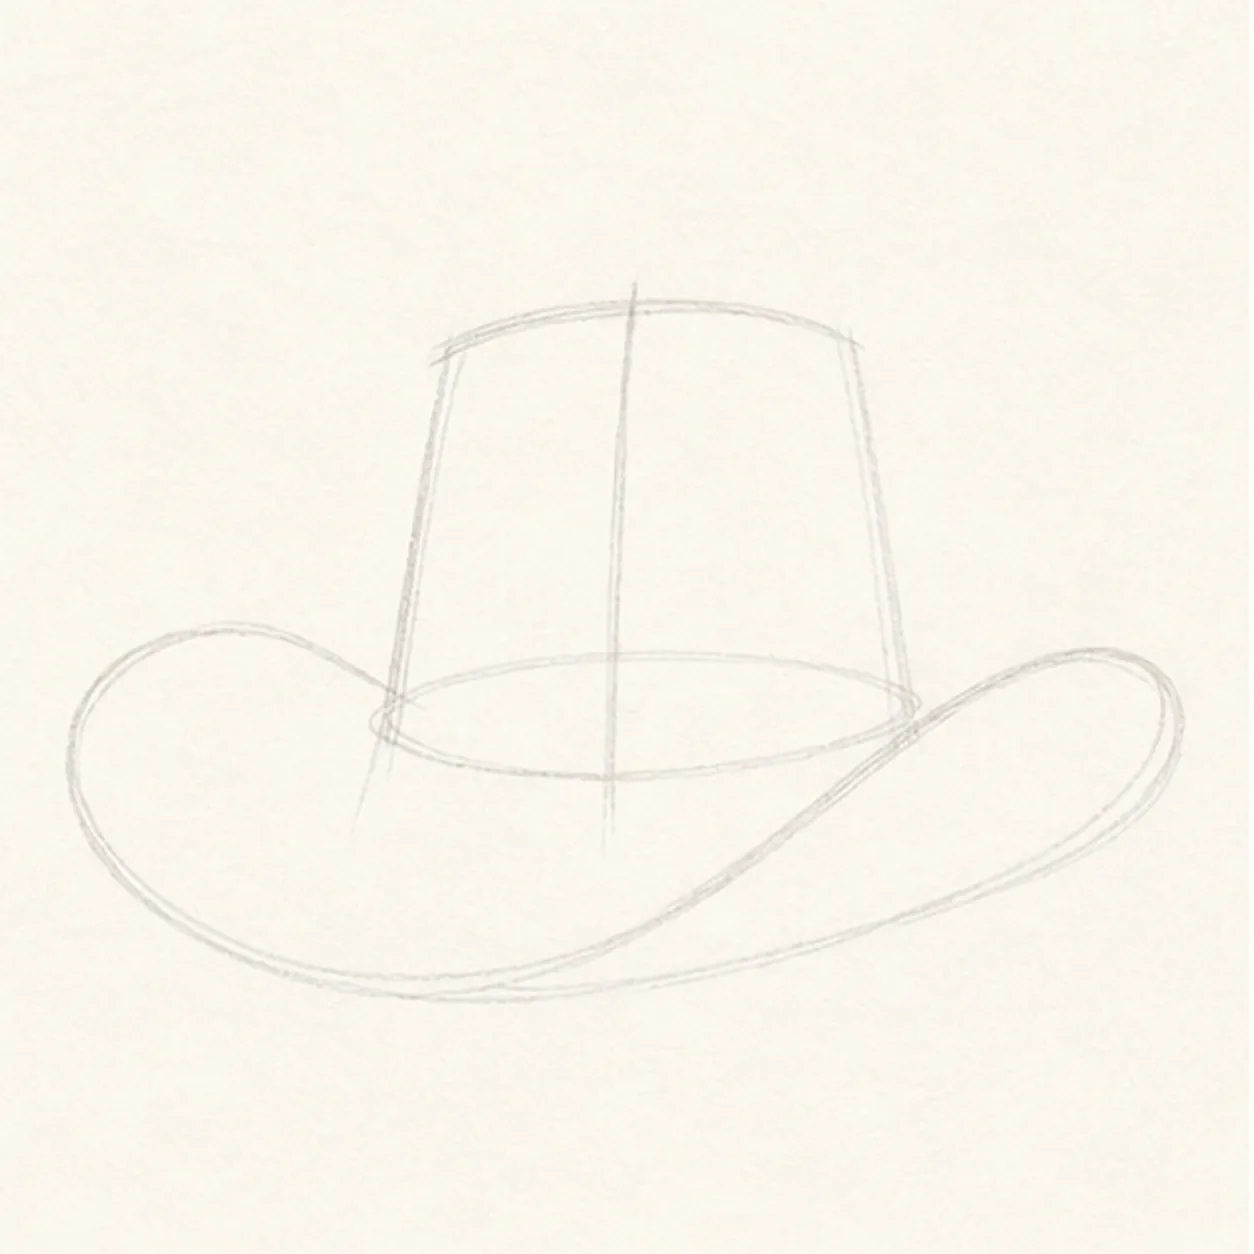
Sweep the hat gesture
Draw a light tilted brim sweep, add a centered crown axis, and place a tall tapered crown envelope above it.
Marker tip: Ghost the brim curve twice before touching down. Keep both curled ends related to that one sweep so the hat feels tipped, not twisted.
-
02
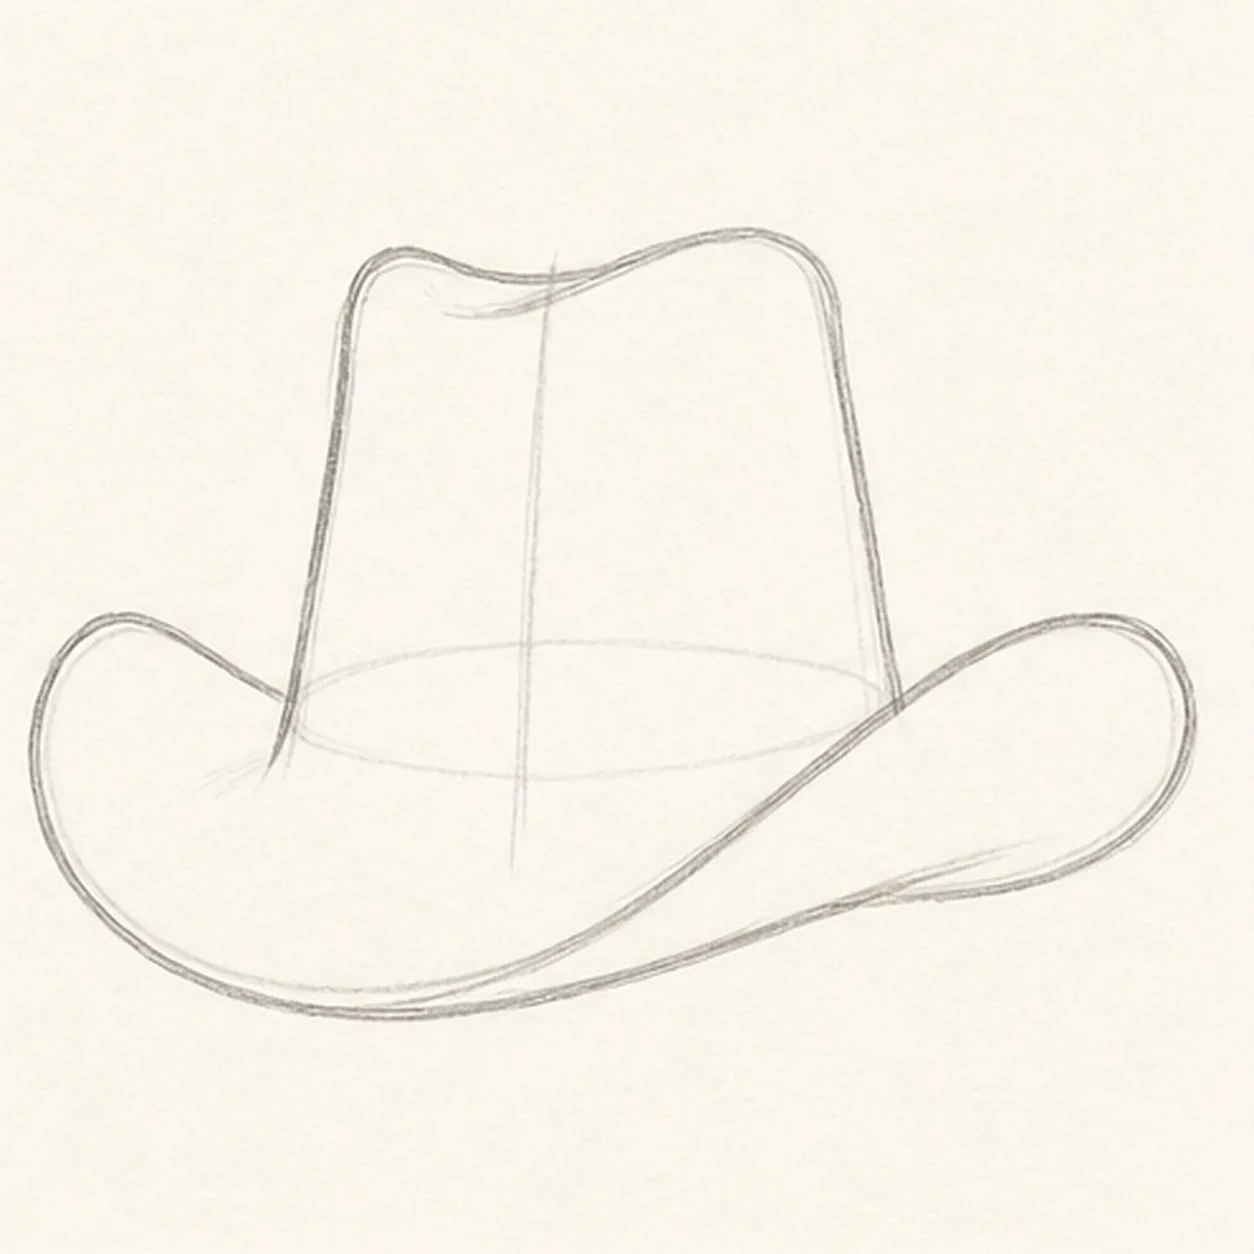
Shape the western silhouette
Wrap one readable contour around the guides to form the wide front brim, two upturned sides, and tapered crown.
Marker tip: Rotate the page for each long brim edge and pull the line in one confident pass. A little unevenness helps the marker finish feel handmade.
-
03
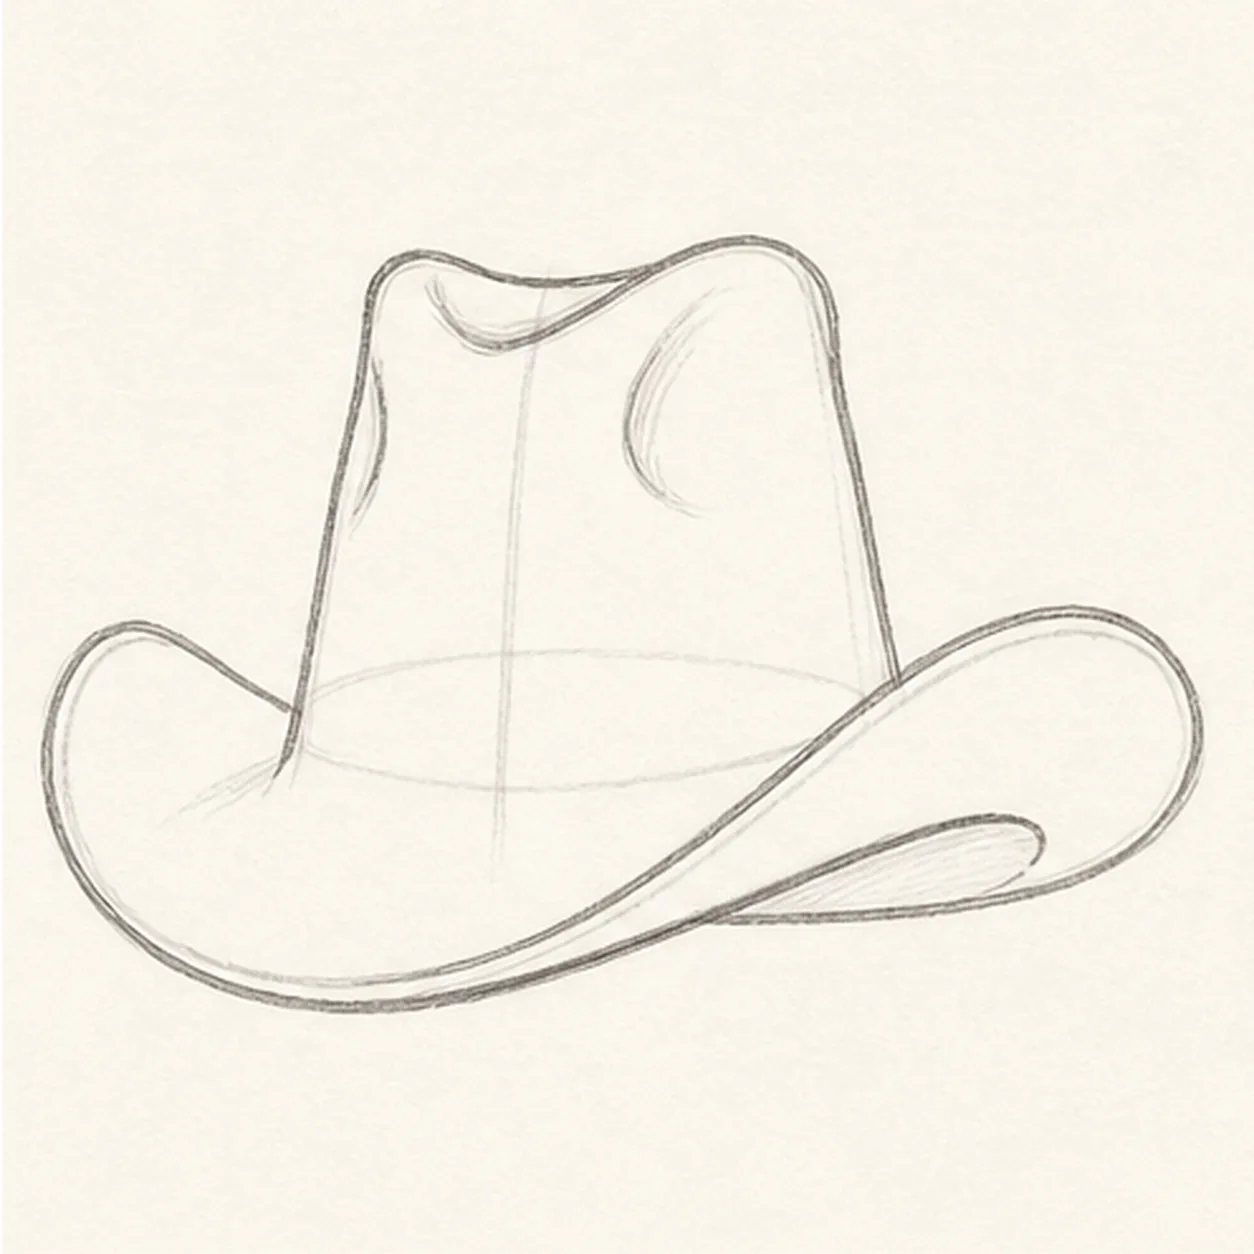
Pinch the crown and brim
Add the center crown dent, two side pinches, the front brim overlap, and the visible underside edge.
Marker tip: Compare the two empty spaces beside the center dent rather than forcing symmetry. Break the crown-base line wherever the near brim clearly crosses it.
-
04
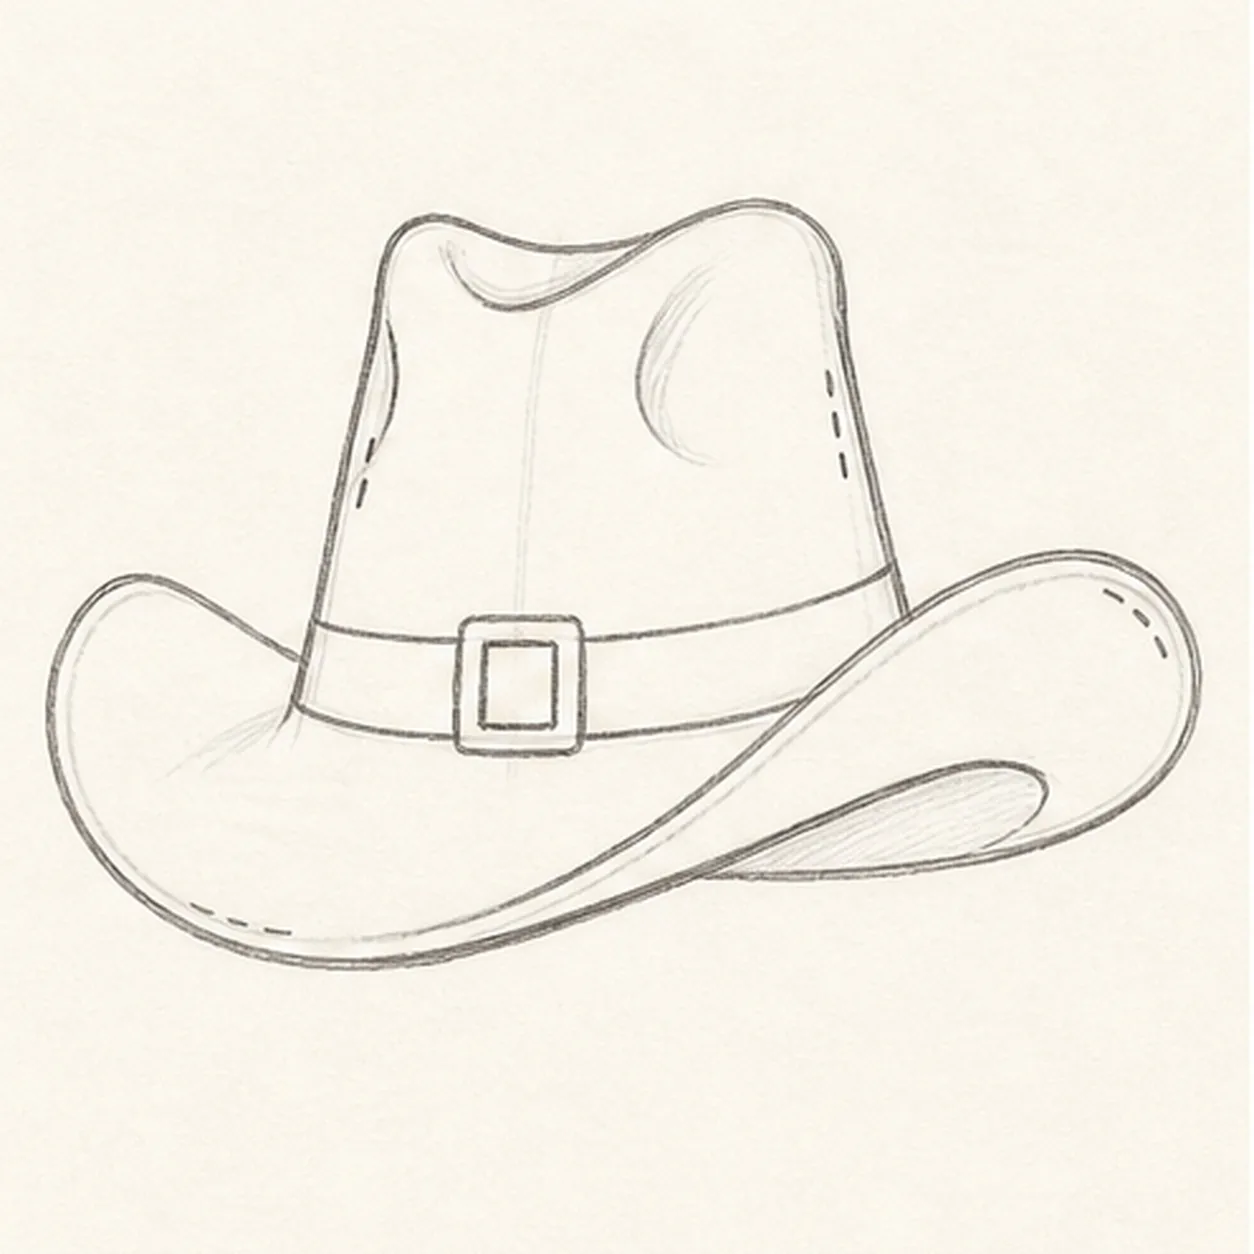
Wrap the hatband
Draw a simple band around the established crown base, then add one square buckle and a few short stitch accents.
Marker tip: Follow the crown's curve instead of drawing a flat horizontal strip. You can change the buckle shape or stitch rhythm while keeping the band easy to read.
-
05
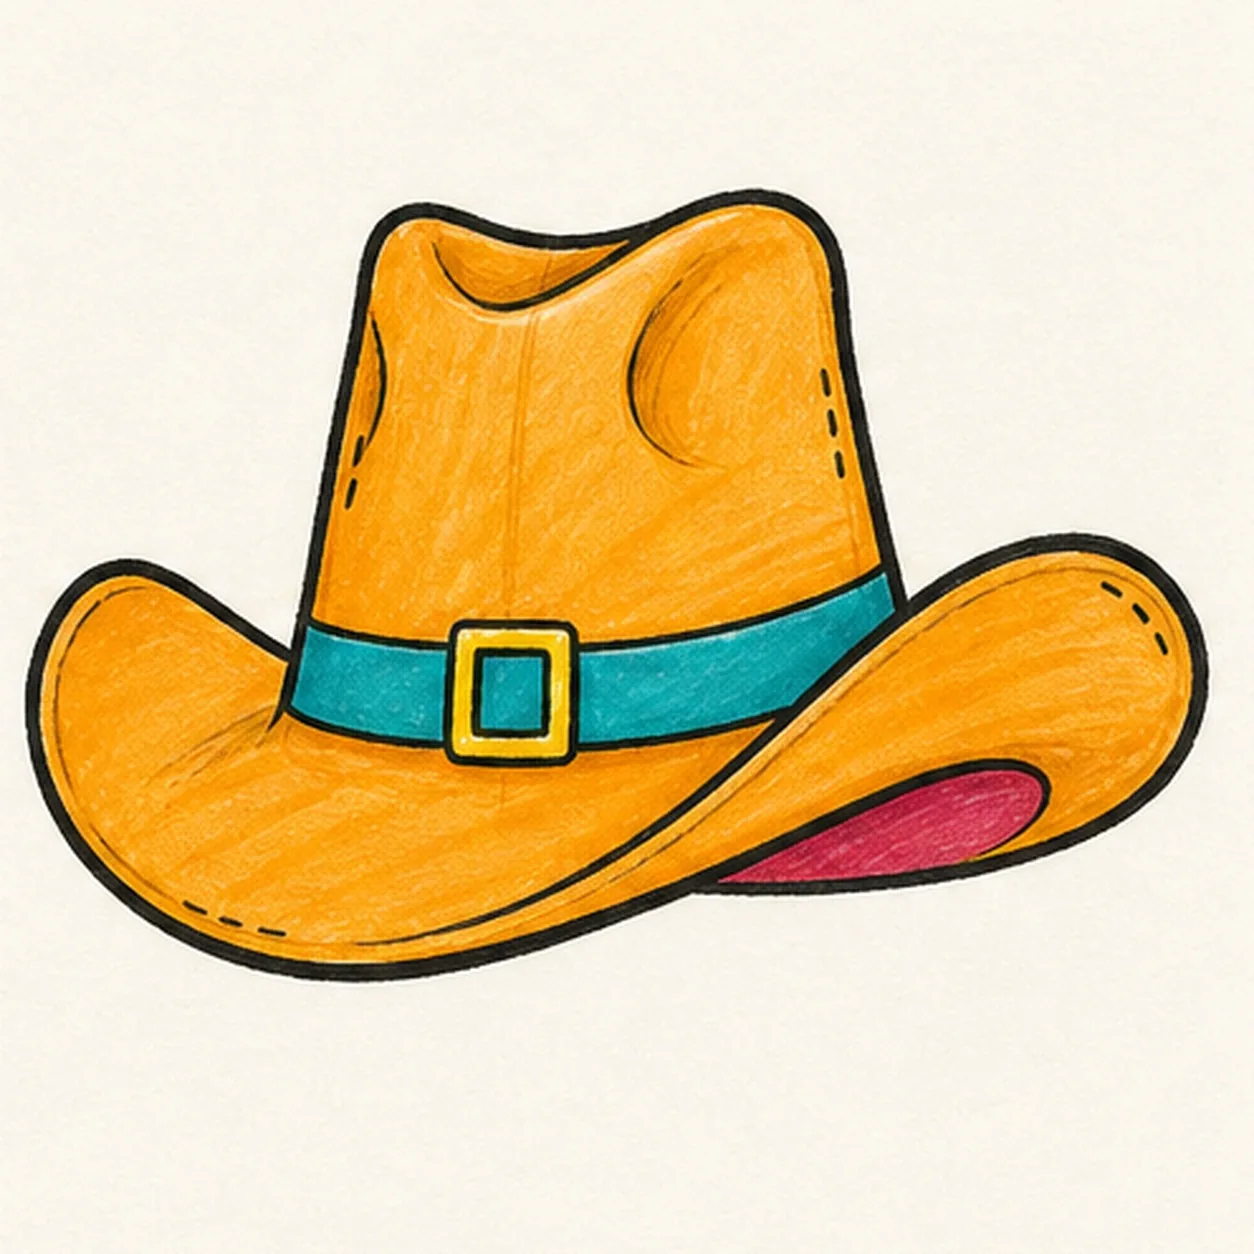
Ink and color the hat
Thicken every established contour with black marker, then fill the crown and upper brim golden orange, the underside raspberry, the band teal, and the buckle yellow.
Marker tip: Let each area dry before touching the black edge again. Pull the fill strokes along the brim and leave a few narrow paper gaps as intentional highlights.
-
06
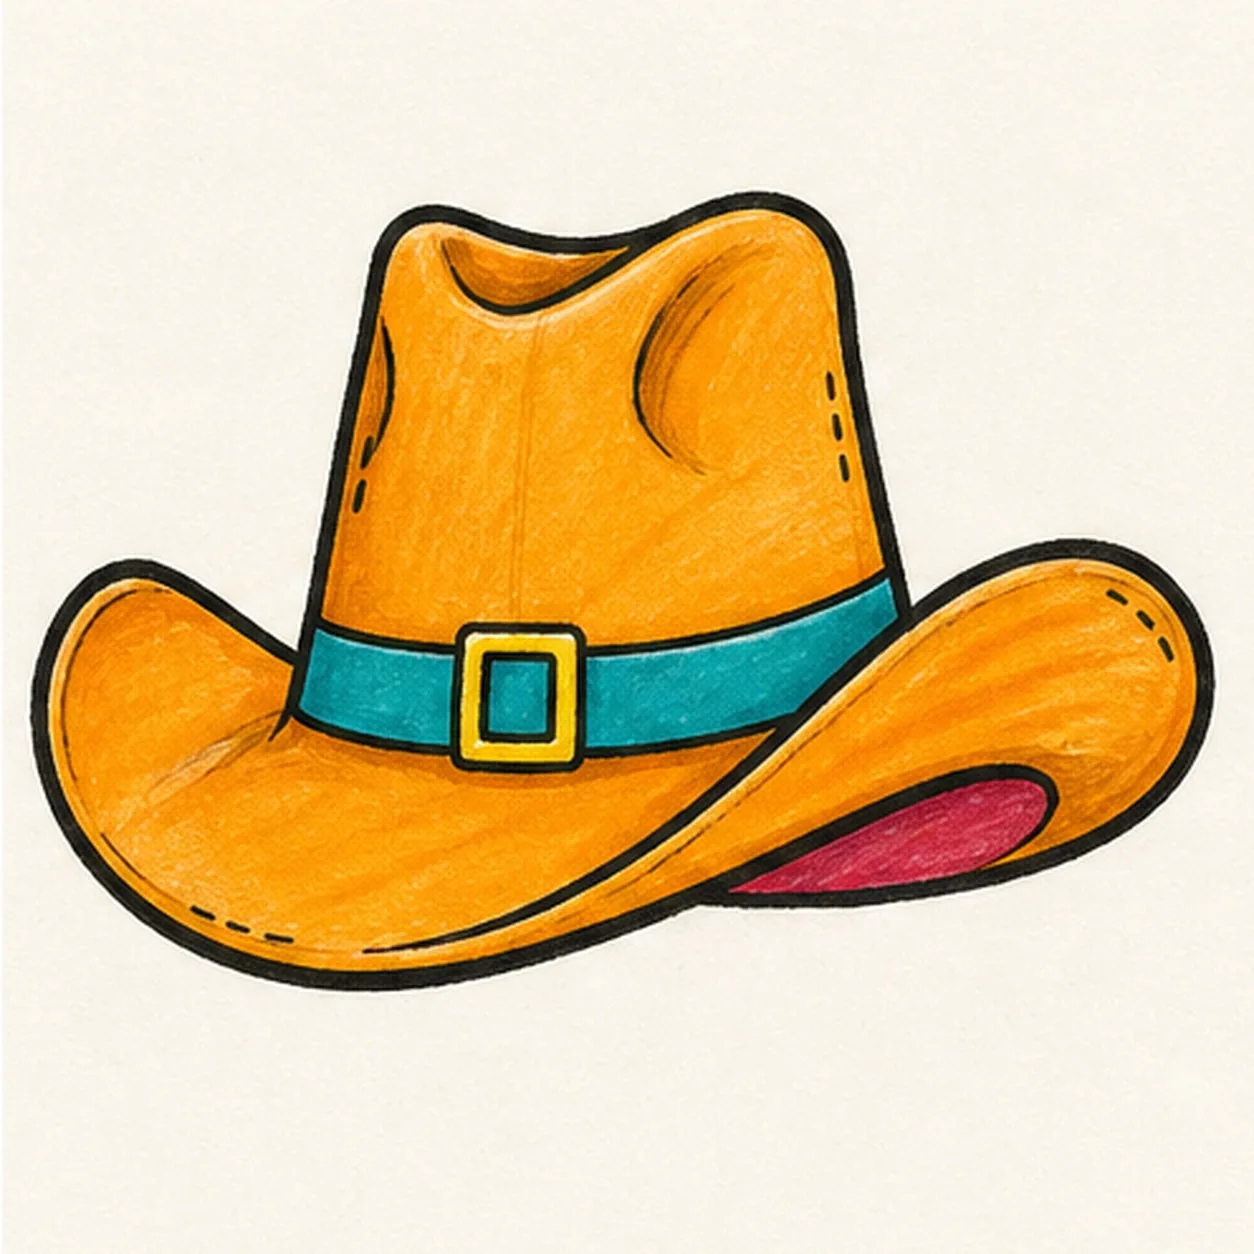
Tip the hat to the finish
Strengthen the keeper outlines and clarify the established dents, brim overlap, band, buckle, stitch marks, marker fills, and highlight gaps.
Marker tip: Check that the band still wraps behind the buckle and the raspberry underside stays inside its existing edge. Stop before adding a face, head, boots, rope, text, or border.


