Felt-tip marker mode
Let's draw a waving cartoon ghost
Treat this as one playful practice round: sketch the idea loosely, simplify the shapes, then commit with confident marker outlines and bright fills.
-
01
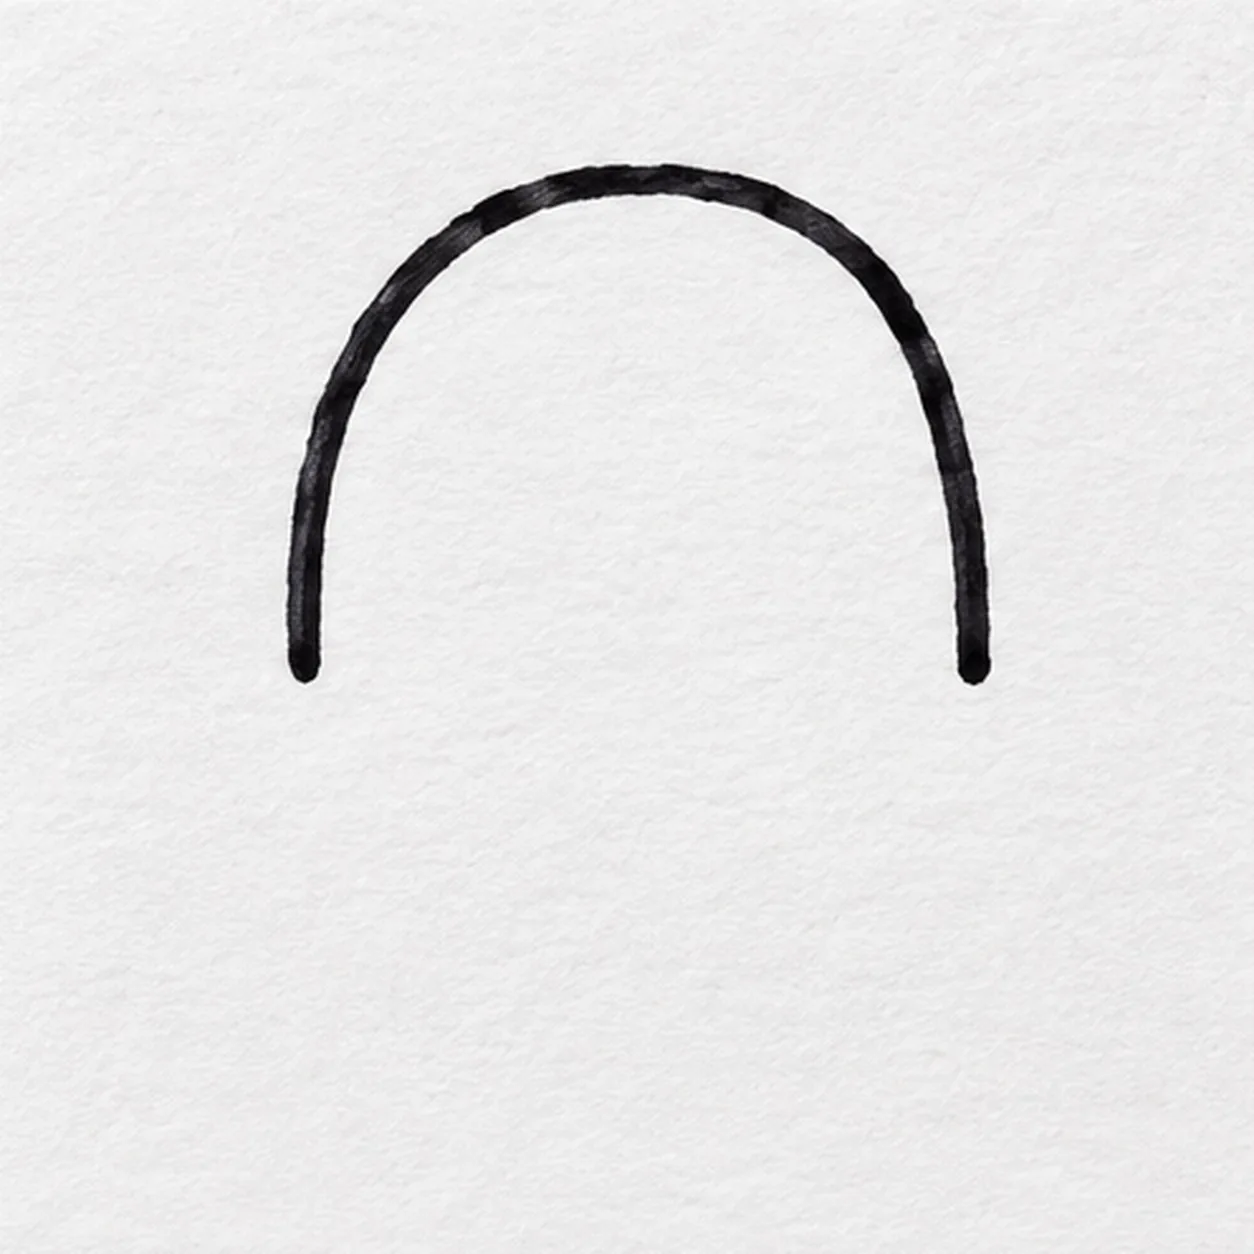
Start the ghost arch
With black felt tip, sweep a round arch over the head and bring both sides partway down. Pause at the shoulders and leave the bottom open for the waving arms and floating hem.
Marker tip: Leave the shoulder gaps open so both arms attach cleanly without tracing over a dark line.
-
02
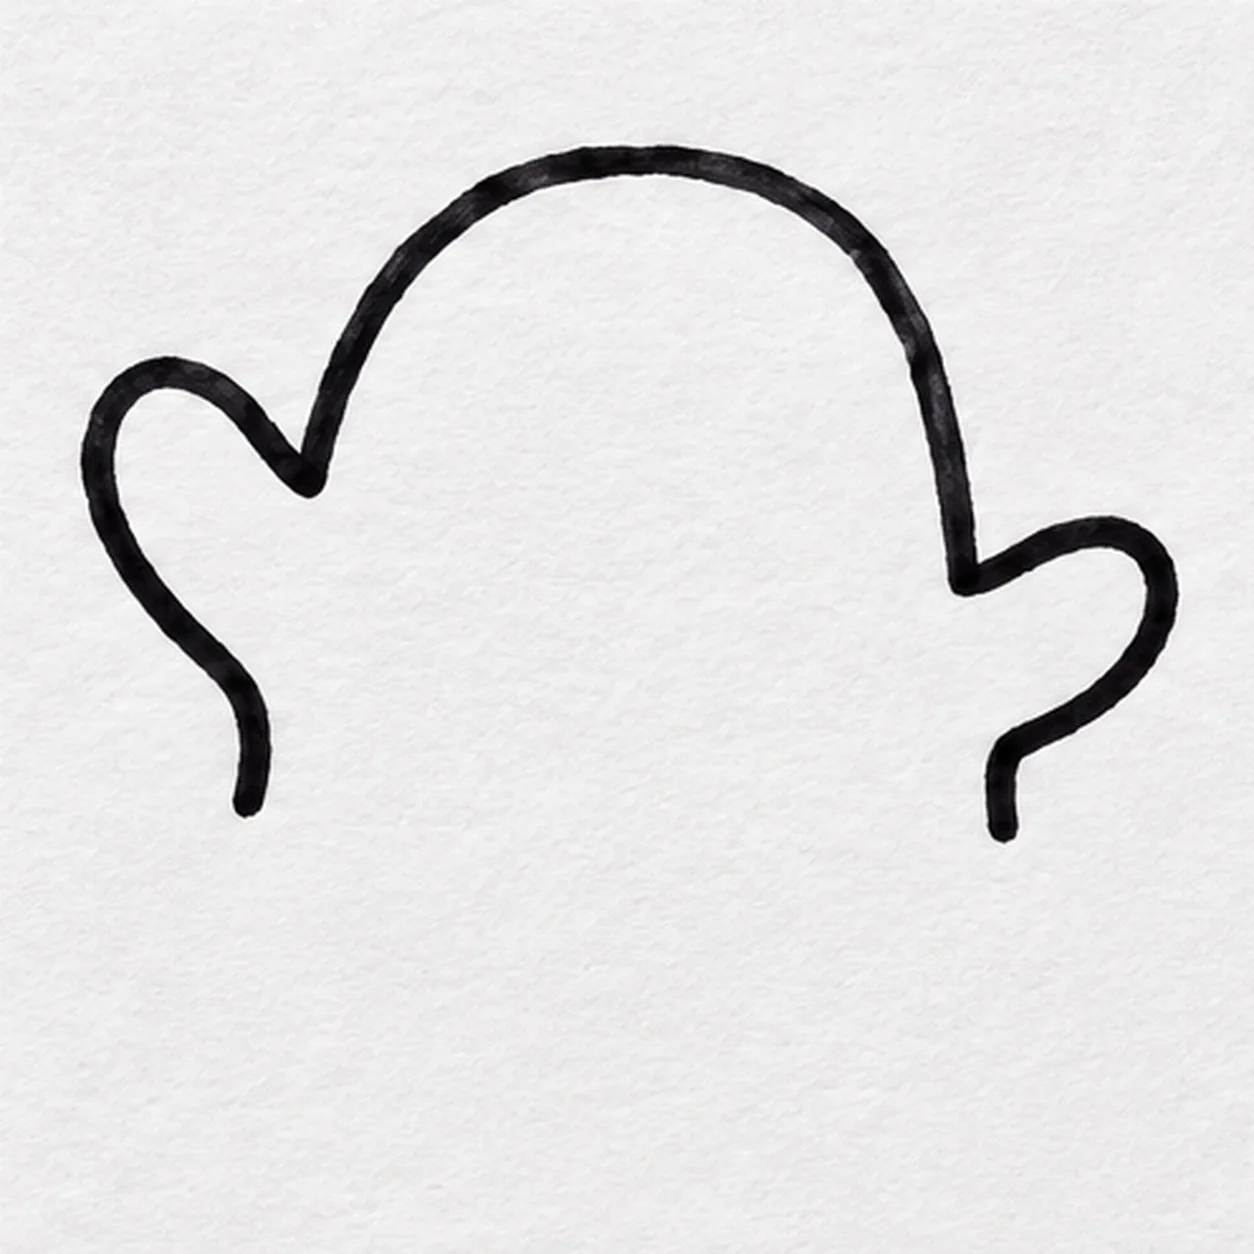
Attach the waving arms
From the left shoulder gap, curve a rounded arm upward and return to the body. On the right, attach one short outward arm, keeping the head arch fixed.
Marker tip: Let the left arm rise above the right; those unequal heights create the wave.
-
03
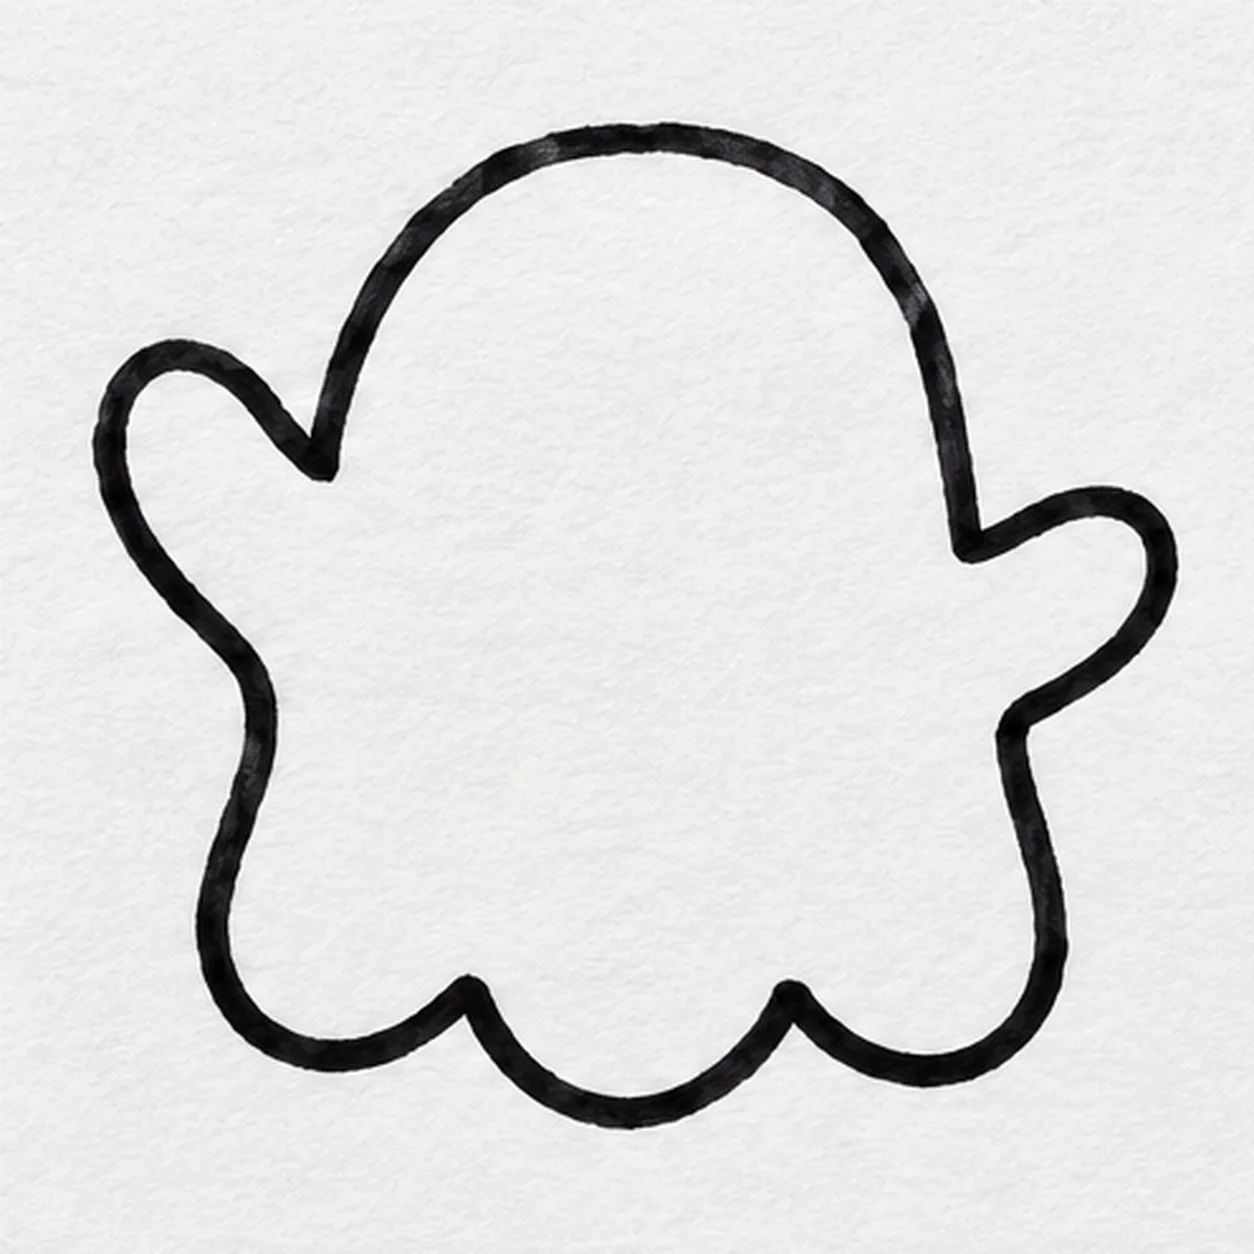
Float the three-part hem
From the left lower side, sweep three broad rounded scallops across to the right lower side. Count three humps and leave the ghost hovering above blank paper.
Marker tip: Make each scallop broad enough to count at thumbnail size.
-
04
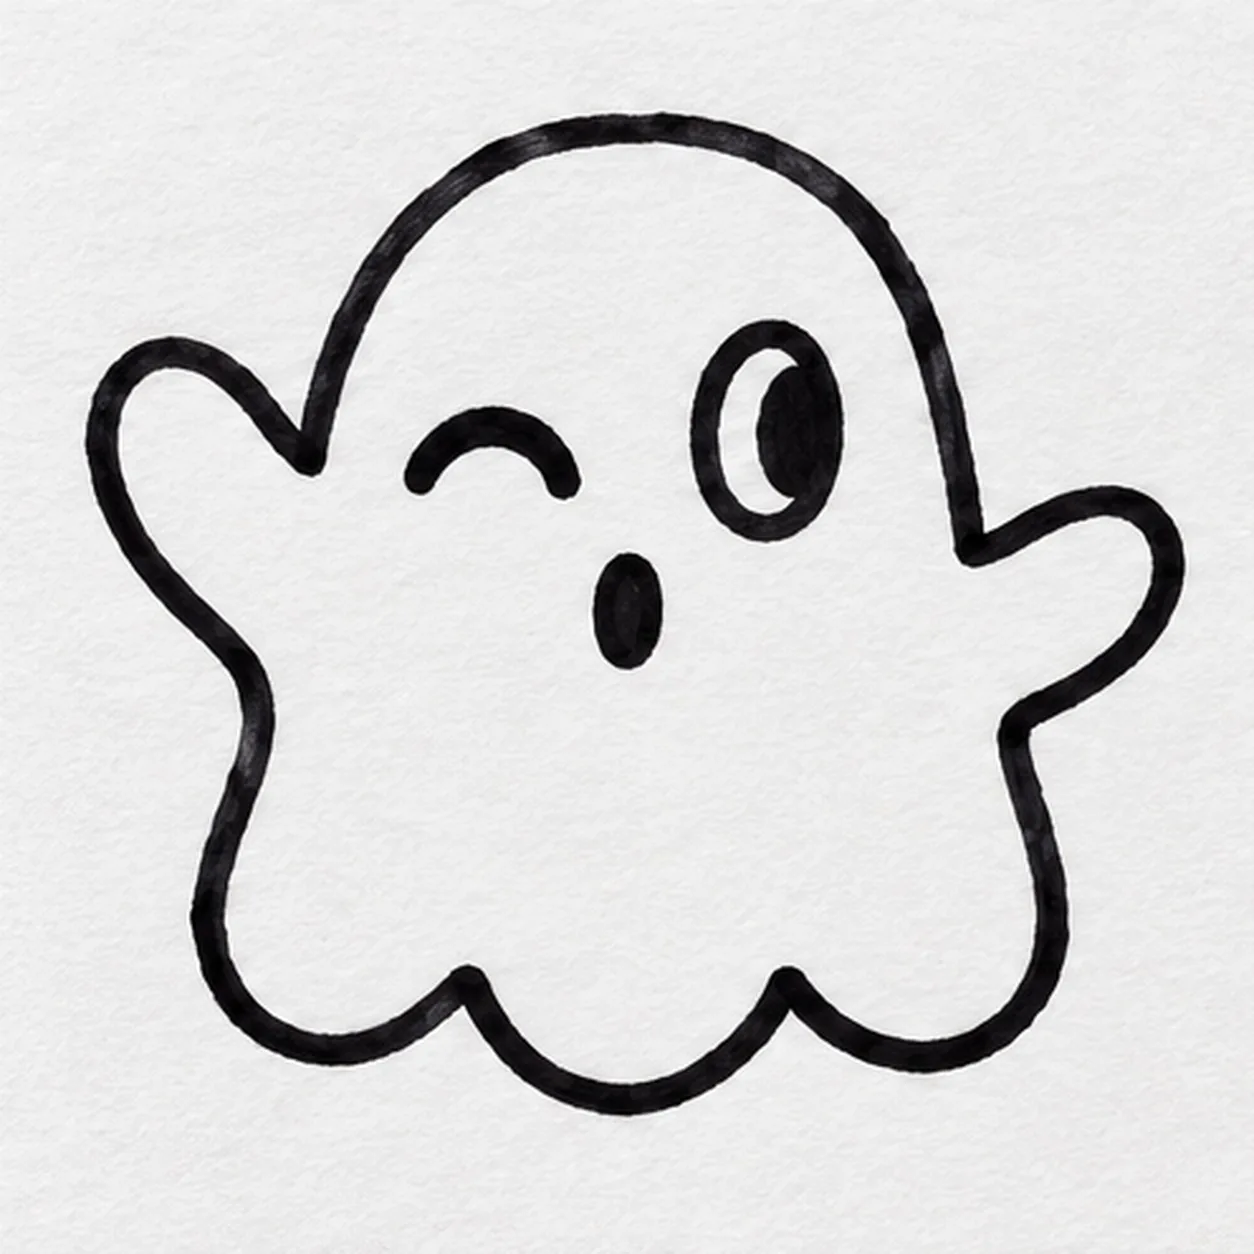
Give the ghost a surprised wink
Place a curved closed eye on the left and a larger open eye with a rightward pupil on the right. Below their gap, draw a small upright oval mouth.
Marker tip: The curved wink and large side-looking eye give this face a different expression from a standard two-dot smile.
-
05
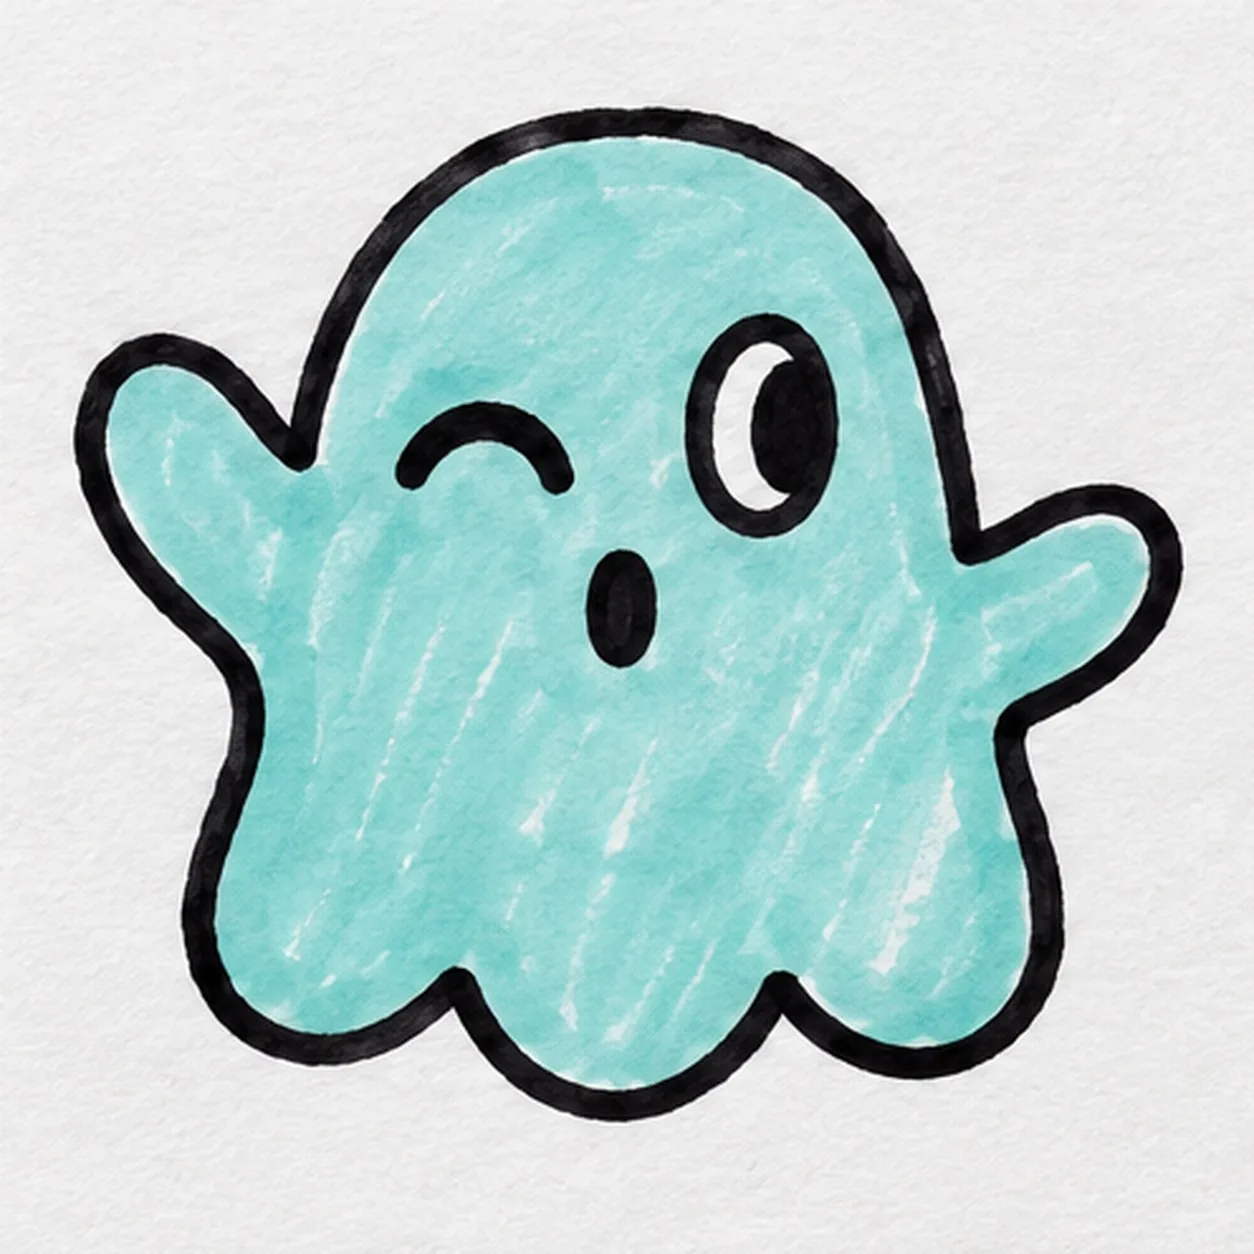
Color the floating ghost
Stroke pale teal marker inside the ghost's fixed outline, leaving strips of white paper for glow. Keep the wink, rightward pupil, oval mouth, both arms, and three hem scallops clear; thicken only existing black edges.
Marker tip: Short overlapping strokes leave real felt-tip texture and keep the face crisp.