Felt-tip marker mode
Let's draw a striped witch hat
Treat this as one playful practice round: sketch the idea loosely, simplify the shapes, then commit with confident marker outlines and bright fills.
-
01
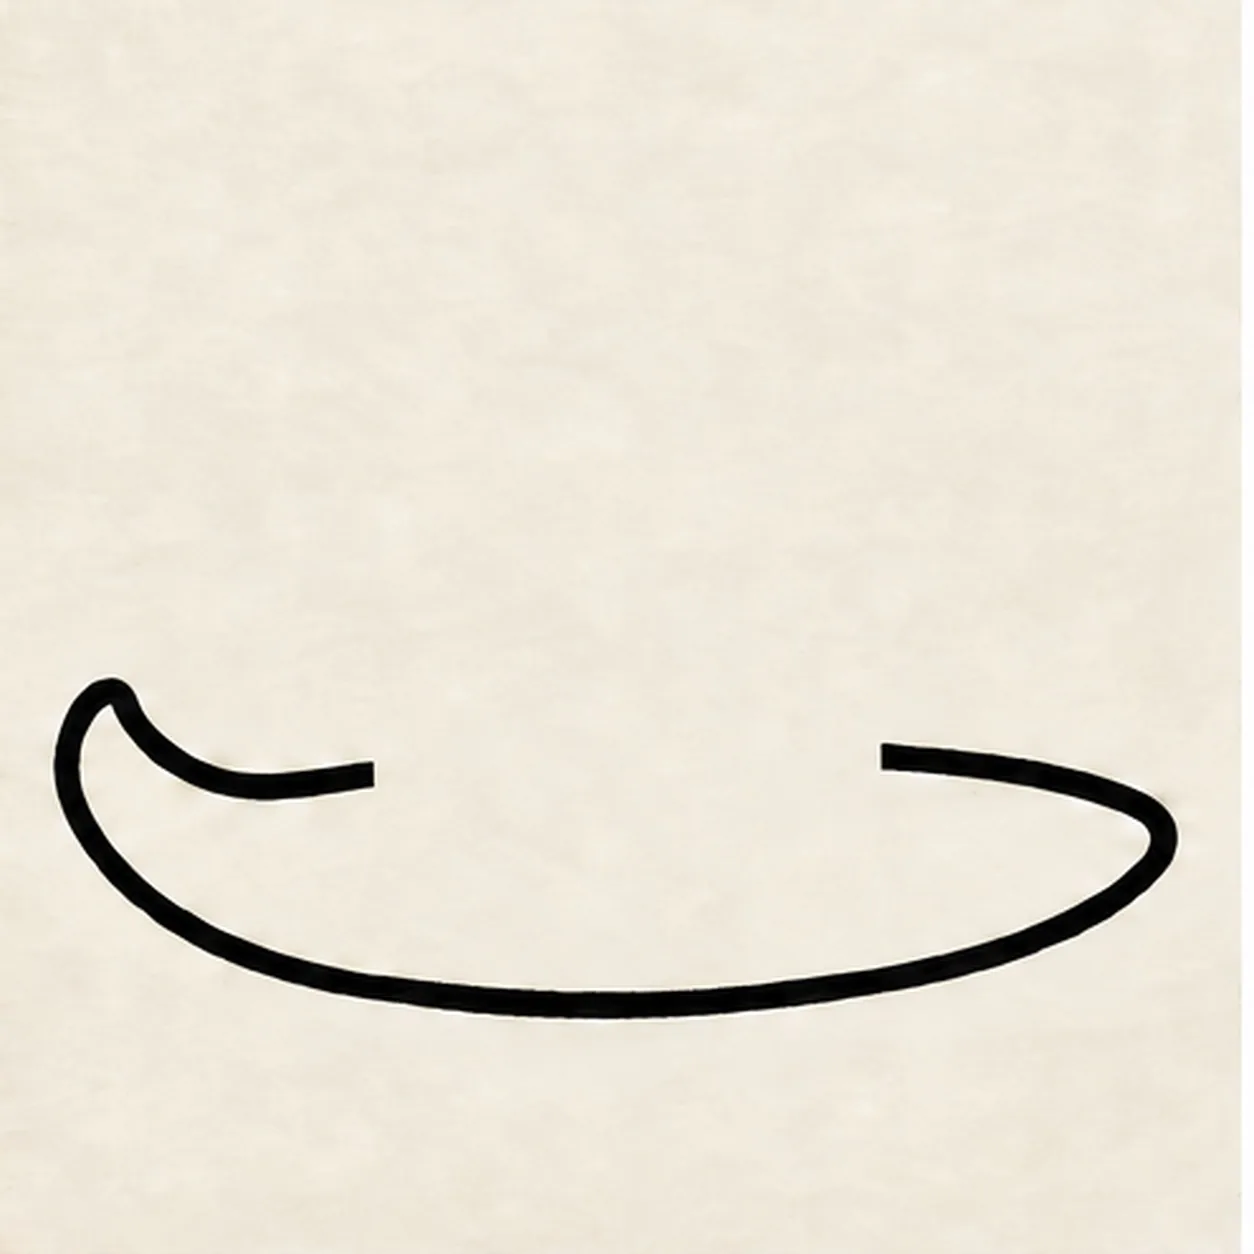
Sweep the brim
Ghost a wide oval sweep, then pull the front brim curve from the lifted left tip to the right edge. Leave a broad opening in its upper middle for the crown base.
Marker tip: Ghost the brim twice in the air, then leave the crown-width gap open between its two upper ends.
-
02
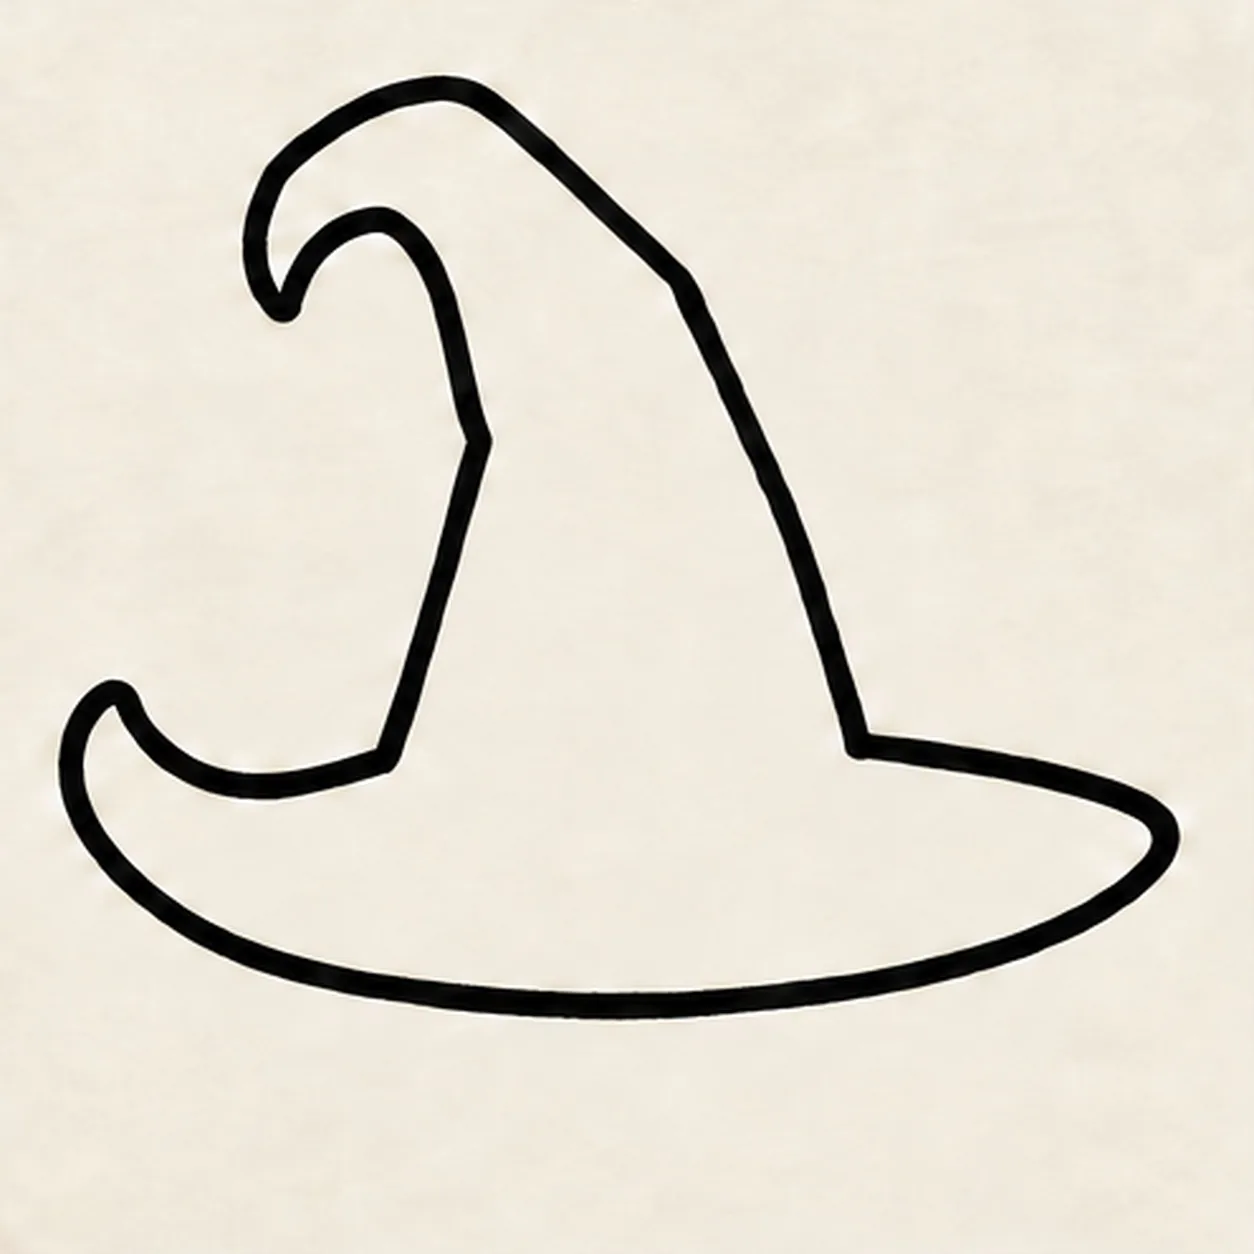
Bend the tall crown
From the inner brim, draw two sides rising into a tall crown; curl the narrow tip left. Stop both sides at the brim opening without drawing through the brim.
Marker tip: Draw the left crown edge up to its curl and return down the right edge; keep the brim clear.
-
03
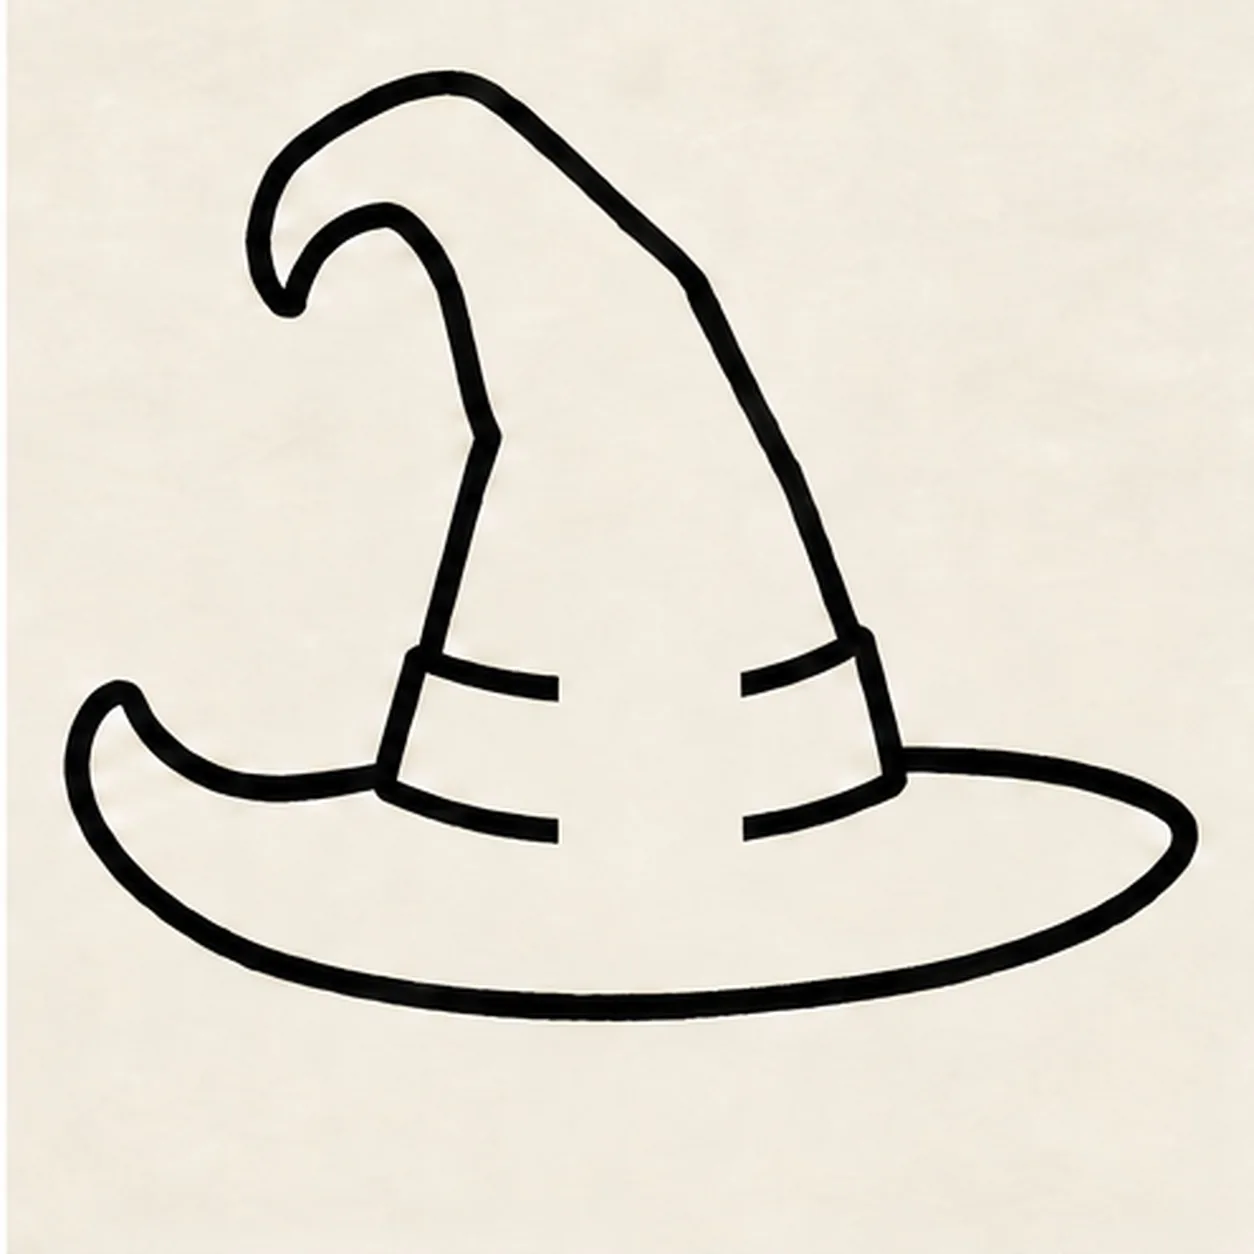
Wrap the hatband
Draw one short upper and lower band curve from each crown side toward the center. Stop both pairs before the middle so a square buckle can occupy the clean gap.
Marker tip: Reserve a buckle-width blank space in the middle of both band boundaries.
-
04
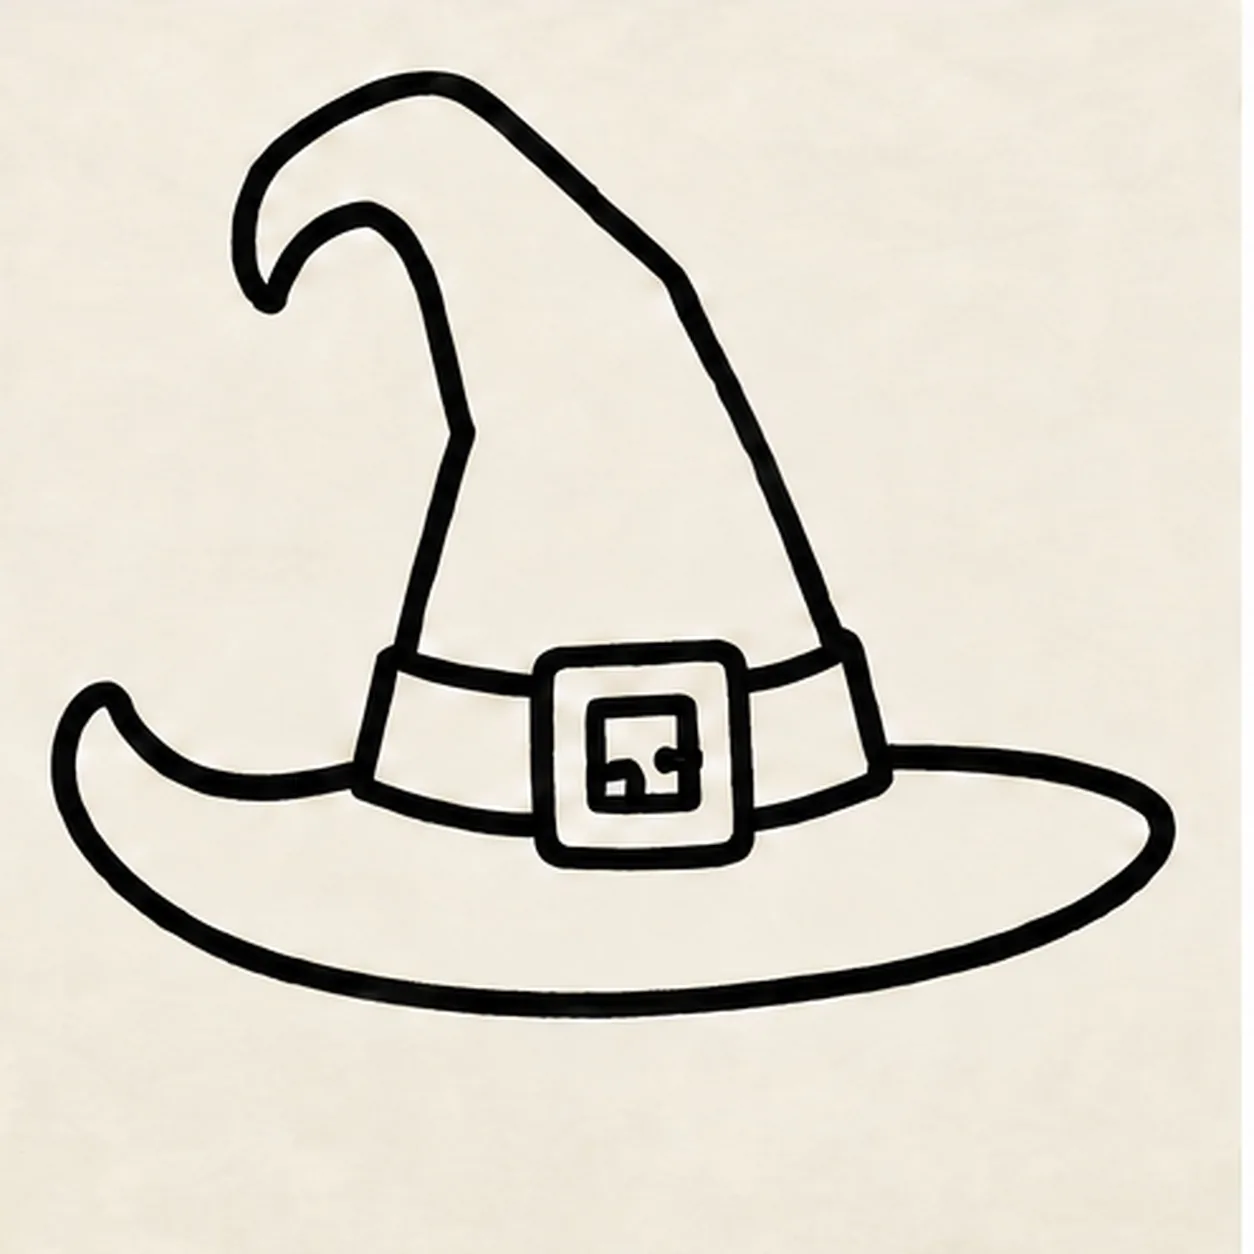
Set the buckle
Center a chunky square buckle on the band, leaving a narrow gap inside its frame. Add one short tongue pointing toward the buckle center.
Marker tip: Center the square over the empty gap, then keep the tongue inside its frame.
-
05

Stripe and sparkle
Draw two shallow curved stripe boundaries across the crown and one four-point star outside each brim tip. Let the ink dry, then fill only the existing band orange.
Marker tip: Let the black outlines dry before orange fill; count two stripes and two stars.
-
06
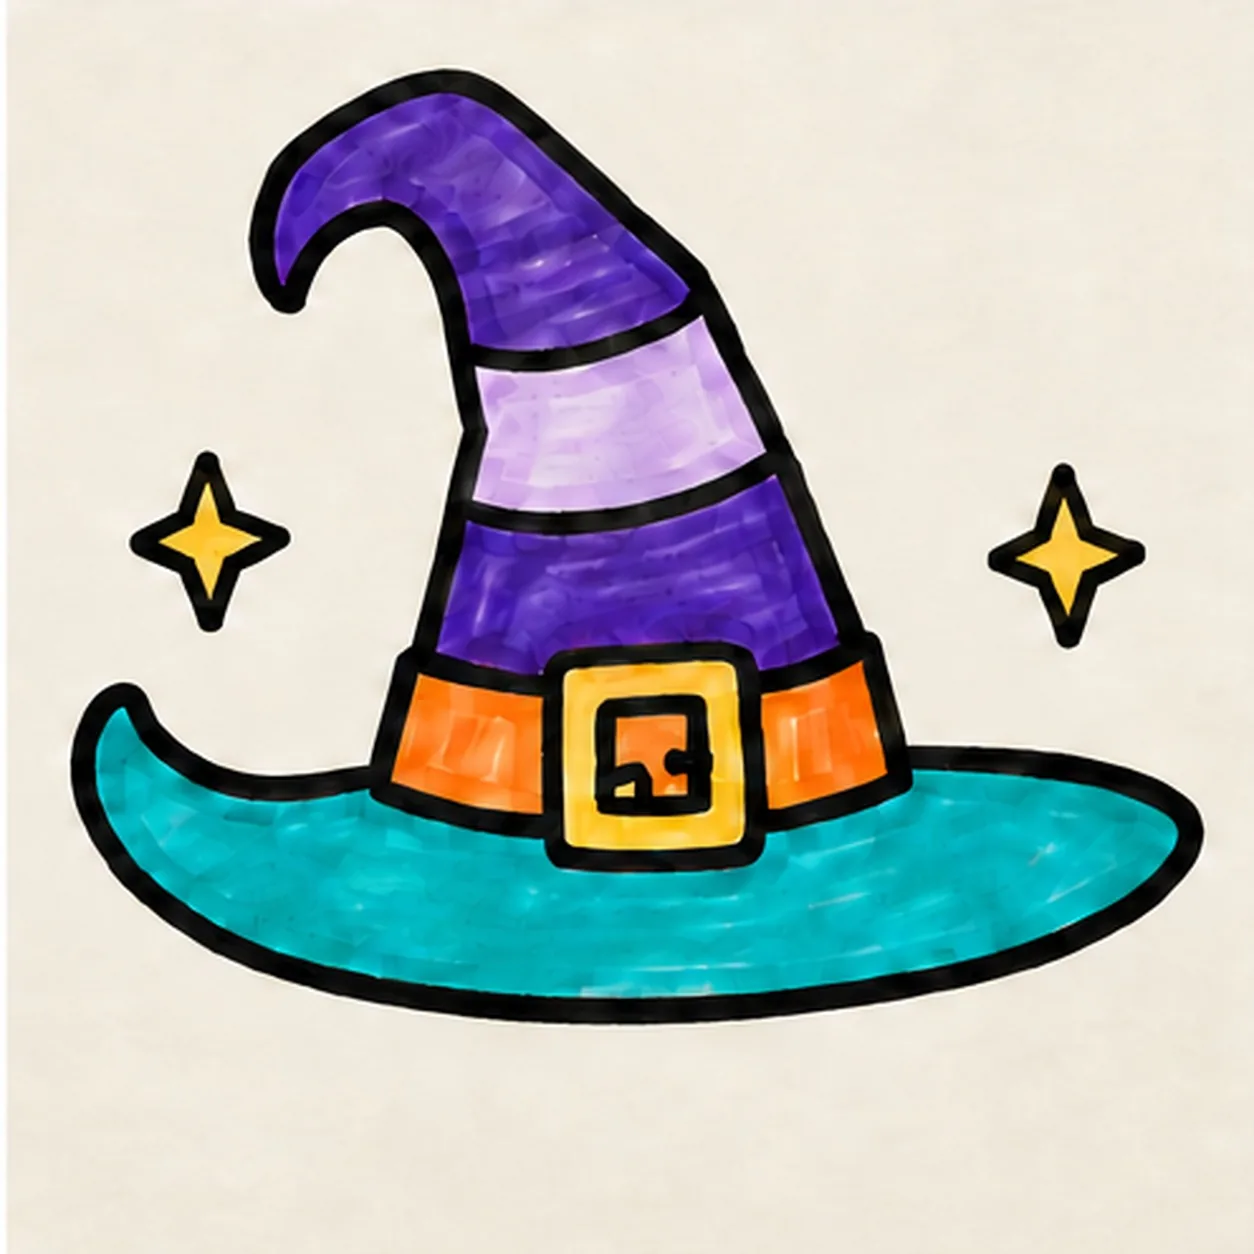
Color the witch hat
Fill the established crown bands alternating purple and lilac, following their curves with marker strokes. Color the brim teal, the same buckle and two stars yellow, and leave paper streaks for texture.
Marker tip: Pull color strokes along each curved band and leave narrow white paper streaks; try other two-color stripe combinations if you like.