Felt-tip marker mode
Let's doodle a red white and blue popsicle badge
Treat this as one playful practice round: sketch the idea loosely, simplify the shapes, then commit with confident marker outlines and bright fills.
-
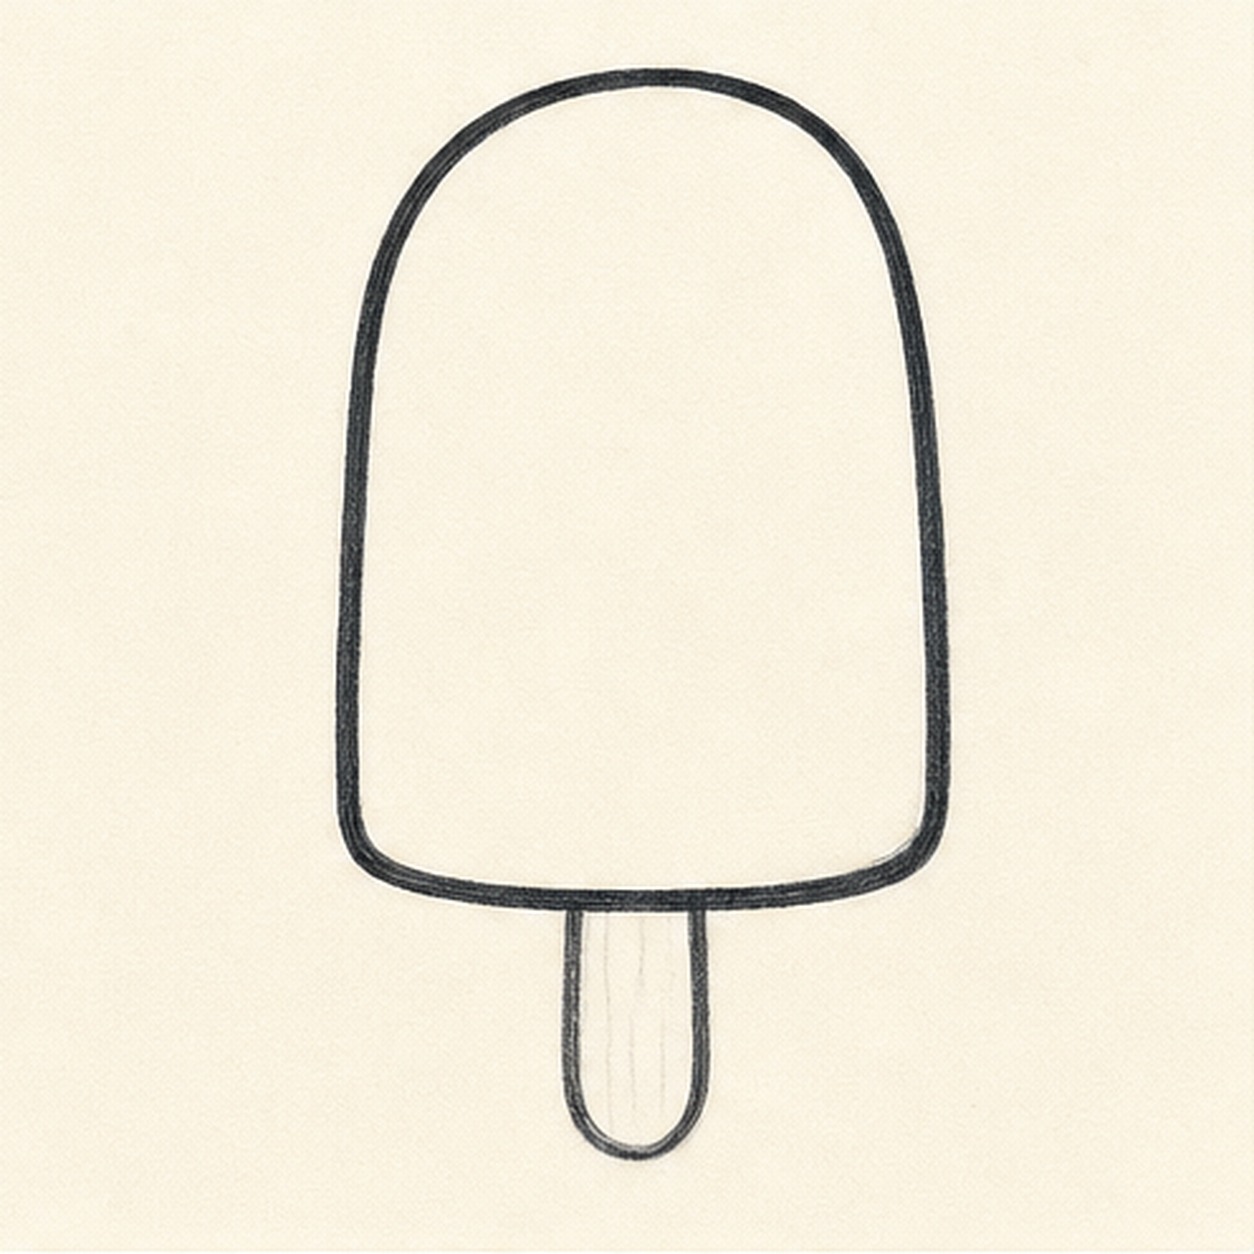
01
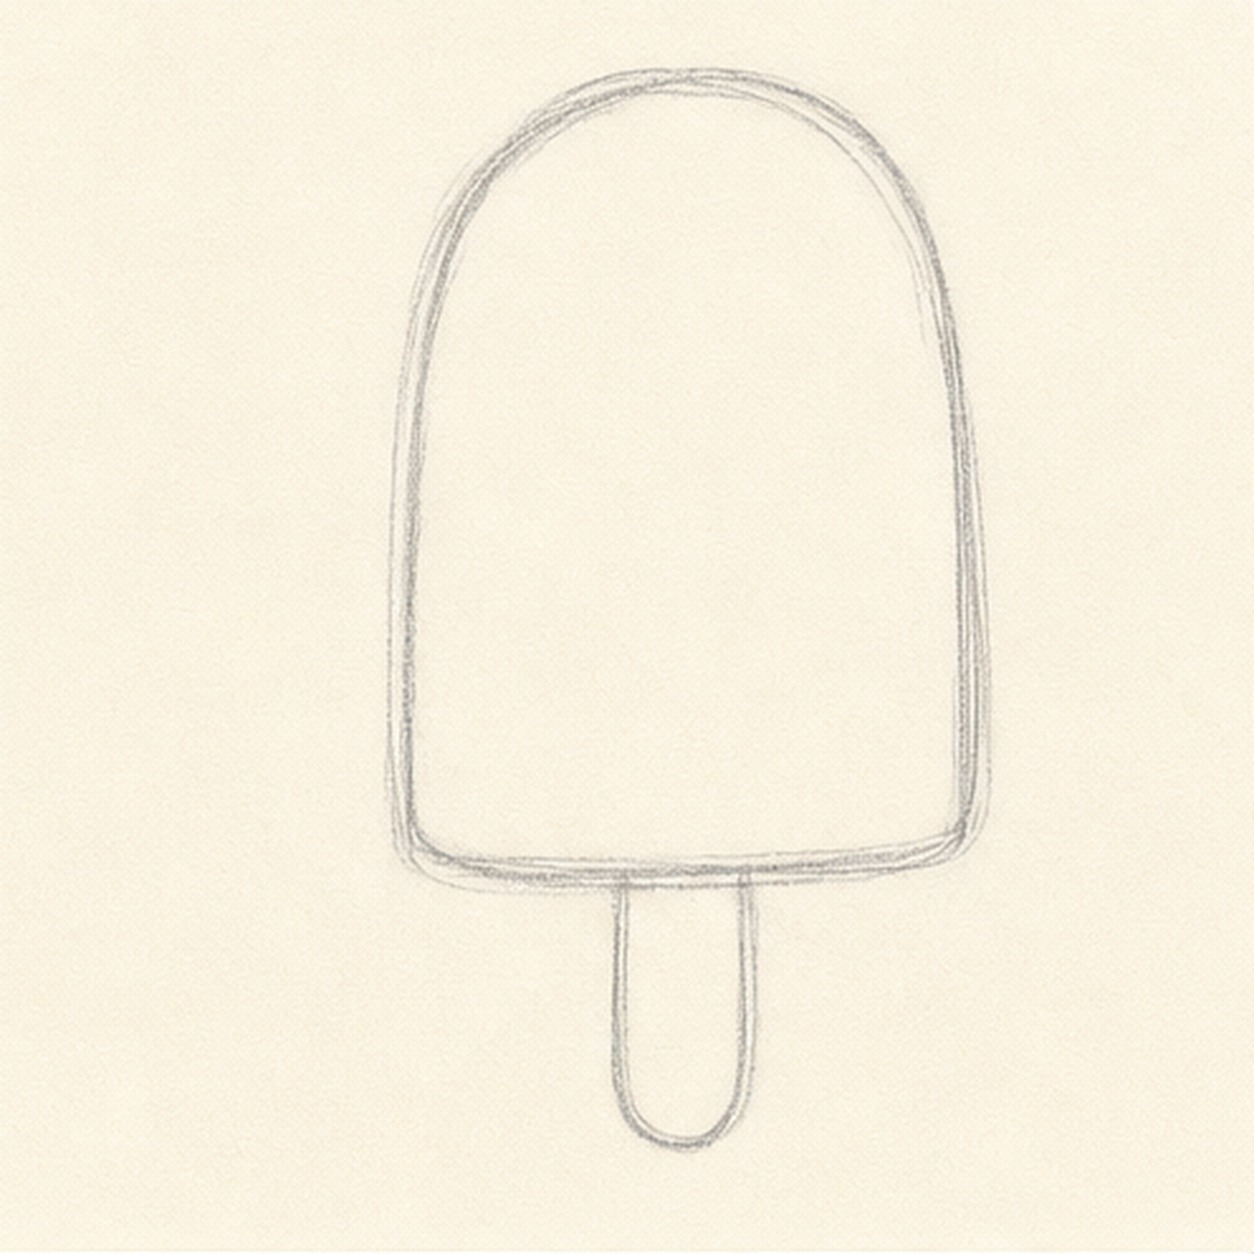
Block the popsicle
Draw a tall rounded popsicle body with a soft top and a flatter bottom edge.
Doodle tip: Make the body wide enough for color bands. Rounded corners are what make it feel sticker-like.
-
02
Add stick and outline
Place a small centered stick under the body, then trace the outside with a thicker black marker line.
Doodle tip: Keep the stick tucked into the middle. A centered stick makes the badge feel balanced.
-
03
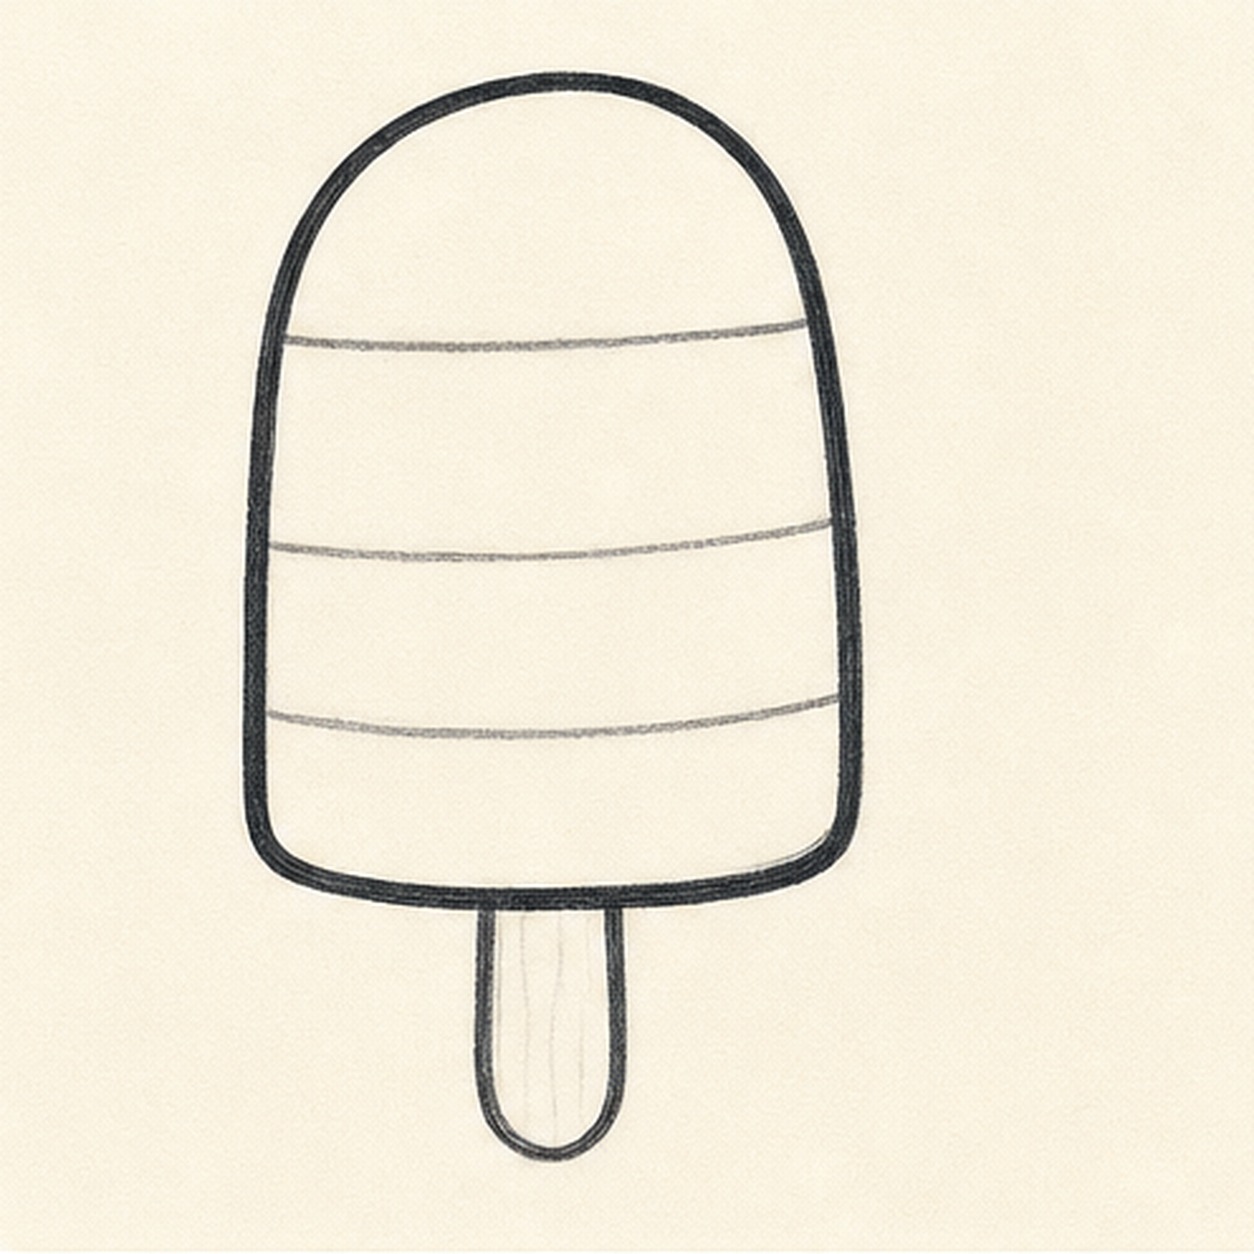
Split the bands
Draw horizontal bands across the popsicle so the top can be red, the middle can stay white, and the bottom can turn blue.
Doodle tip: Let the band lines curve slightly with the rounded body instead of making them ruler-straight.
-
04
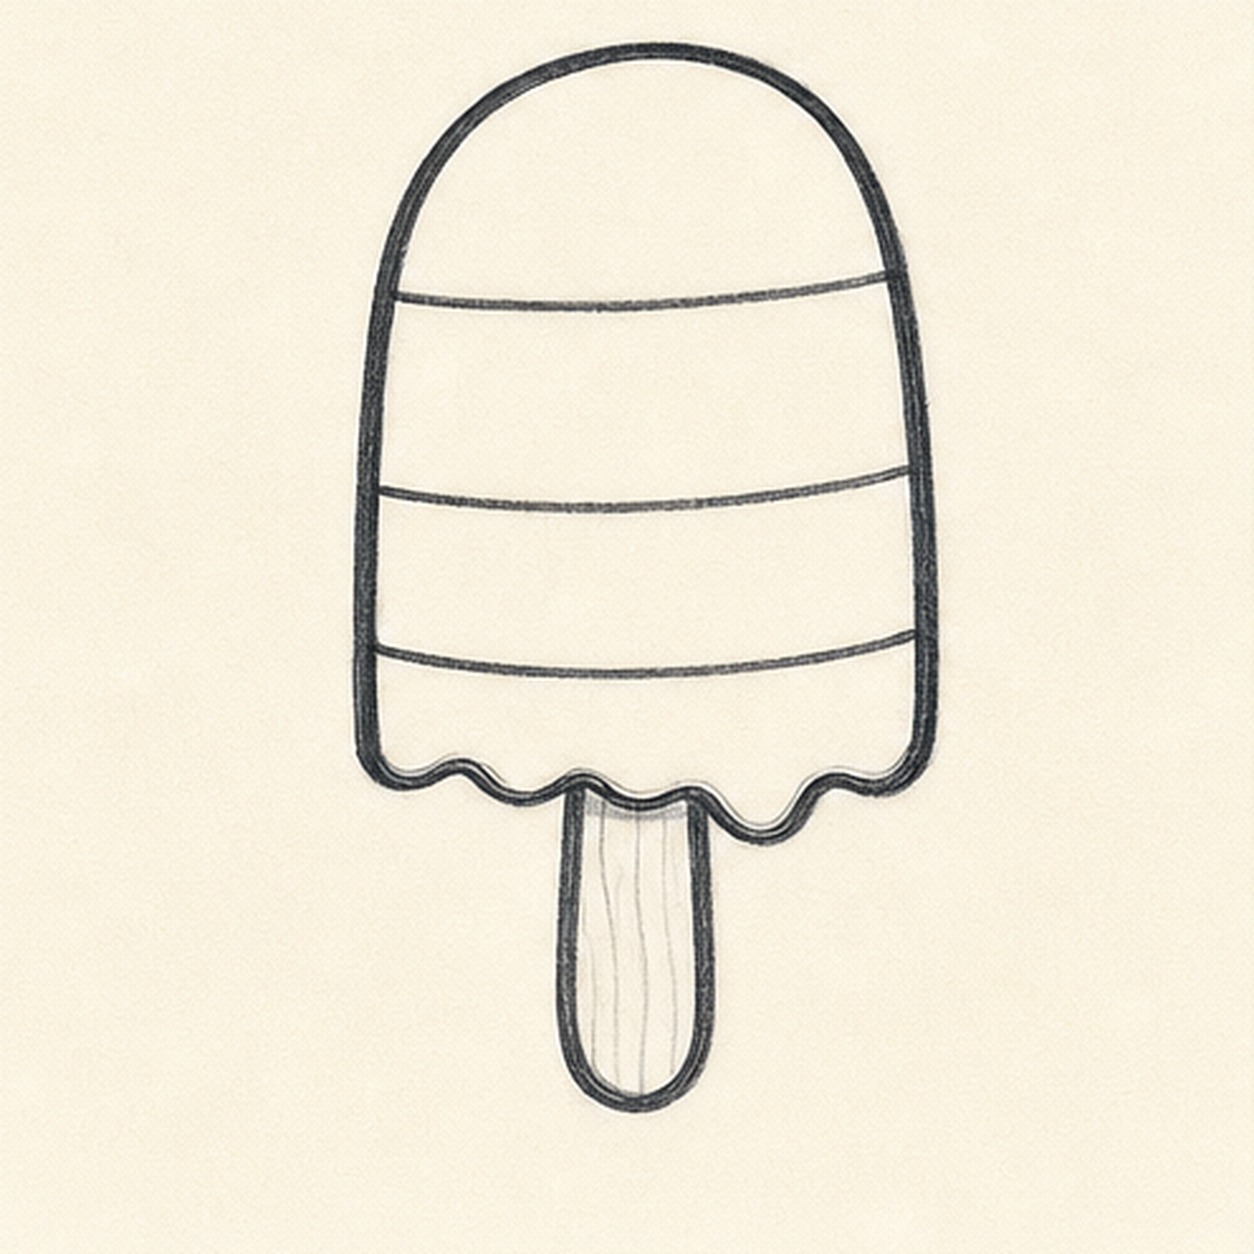
Wave the melt edge
Add a small wavy melt edge along the lower color area and clean up the band shapes.
Doodle tip: A few soft waves are enough. Do not redraw the whole popsicle at this stage.
-
05
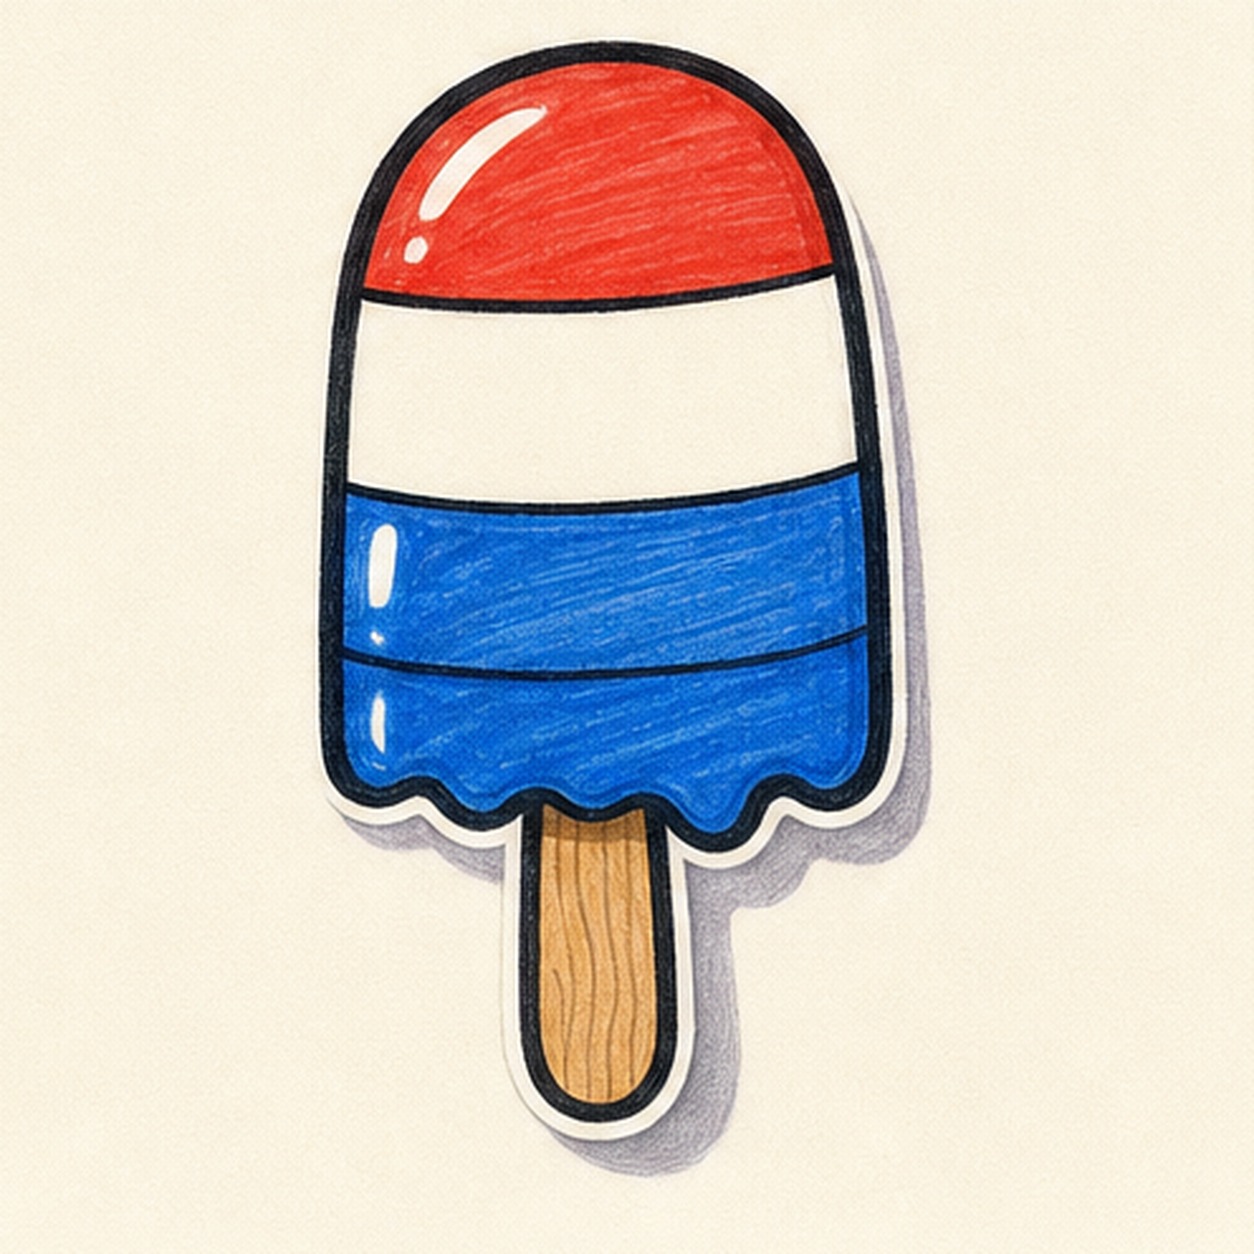
Fill with marker
Fill the top band red and the lower section blue, leave the middle band white, add shine gaps, marker streaks, and a little sticker shadow.
Doodle tip: Let some marker texture show. It keeps the badge handmade instead of flat.
-
06

Freeze the badge finish
Reinforce the existing outline, smooth the marker fills, sharpen the shine marks, and deepen the shadow already on the page.
Doodle tip: Stop before adding stars, faces, or extra props. The simple bands and wavy edge are enough.