Felt-tip marker mode
Let's draw an open book with a ribbon bookmark
Treat this as one playful practice round: sketch the idea loosely, simplify the shapes, then commit with confident marker outlines and bright fills.
-
01
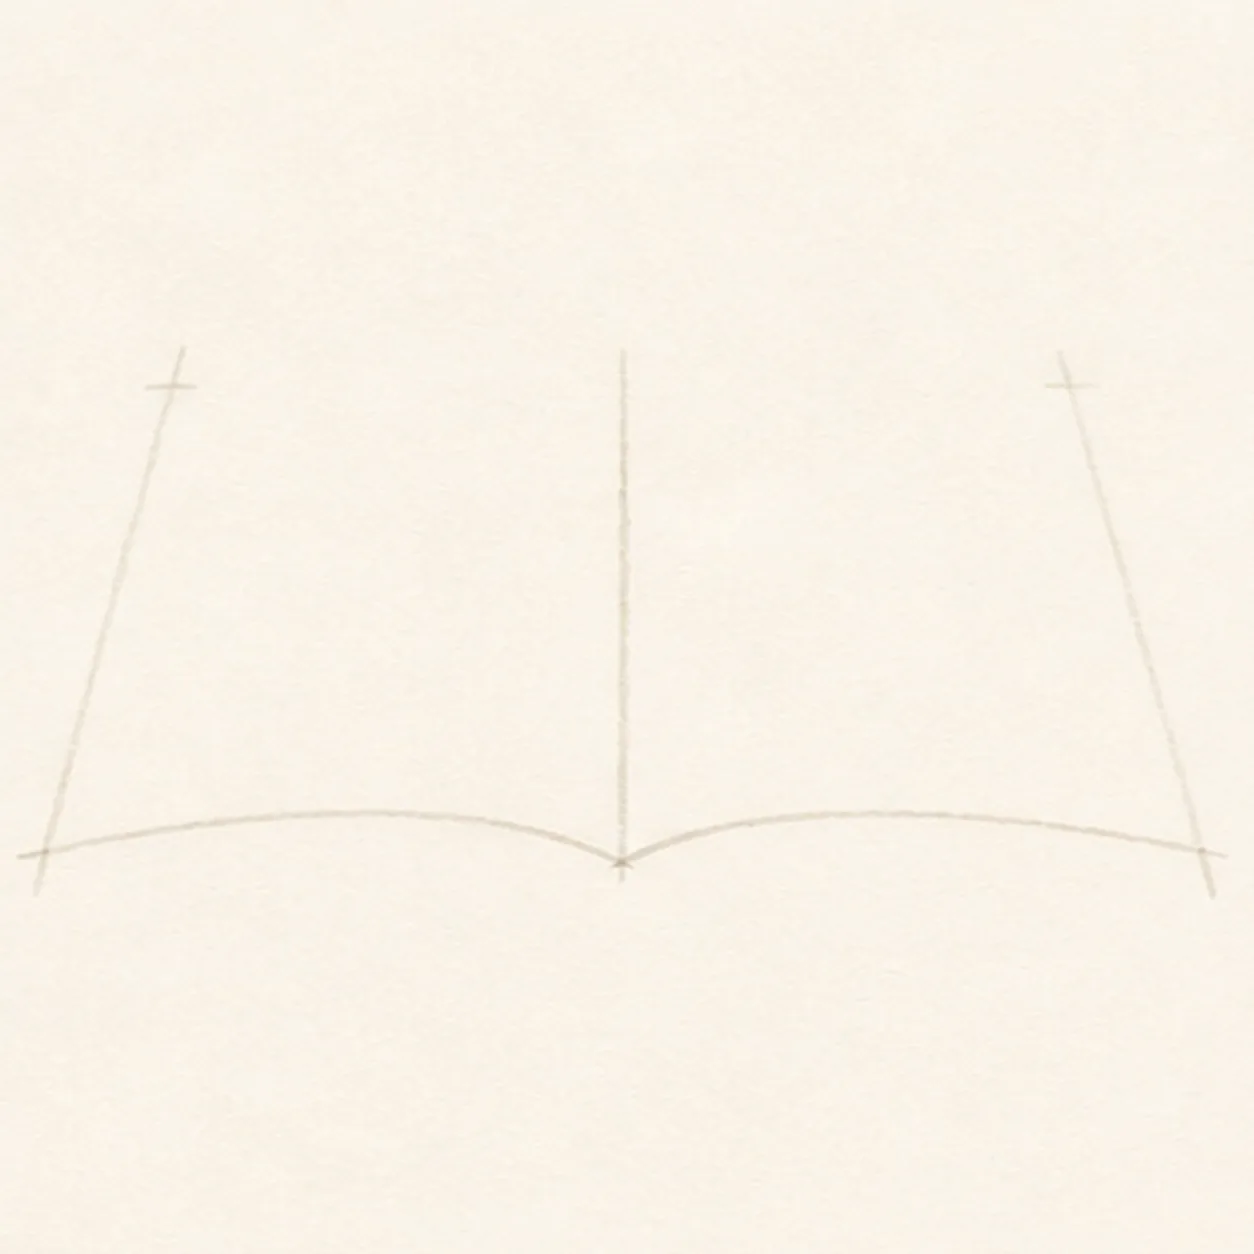
Block the hinge gesture
Use only a few very pale pencil strokes to place one center hinge, the shallow spread angle, two page-span arcs, and four outer corner points without closing the book or adding thickness, ribbon, curls, bands, highlights, shadow, ink, or color.
Marker tip: Ghost the full spread before touching down, then mark the hinge and outer corners first. Stop while the drawing still looks like a loose gesture; the purpose is to control width and tilt, not to preview the finished book.
-
02
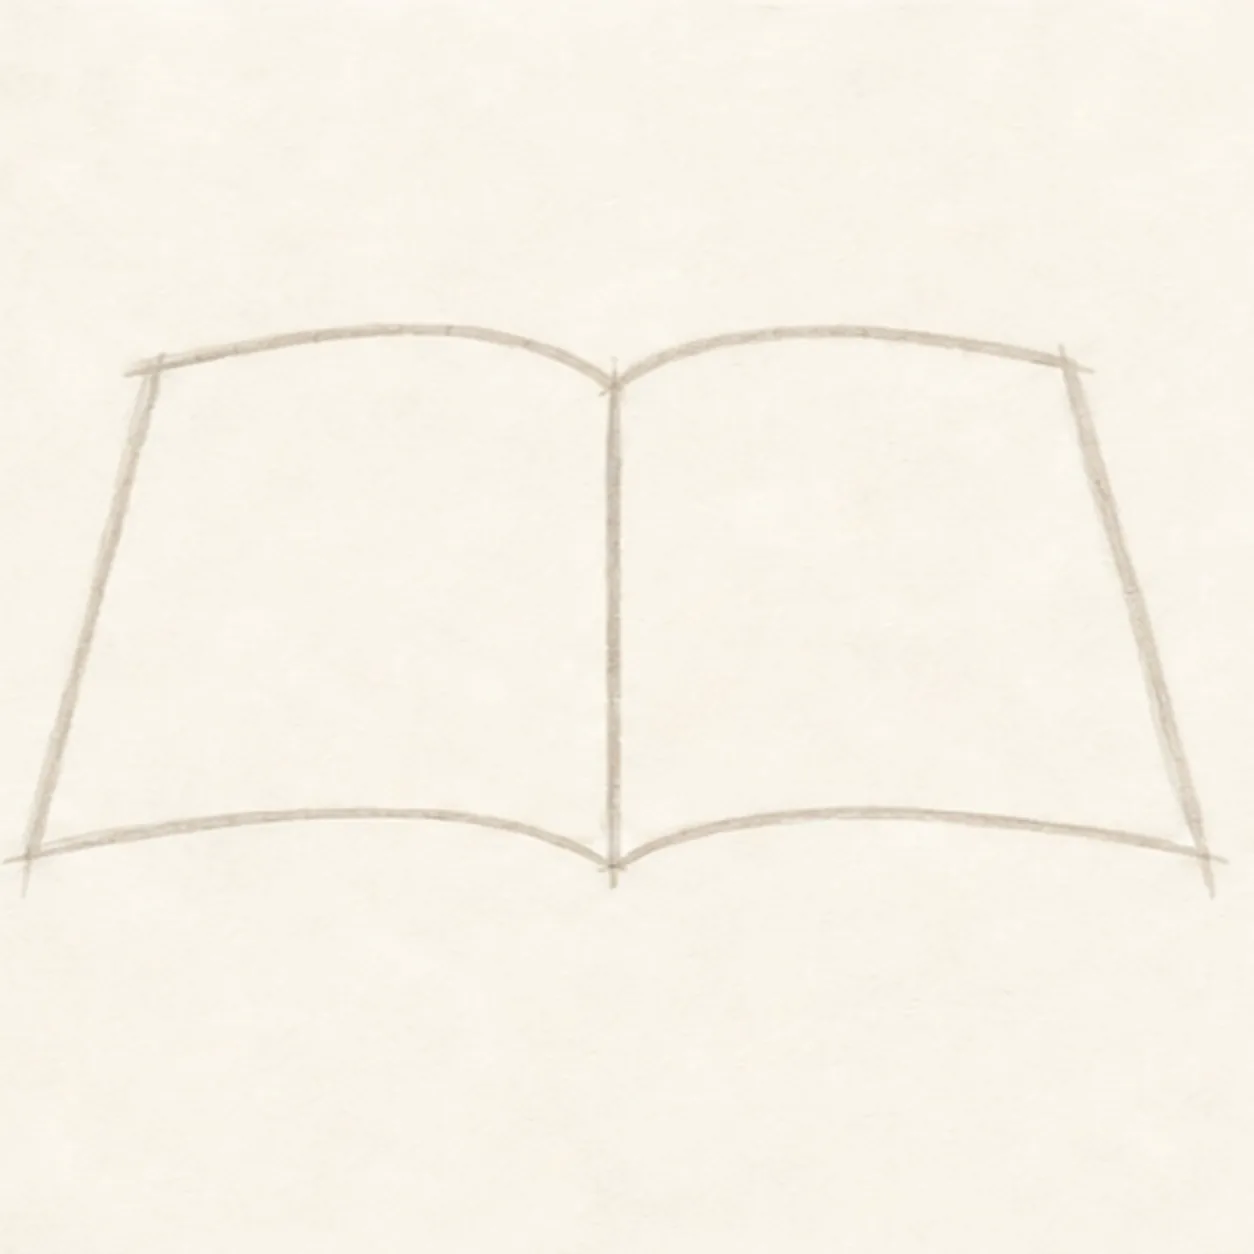
Shape the two page faces
Turn the sparse gesture into exactly two loose blank page-face silhouettes meeting at one V-shaped center gutter, with no lower thickness, cover, ribbon, curls, bands, highlights, shadow, ink, or color yet.
Marker tip: Rotate the page to pull each long outer edge in one relaxed stroke. Use the gutter as the hinge and compare the two page widths, but leave the entire area below the page faces open for the next construction job.
-
03
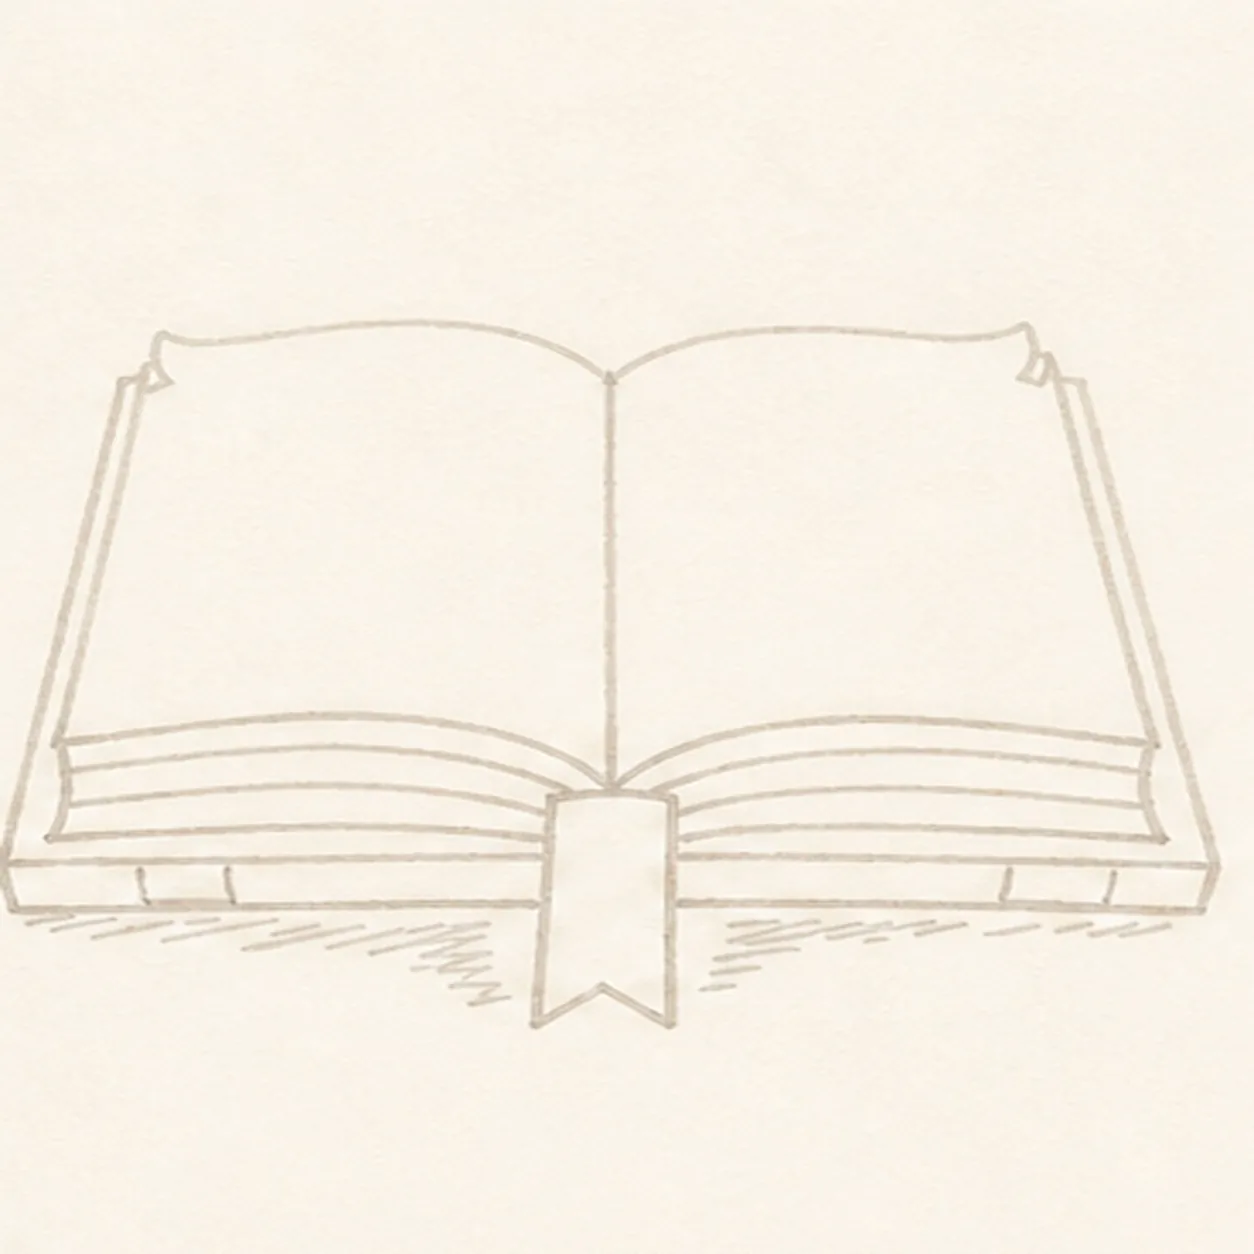
Build the layered book
Add the lower page-block thickness, one visible cover edge, one ribbon footprint from the gutter, two outer corner-curl silhouettes, exactly three lower-band routes per side, small cover-highlight gaps, and one broken shadow footprint in pale pencil.
Marker tip: Echo the lower page curves to create thickness, then count three band routes on each side. Stop the gutter, cover, and band lines at the ribbon footprint and curl silhouettes so every later overlap is already physically resolved.
-
04
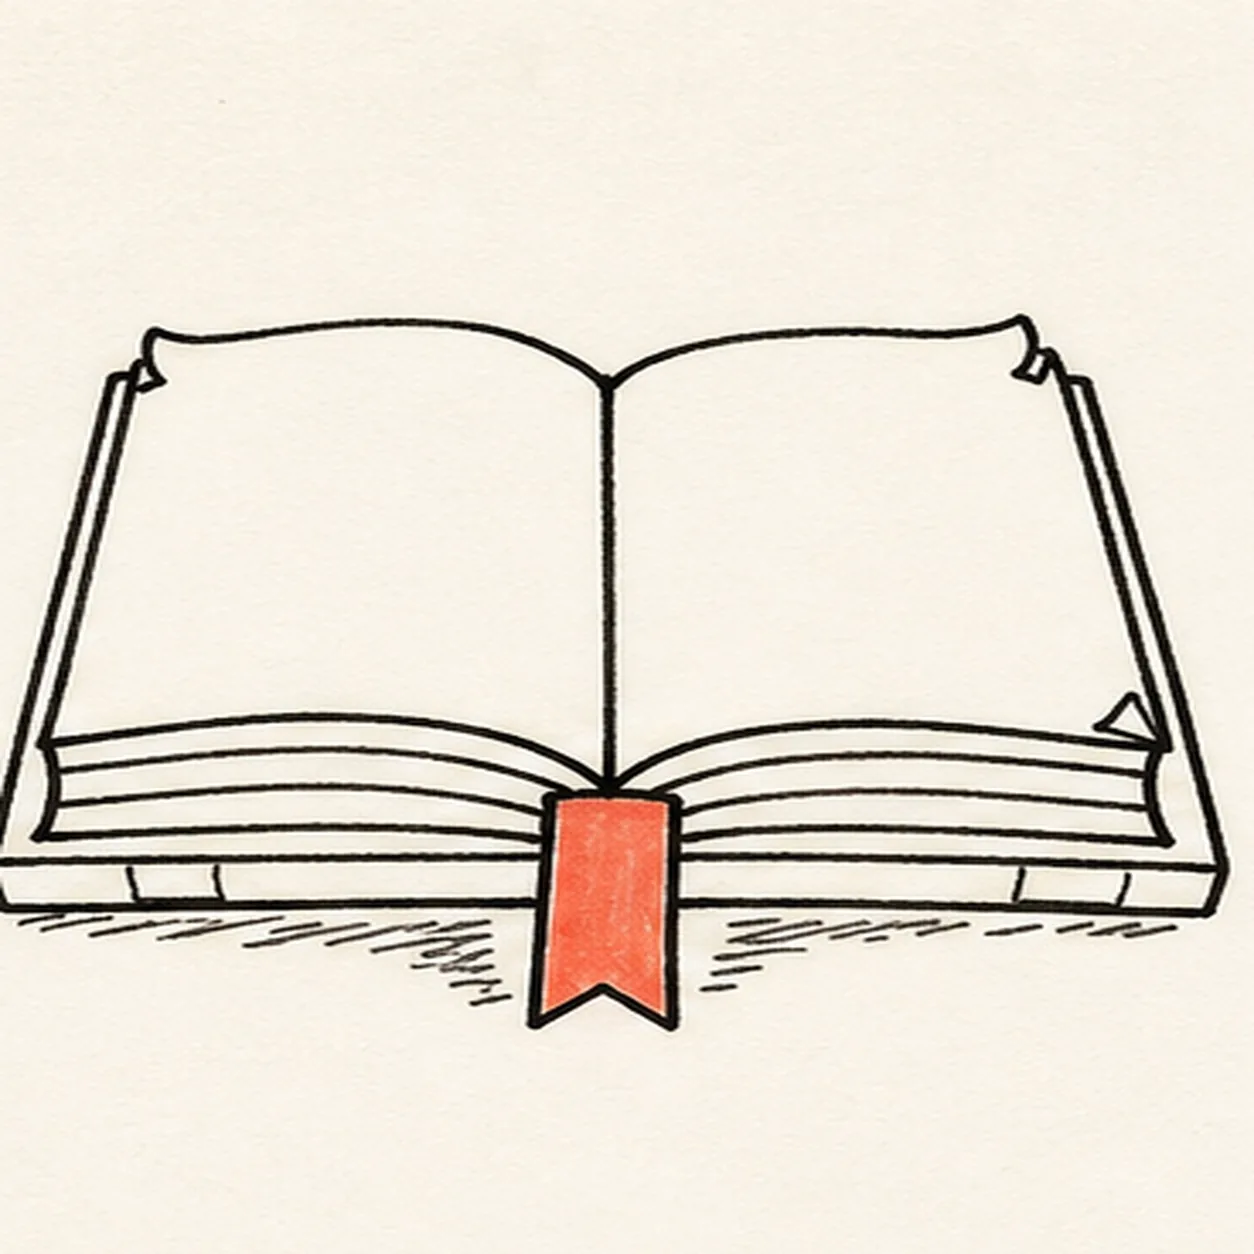
Ink the book and ribbon
Trace the established page, gutter, thickness, cover, ribbon, curl, band, highlight, and shadow boundaries with thick, slightly wobbly black felt-tip, then fill only the single ribbon coral without changing the book geometry.
Marker tip: Ink the small ribbon and curls first, then rotate the page for the long structural edges. Keep the gutter and cover lines broken where the ribbon overlaps them, and let the coral dry before the next color stage.
-
05
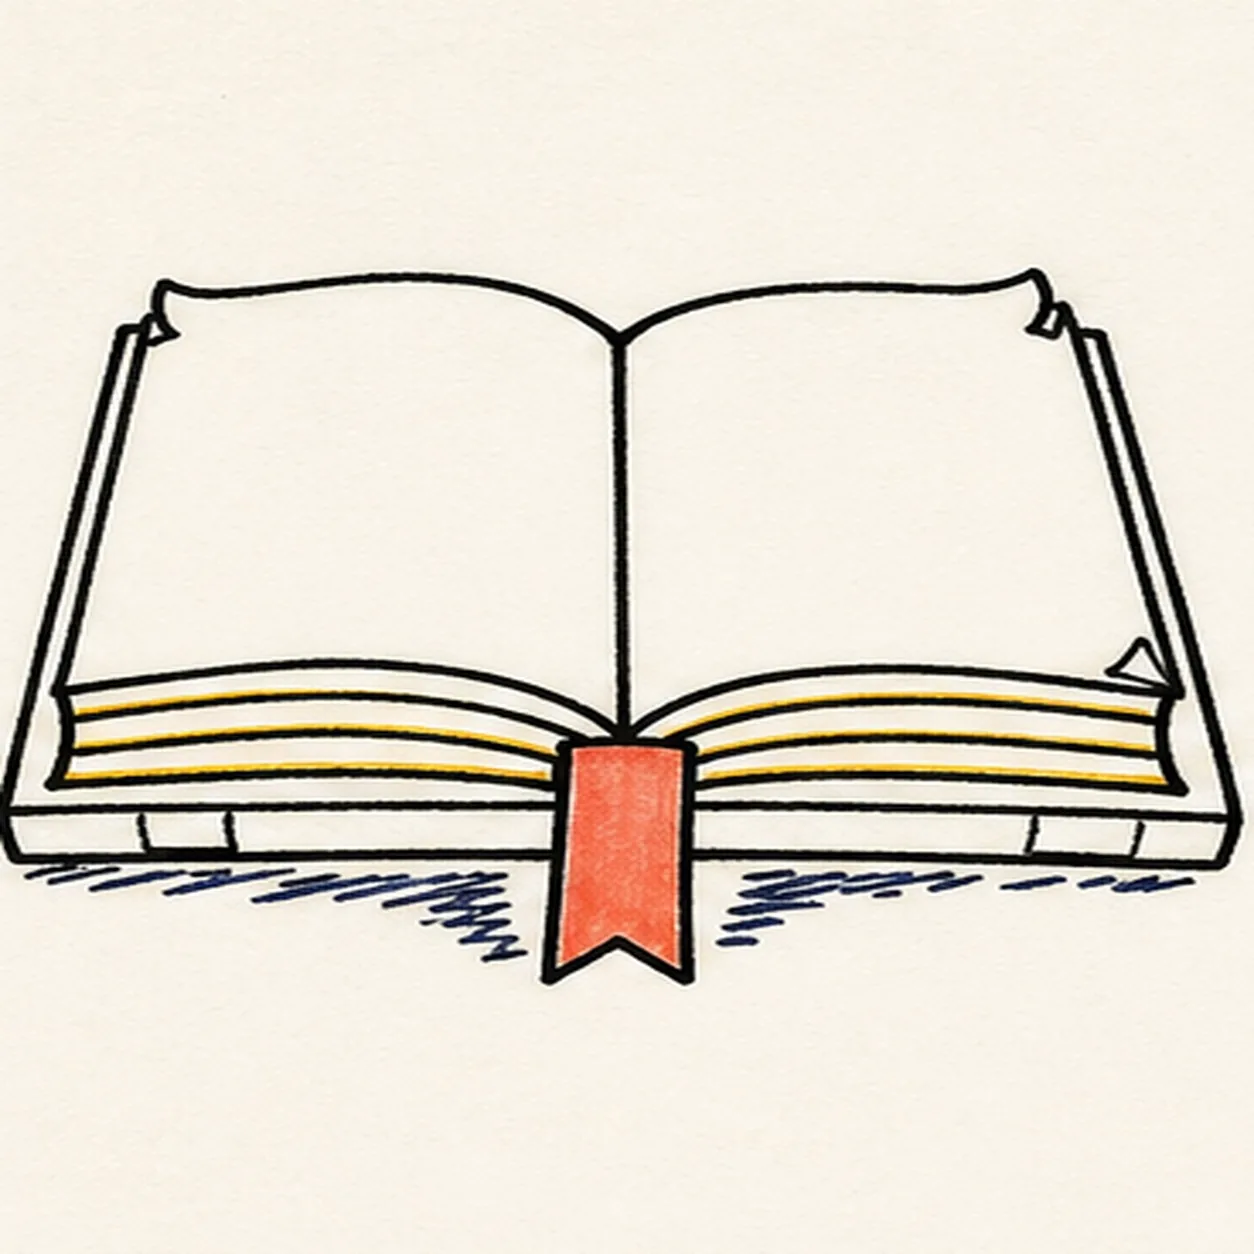
Band the lower page edges
Darken exactly three stacked lower page-edge bands per side, fill those bands warm yellow, preserve the small cover-edge highlight gaps, and add one broken deep-navy shadow while leaving both broad page faces unmarked.
Marker tip: Pull each yellow stroke along the page curve and count three bands on both sides before moving on. Keep the shadow outside the book and ribbon silhouettes, and leave broken paper gaps so it does not become a smooth digital oval.
-
06

Hatch the cover edges
Add short handmade hatching only along the established outer cover edges and deepen the same broken navy shadow while preserving every inked boundary, yellow band, coral ribbon, curl, and highlight gap.
Marker tip: Let the yellow and navy marker dry before adding short hatching that follows the cover thickness. Keep the heaviest accents at the outside corners and under the book instead of retracing every line from the prior step.
-
07
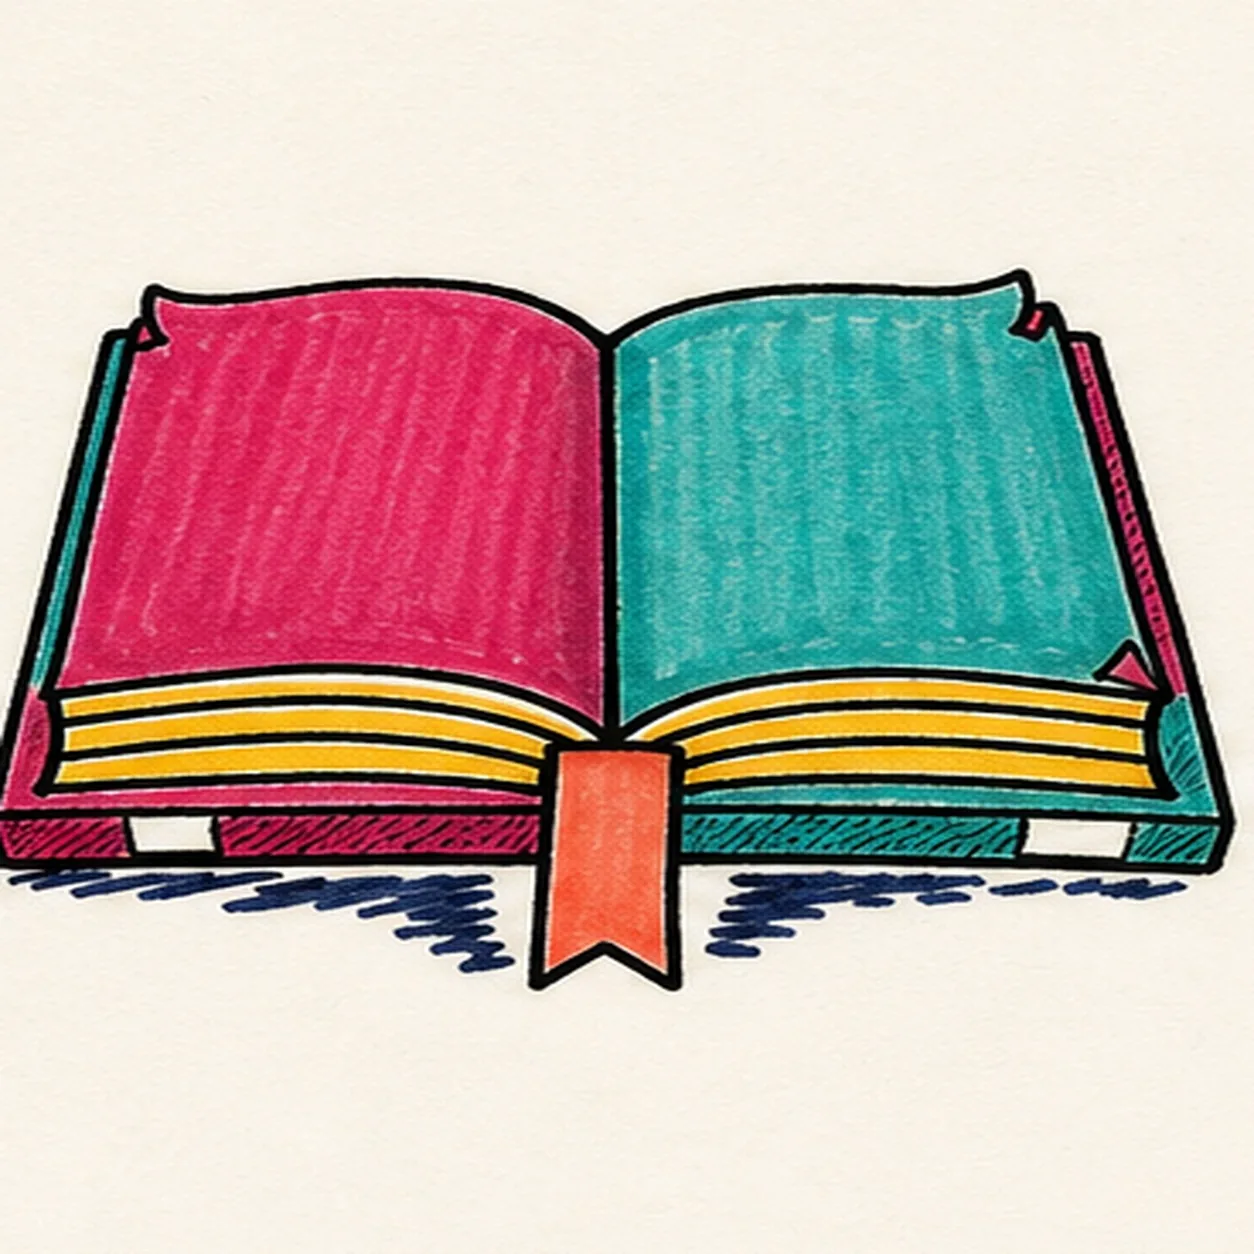
Fill the bright page color
Fill the established left blank page face and cover plane raspberry and the right blank page face and cover plane teal while preserving the yellow bands, coral ribbon, navy shadow, highlight gaps, and visible marker grain.
Marker tip: Pull broad marker strokes from the gutter toward each outer edge so the streaks follow the pages. Work one side at a time, let the first color dry, and stop short of the black outlines to avoid muddy bleed.
-
08
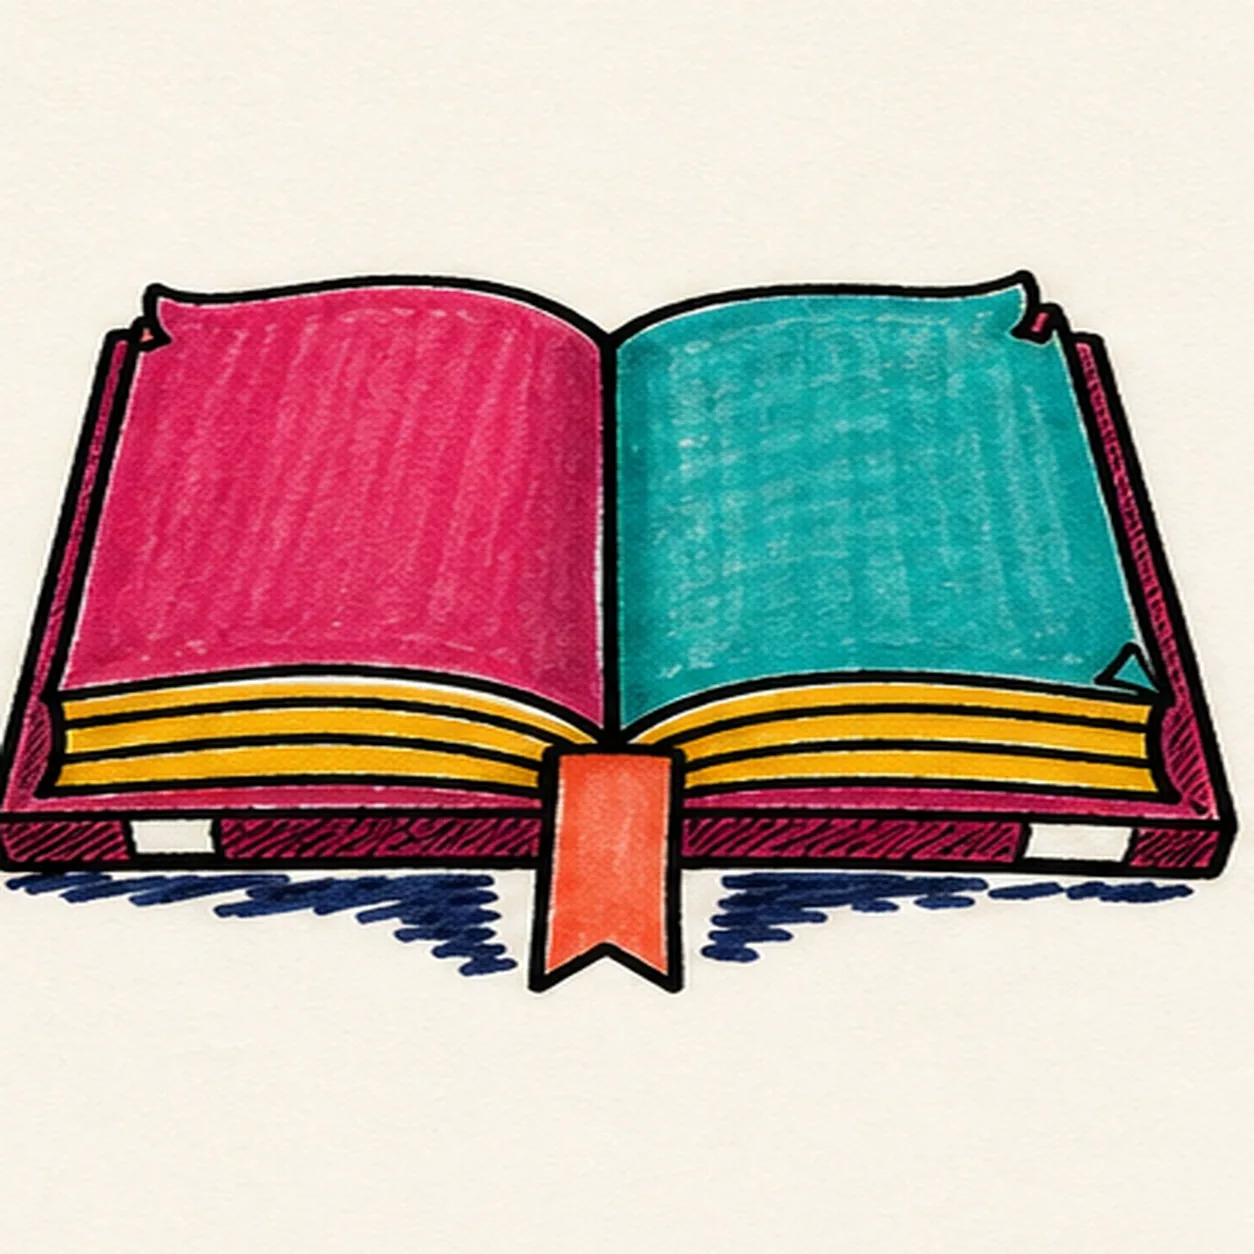
Turn the page on the finish
Strengthen selected established black edges, even the same marker fills, clarify the cover-edge highlight gaps, and deepen only the existing hatching and broken shadow.
Marker tip: Count two page blocks, one gutter, one ribbon, two curls, three yellow bands per side, and one shadow before stopping. Change the page palette in your own version if you like, but keep the overlap order, blank surfaces, and handmade marker grain.